

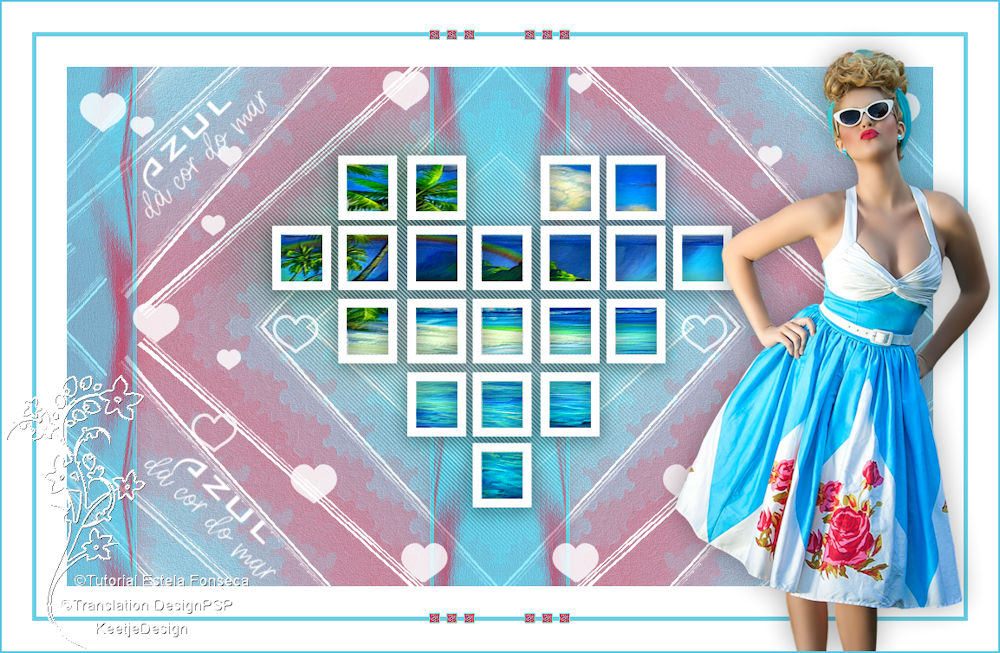
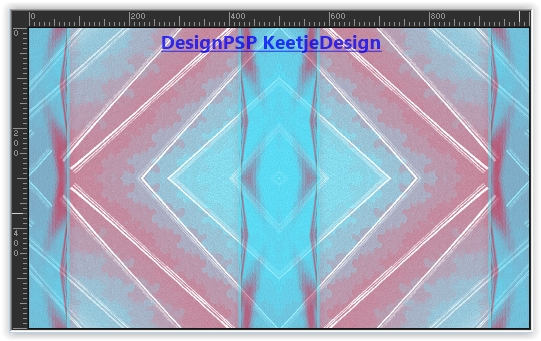
Azul da cor do mar
Original tutorial Hier
This tutorial was written by Estela Fonseca and it’s © hers.
It is not permitted to copy, link and / or place this or parts thereof without her permission.
If you want to use the tutorials on your own Club or Group, you must ask permission from the writer yourself.
The translation is written with PSP 2020 but can also be made with other versions.
If this tutorial looks like any other it is just a coincidence.
We have permission from Estela Fonseca to translate her tutorials into Dutch and English.
Estela Fonseca Thank you for letting us translate your tutorials.
Estela Fonseca

Materials used:
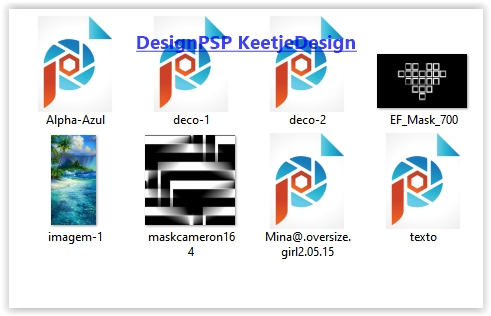
Open the materials in PSP / Duplicate with Shift + D / Close the originals Minimize mask
Plugins used:
Unlimited 2.0 – Filter Factory Gallery F – Quadrant Replicate
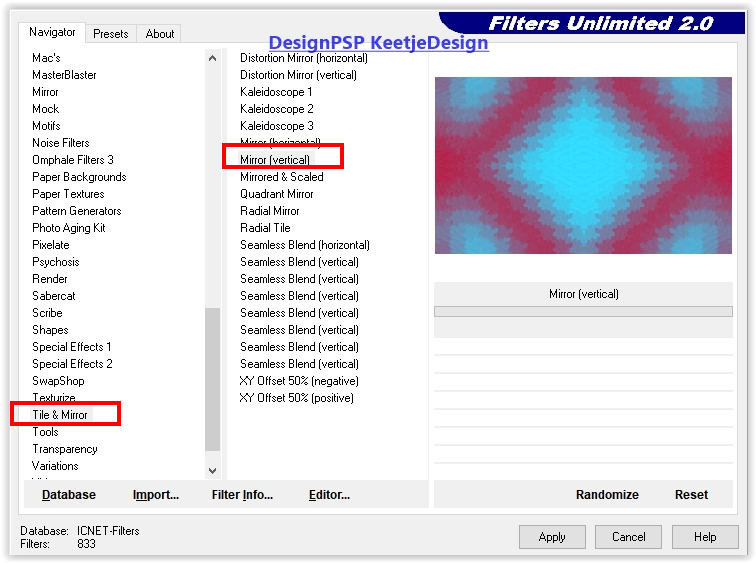
Unlimited 2.0 – Tile & Mirror – Mirror (vertical)
Impressionist – Impressionist – Style Pointillist
Mura’s Meister – Persapective Tiling
Simple – Diamonds / Top Left Mirror / Half Wrap / Left Right wrap
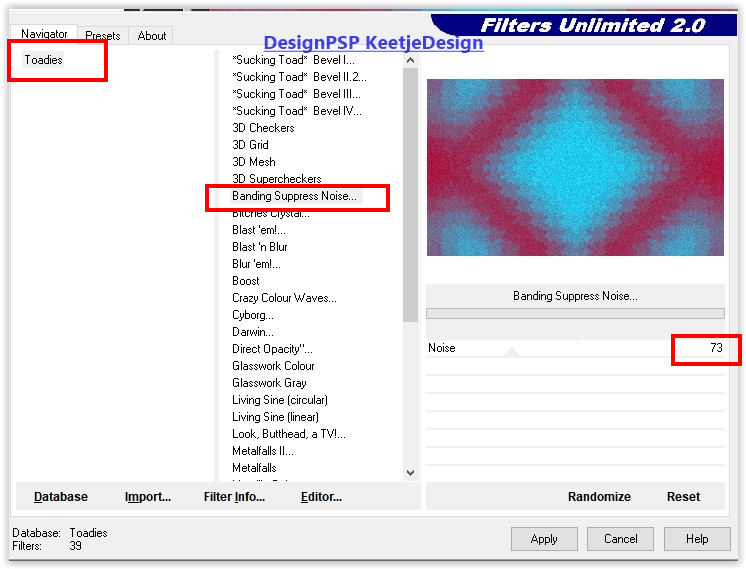
Unlimited 2.0 – Toadies – Banding Suppress Noise
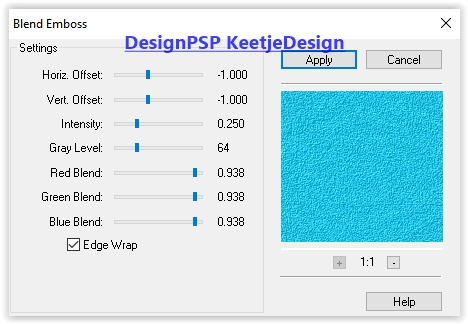
FM Tile Tools – Blend Emboss / Saturation Emboss
Carolaine and Sensibility – CS_DLines
The tutorial is written with these colors and the materials supplied.
If you use your own materials, colors or another version of PSP
you may have to play with Blend Mode and / or Opacity.
1
Material palette – Foreground color # 34dcff / Background color # c3113a
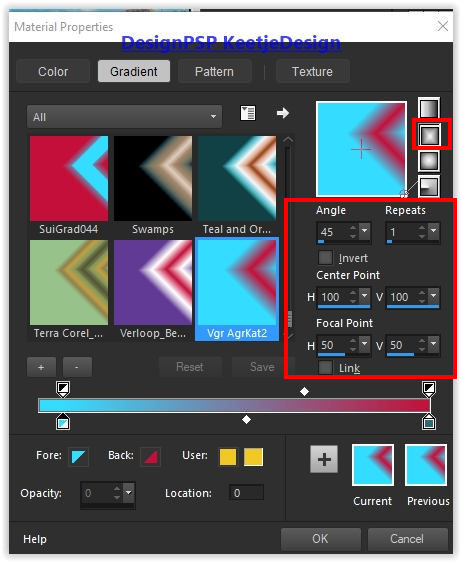
Create in the foreground the gradient Rectangle
Open Alpha-Azul – Window – Duplicate (or use Shift + D) / Close the original / We are working on the copy
Fill with the gradient
2
Adjust – Blur – Gaussian Blur – Range 40
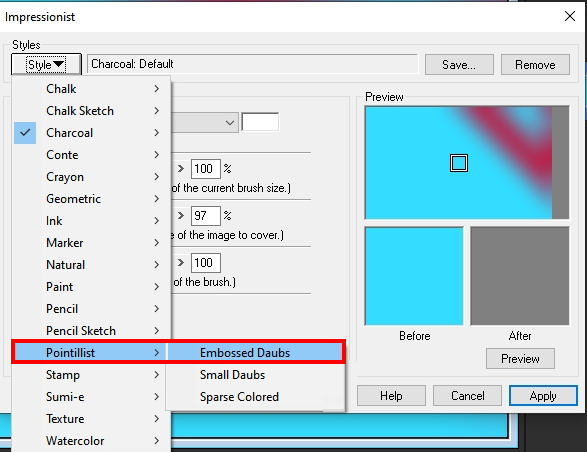
Effects – Plugin Impressionist – Impressionist – Style Pointillist / Embossed Daubs
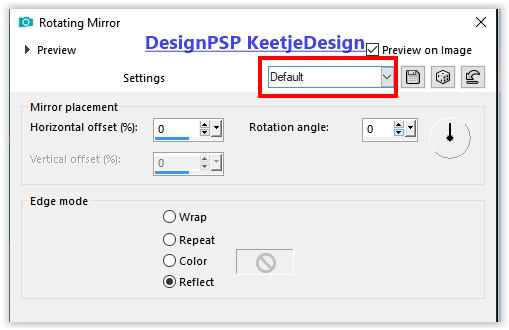
Effects – Reflection Effects – Rotating Mirror / Default
3
Layers – Duplicate
Effects – Plugin Unlimited 2.0 – Tile & Mirror – Mirror (vertical)
Effects – Plugin Unlimited 2.0 – Toadies – Banding Suppress Noise
Effects – Plugin FM Tile Tools – Blend Emboss / Default
4
Material palette – Background color # ffffff
Layers – New raster layer
Fill with the color # ffffff
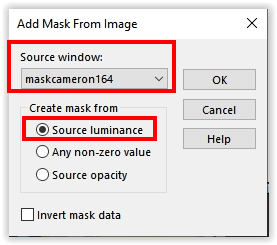
Layers – New Mask Layer – From Image: maskcameron164
Layers – Duplicate 2x
Layers – Merge – Merge group
5
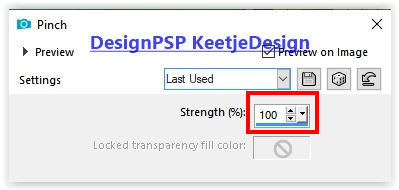
Effects – Distortion Effects – Pinch
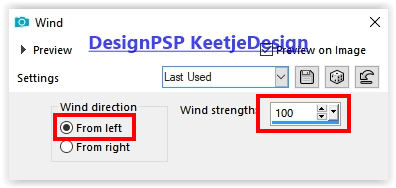
Effects – Distortion Effects – Wind
Effects – Distortion Effects – Wind
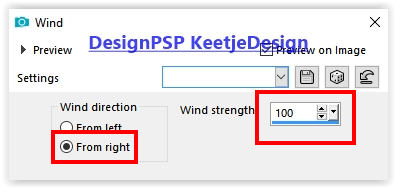
Image – Flip (flip vertically)
6
Activate Selection-Rectangle tool (S) – Custom selection

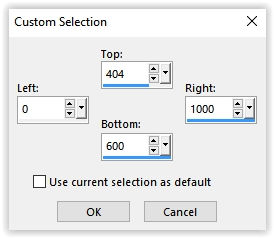
Press Delete on the keyboard
Selections – Select none
7
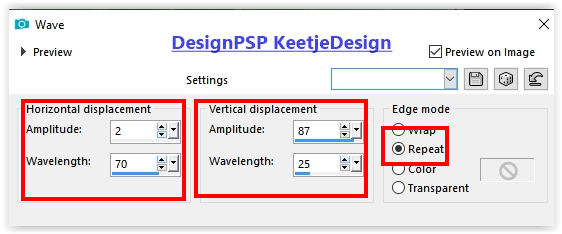
Effects – Distortion Effects – Wave
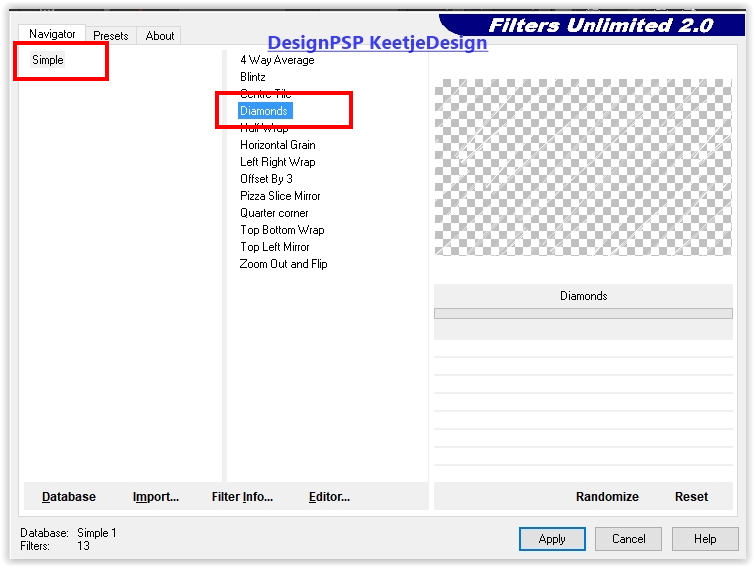
Effects – Plugin Simple – Diamonds
Layers – merge – merge down
8
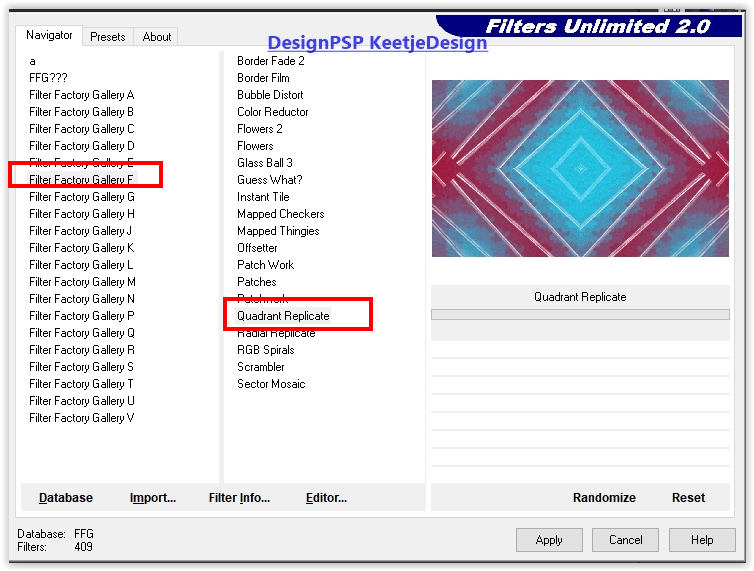
Effects – Plugin Unlimited 2.0 – Filter Factory Gallery F – Quadrant Replicate
9
Layers – New raster layer
Fill with the color # ffffff
Layers – Properties – Opacity 45
10
Layer palette – Activate the bottom layer (Raster 1)
Layers – Arrange – Bring to Front
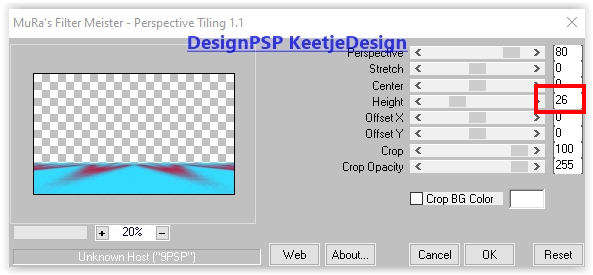
Effects – Plugin Mura’s Meister – Perspective Tiling
11
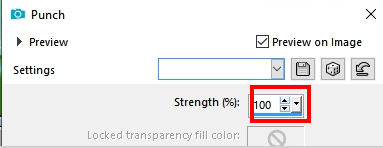
Effects – Distortion Effects – 2x Punch
Layers – Duplicate
Image – Flip (flip vertically)
Layers – merge – merge down
12
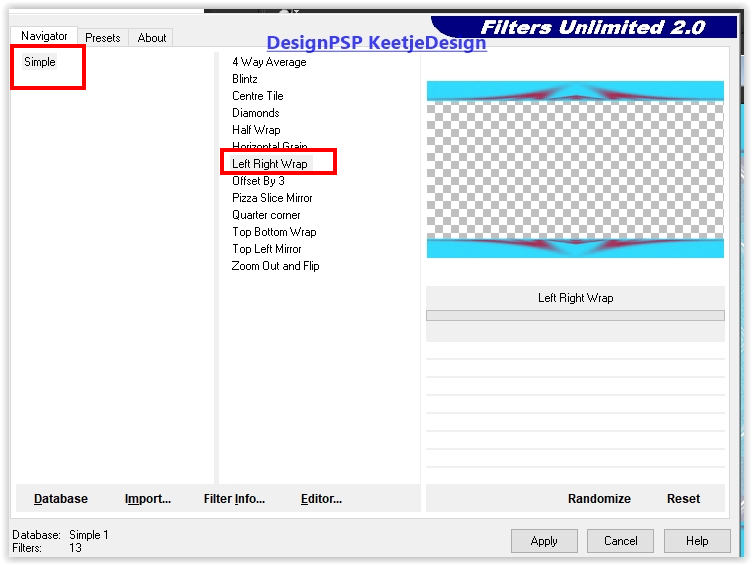
Effects – Plugin Simple – Left Right wrap
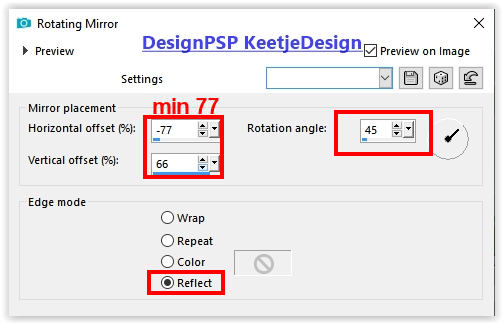
Effects – Reflection Effects – Rotating Mirror
13
Effects – Edge Effects – Enhance
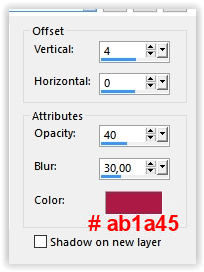
Effects – 3D Effects – Drop Shadow / 4/0/40/30 / # ab1a45
14
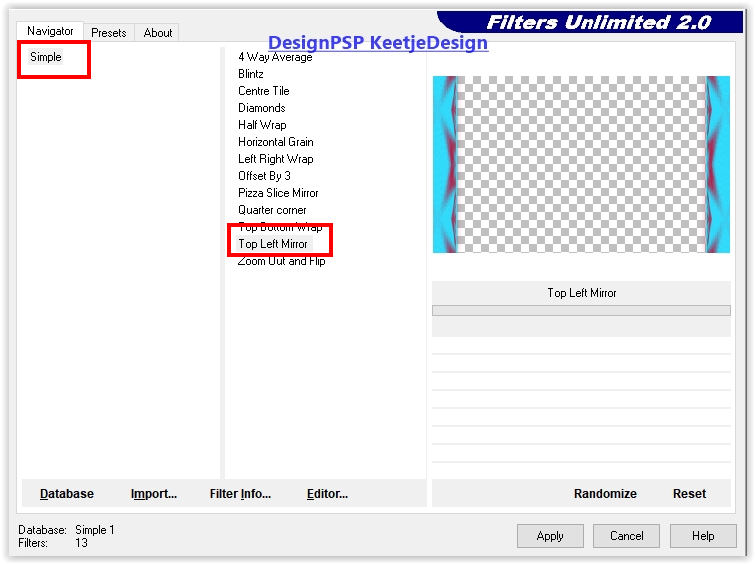
Effects – Plugin Simple – Top Left Mirror
Layers – Duplicate
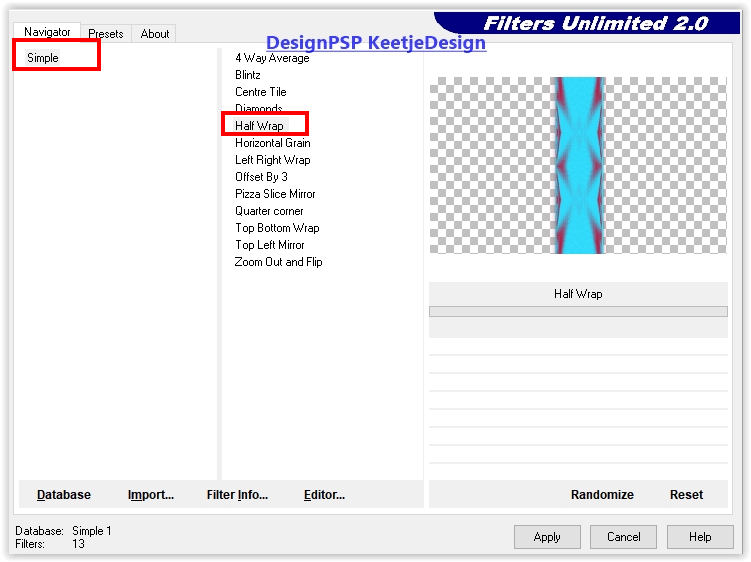
Effects – Plugin Simple – Half Wrap
Layers – merge – merge down
Layers – Properties – Opacity 50
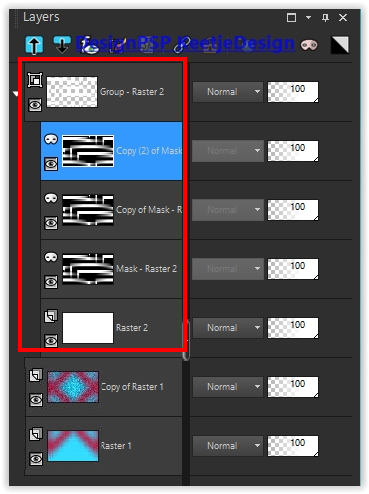
15
The layers palette now looks like this
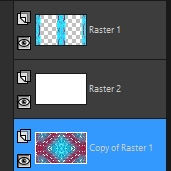
We have this now
16
Layers – New raster layer
Fill with the color # ffffff
Layers – New Mask Layer – From Image: EF_Mask_700
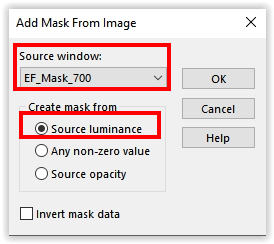
Layers – Merge – Merge group
17
Selections – Load / Save – Load Selection from Alpha Channel: Selection # 1

Layers – New raster layer
Open the Images imagem-1 – Copy – Paste into selection
Selections – Select none
18
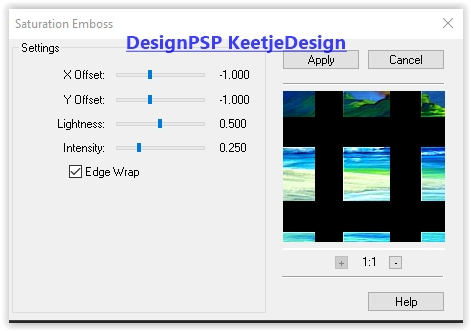
Effects – Plugin FM Tile Tools – Saturation Emboss / Default
Layers – Arrange – Move Down
Layer palette – Activate the top layer
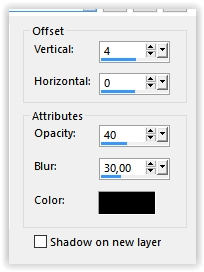
Effects – 3D Effects – Drop Shadow / 4/0/60/30 / # 000000
Layers – merge – merge down
Layers – Duplicate
19
Layer palette – Activate the layer Raster 3
Adjust – Blur – Gaussian Blur / Range 40
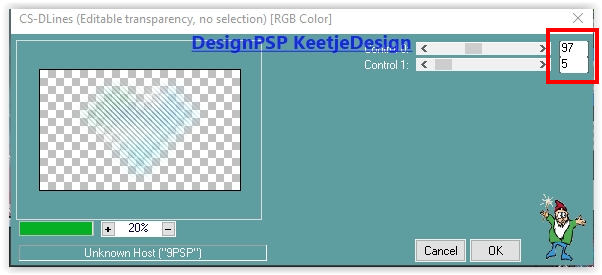
Effects – Plugin Carolaine and Sensibility – CS_DLines
Layers – Duplicate
Layers – Properties – Blend Mode Multiply (or any other)
20
Layer palette – Activate the top layer
Open the tube deco-1 – Copy – Paste as new layer
Layers – Properties – Opacity 81
21
Open the tube texto – Copy – Paste as new layer
Activate the Pick tool (K) – Position X 86 / Position Y 27

Type M to close the tool
Adjust – Sharpness – Sharpen
22
Image – Add Borders – Symmetric
35 pixels color # ffffff
5 pixels color # 6acfe4
35 pixels color # ffffff
23
Open the tube deco-2 – Copy – Paste as new layer
Not moving is good
24
Open the tube Mina @ .oversize.girl2.05.15 – Copy – Paste as new layer
Image – Resize – Change 2x with 85% – Uncheck all layers
Place to the right
Adjust – Sharpness – Sharpen
Effects – 3D Effects – Drop Shadow / 0/0/35/50 / # 000000

25
Place your Name / Watermark
Image – Add Borders – Symmetric
2 pixels color # 57c5e3
Image – Resize – Change to 1000 pixels width
Save as Jpeg
We have finished the tutorial from Estela
This translation has been tested by Marianne.
Marianne thank you
© Translation DesignPSP KeetjeDesign