

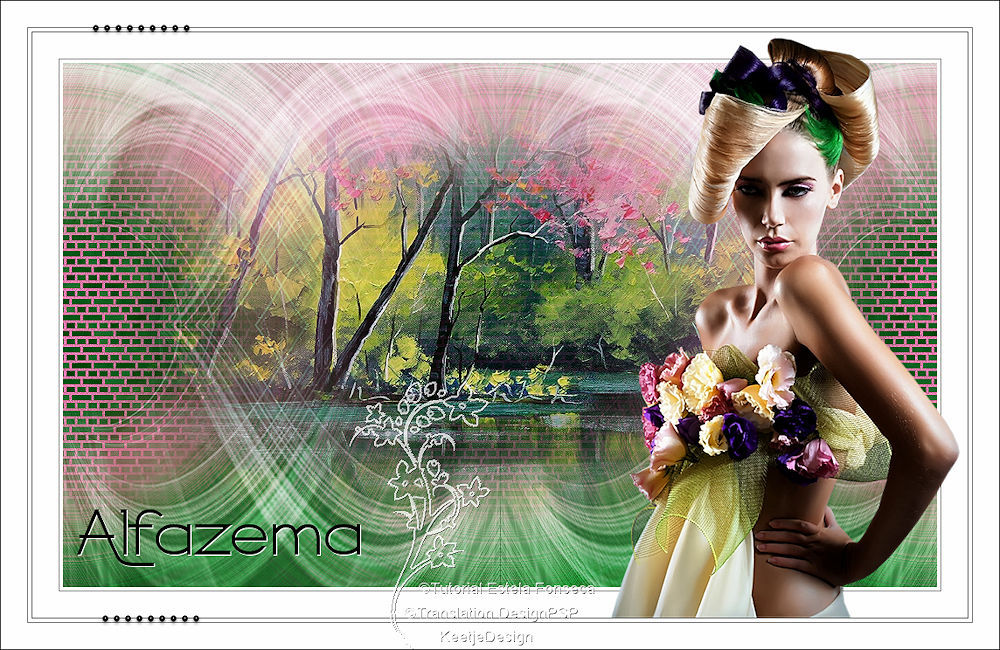
Alfazema
Original tutorial Here
This tutorial was written by Estela Fonseca the © is from her.
You’re not allowed to copy, link and / or place these or parts of it without her permission.
The © ️of the materials wich are used is for the rightful owner.
If you want to use this tutorial on your own forum, club or group, you have to request permission from the writer herself.
We have permission to translate Estela Fonseca’s tutorials into Dutch and English.
Estela Fonseca Thank you for letting us translate your tutorials.
Her site
Materials used:

Plugins used:
Unlimited 2.0 – Buttons & Frames – Rectangular Button
Unlimited 2.0 – FunHouse – Maelström
Simple – Top Left Mirror
Simple – Left Right Wrap
AAA Frames – Photo Frame
Alien Skin Eye Candy 5 – Texture – Brick Wall
Own Filter – Edge Enhance
The tutorial is written with these colors and materials.
If you use your own colors and / or materials, you may have to play with the Blend Mode and / or Opacity settings.
1
Material palette – Foreground color # 095e1f / Background color # e37eac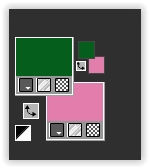
Create a Rectangular gradient in the Foreground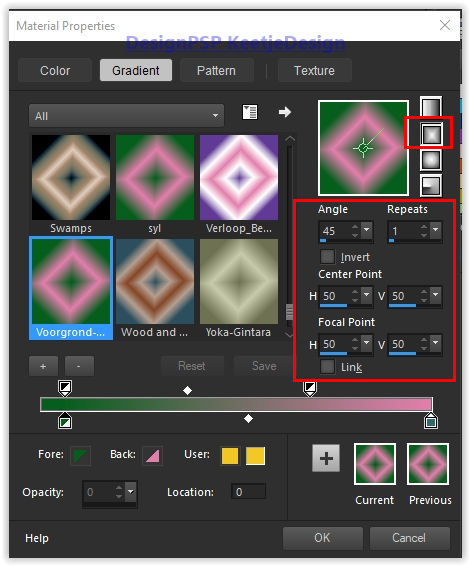
Open the alpha file Alpha-Alfazema – Window – Duplicate (Or use Shift + D) – Close the original we are working on the copy
Fill in the gradient
2
Effects – Filter Unlimited 2.0 – Buttons & Frames – Rectangular Button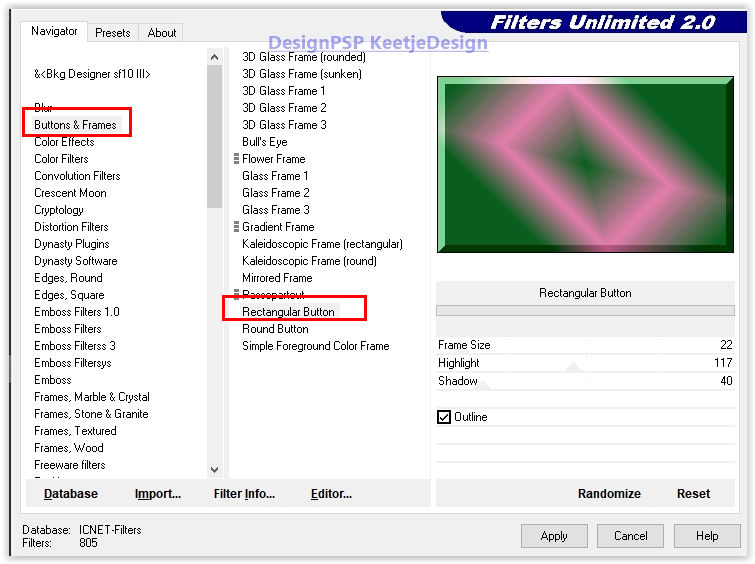
Adjust – Blur – Radial Blur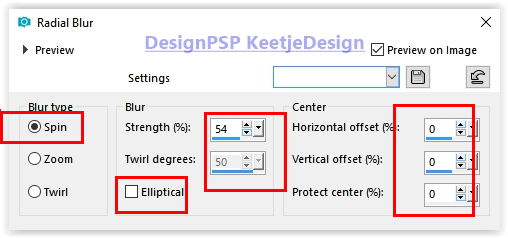
3
Effects – Reflection Effects – Rotating Mirror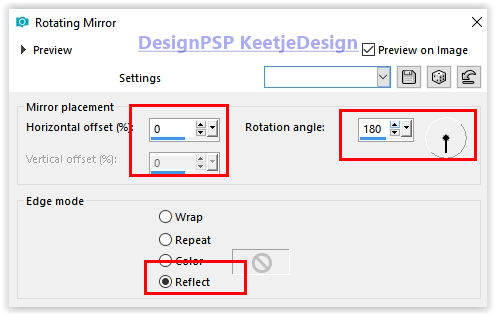
Effects – Filter Unlimited 2.0 – FunHouse – Maelström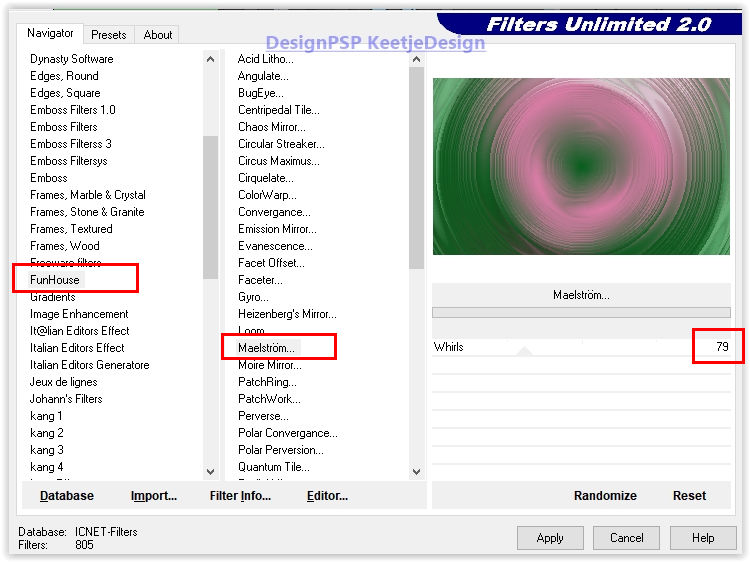
4
Open the tube Deco-1 – Copy – Paste as new layer
Effects – Reflection Effects – Rotating Mirror / Same setting
Effects – Filter Simple Top Left Mirror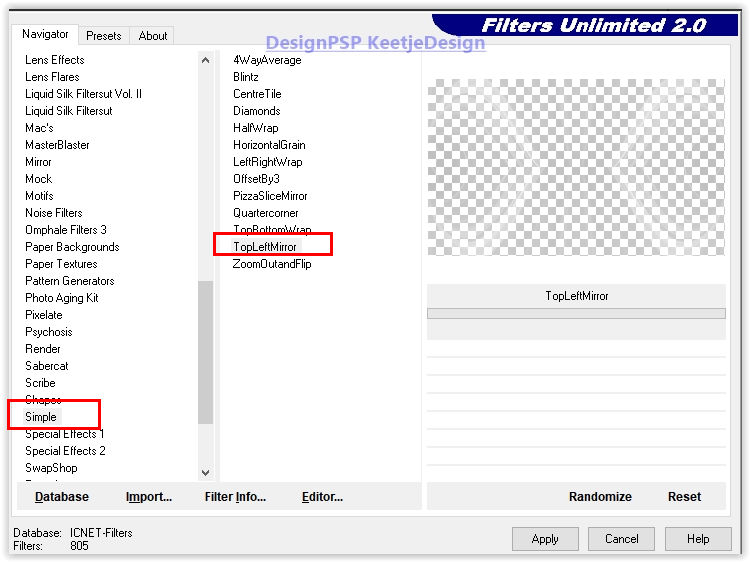
Effects – Own filter – Edge_Enhance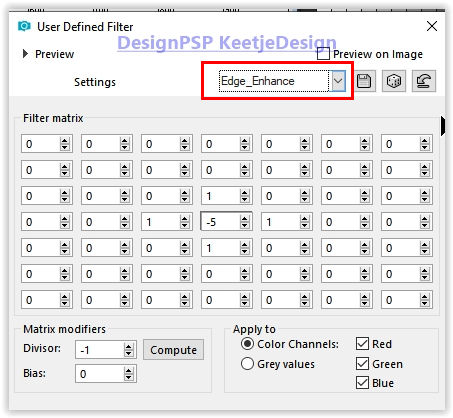
5
Layers – merge – merge down
Layers – Duplicate
Effects – Filter Simple – Left Right Wrap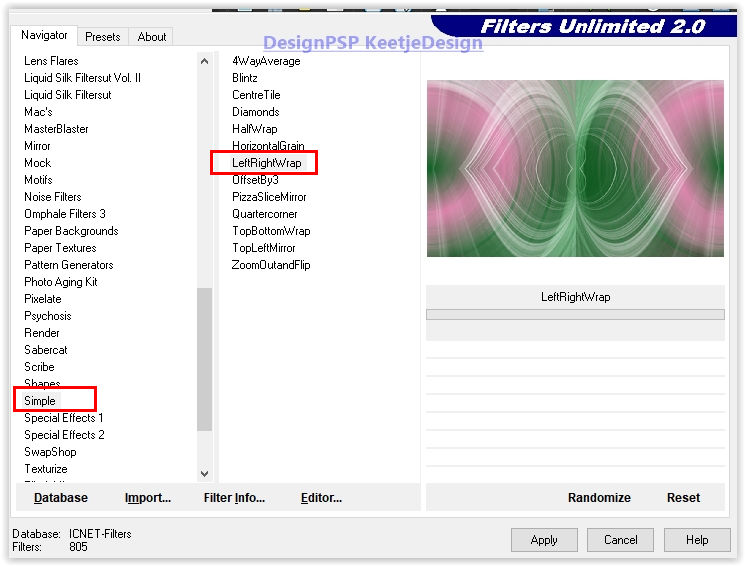
Layers – Properties – Blend mode Hard light
Effects – Reflection Effects – Rotating Mirror / Same setting
6
Selections – Load / Save – Load Selection from Alpha Channel Selection # 1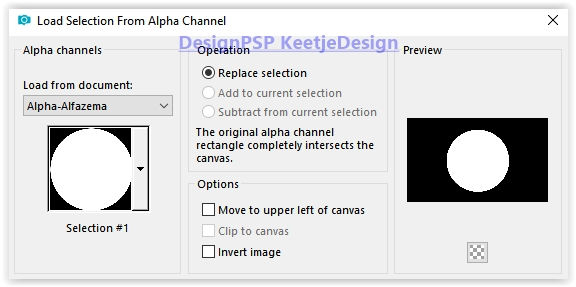
Selections – Promote selection to layer
Adjust – Blur – Gaussian Blur / Range 50
Selections – Select – None
Effects – Plugins Alien Skin Eye Candy 5 – Texture – Brick Wall
Settings : Medium Dutch Basic: Brick color Foreground color / Mortar color background color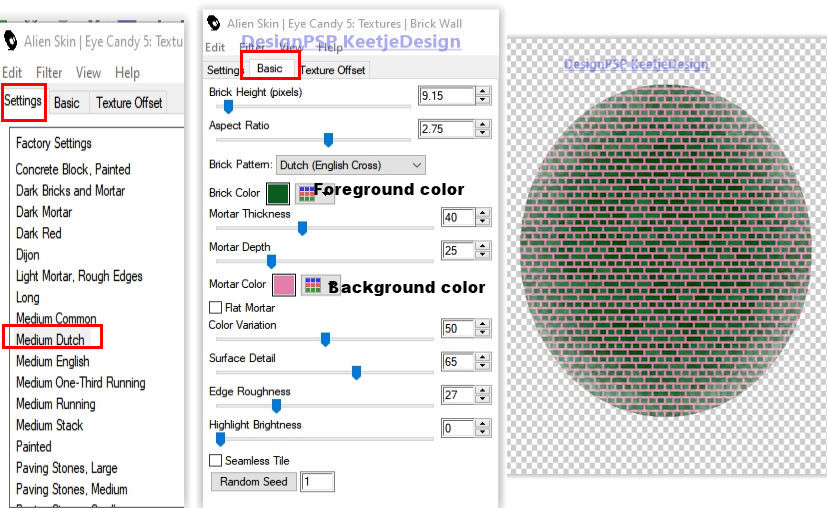
7
Layers – Load / Save Mask – Load Mask from Disk 20-20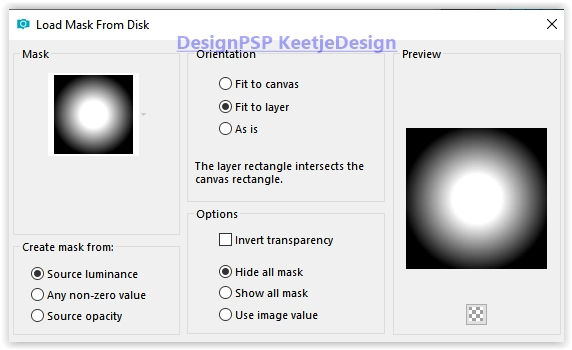
Layers – Merge – Merge group
Adjust – Sharpness – Sharpen
Effects – Image Effects – Seamless Tiling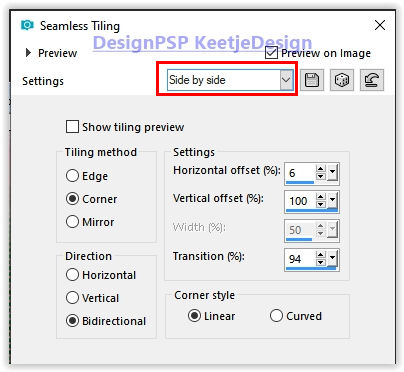
8
Open the tube TNSLCMina4062 – Copy – Paste as new layer
Layers – Load / Save Mask – Load Mask from Disk 20-20
Layers – Merge – Merge group
9
Image – Add Borders – Symmetric
35 pixels color # ffffff
Effects – Plugins AAA Frames – Foto Frame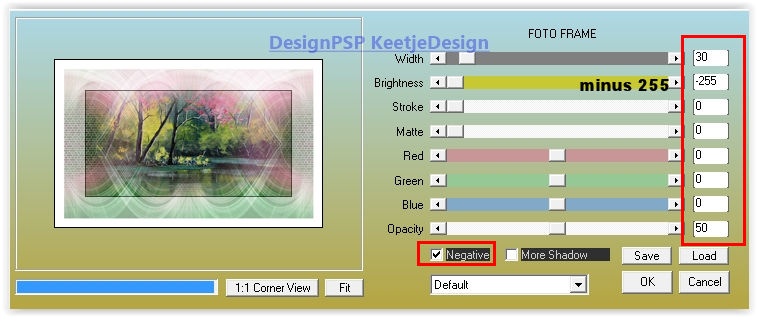
10
Image – Add Borders – Symmetric
1 pixel color # 000000
35 pixels color # ffffff
Effects – Plugins AAA Frames – Foto Frame / Same setting
11
Open the tube Texto – Copy – Paste as new layer
Place lower left – See example crea
Effects – 3D Effects – Drop Shadow / 1/1/100/1 / # ffffff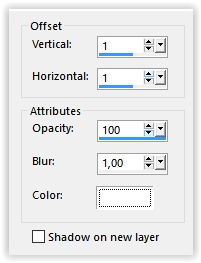
12
Open the tube Diana_D_tubed_by_thafs – Copy – Paste as new layer
Image – Resize – Resize with 80% – Uncheck all layers
Place the tube to the bottom right on the first edge
13
Open the tube Deco-2 – Copy – Paste as new layer
Activate Selection tool (K) / Position X 100 / Position Y 24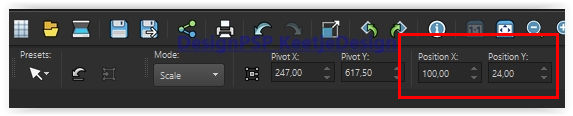
Type M to close the tool
14
Place your Name / Watermark
Image – Add Borders – Symmetric / 1 pixel color # 000000
Image – Resize to 1000 pixels in width
Save as Jpeg
We have finished the tutorial from Estela
This translation has been tested by Marianne. Marianne thank you
© Translation Alfazema DesignPSP KeetjeDesign