

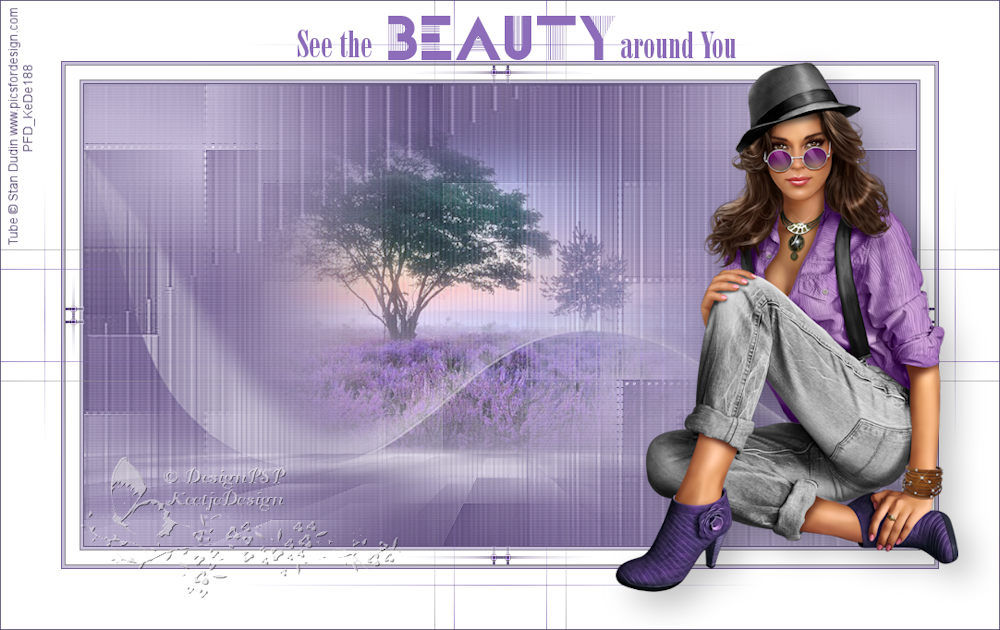
See the Beauty
![]()
This tutorial was created , written and translated by KeetjeDesign 13 -02-2021, the © is mine.
It is not allowed to copy, link and / or place these or parts thereof without my permission.
If you want to use this tutorial on your own forum, club or group , please ask me for permission.
The tutorial is written with PSP 2020 but can also be made with other versions.
If this tutorial resembles another tutorial, it is purely coincidental
The © of the materials used is for the rightful owner and the tube maker.
I thank Animabelle and SG for the masks
Materials used:
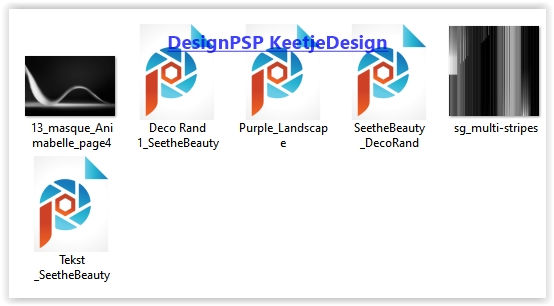
Open the materials in PSP / Duplicate with Shift+D / Close the originals
Minimize the masks
You only need your own main tube
The tube i used is from Stan Dudin PFD

Plugins used:
Toadies – Weaver
Simple – Quick Tile
Medhi – Sorting Tiles
Mura’s Meister – Perspective Tiling
colors
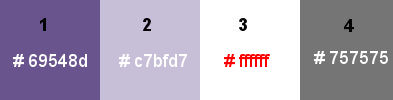
The tutorial is written with these colors and materials.
If you use your own colors and / or materials, you may have to play with the settings of Blend Mode and/or Opacity.
1
Material palette – Foreground color 1 / Background color 2
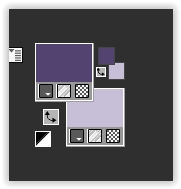
Create a Sunburst gradient on the Foreground

Open a new transparent image of 900 x 500 pixels
Fill with the gradient
2
Effects – Image Effects – Seamless Tiling
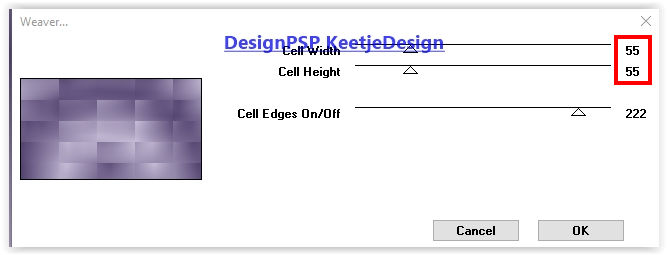
Effects – Plugins Toadies – Weaver
3
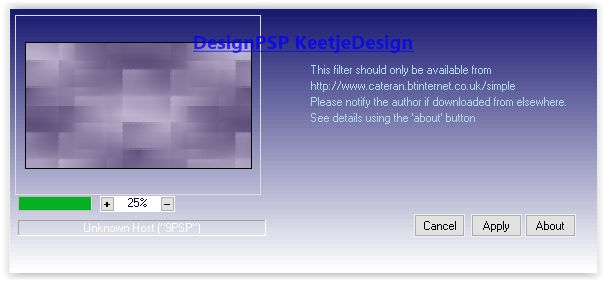
Effects – Filter Simple – Quick Tile
Effects – Edge Effects – Enhance
Adjust – Sharpness – Sharpen
4
Layers – Duplicate
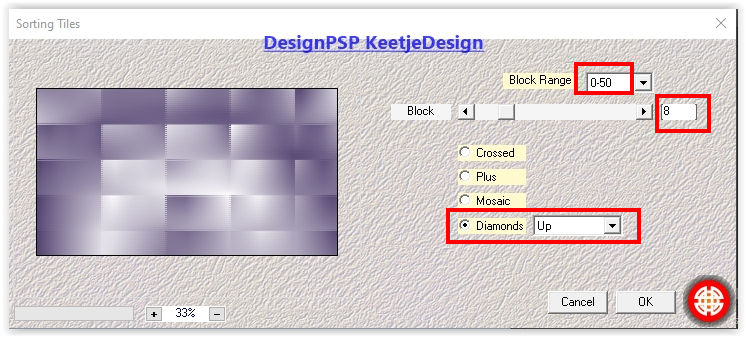
Effects – Filter Medhi – Sorting Tiles
5
Layers – New Mask Layer – From Image: sg_multi-stripes

Effects – Edge Effects – Enhance more
Layers – Merge – Merge group
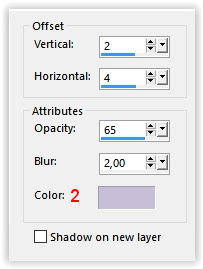
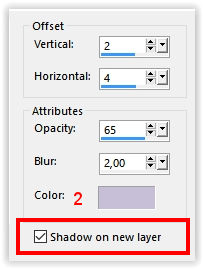
Effects – 3D Effects – Drop shadow: 2/4/65/2 / color 2
6
Effects – 3D Effects – Drop shadow: 2/4/65/2 / color 2 Check shadow on new layer
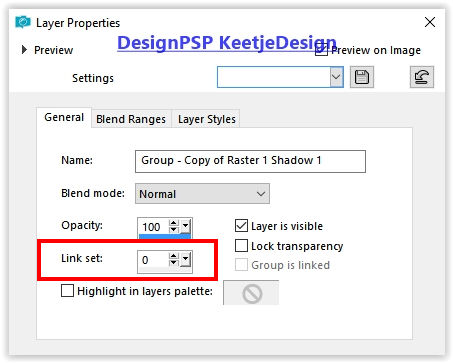
Layer palette – Properties – Set at Link set 0 (then the layers are separated again)
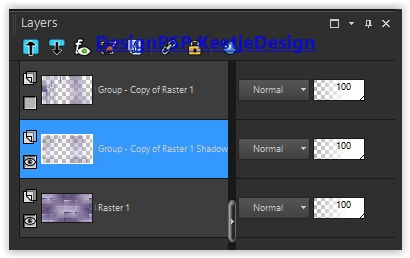
We stay on the shadow layer (Second layer from the top)
7
Effects – Texture Effects – Blinds / color 1
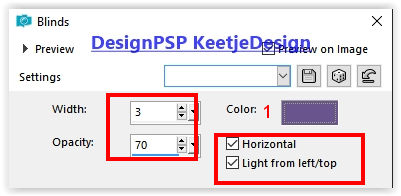
Layers – Properties – Blend Mode Overlay / Opacity 60 (use a blend mode to your own colors)
8
Layer palette – Activate the bottom layer
Layers – Duplicate
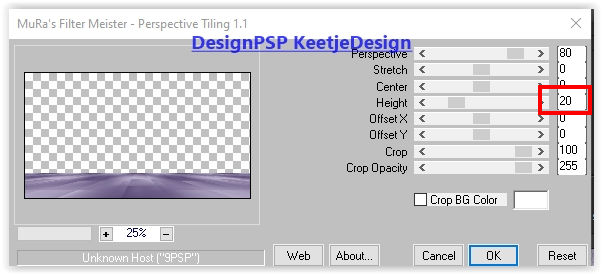
Effects – Plugins Mura’s Meister – Perspective Tiling
9
Layer palette – Activate the bottom layer
Open the tube Purple_Landscape – Copy – Paste as new layer
Activate Selection tool (K) / Position X 123 / Position Y 10
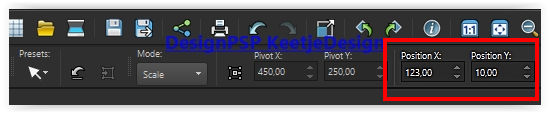
Type M to close the tool
10
Layers – New raster layer
Fill with color 3
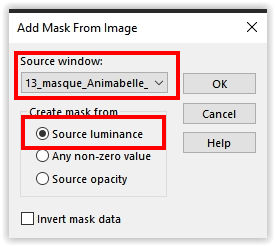
Layers – New Mask Layer – From Image: 13_masque_Animabelle_page4
Layers – Merge – Merge group
Effects – Edge Effects – Enhance
Layers – Properties – Opacity 63
Layers – Arrange – 1 x Up
11
The layers palette now looks like this

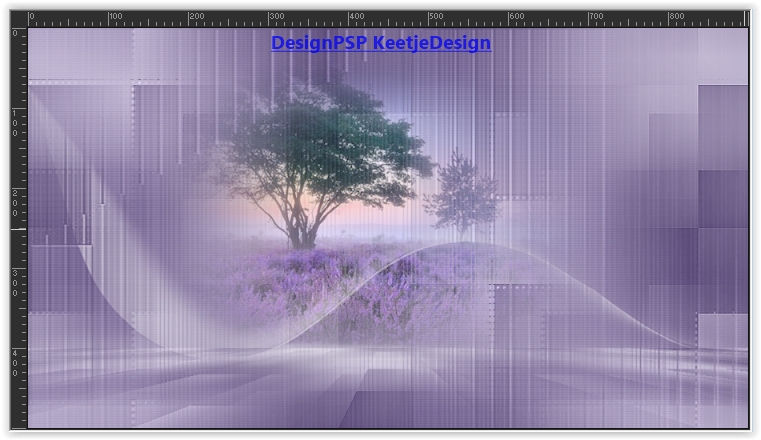
The work now looks like this
12
Image – Add Borders – Symmetric
1 pixel color 1
3 pixels color 2
1 pixel color 4
15 pixels color 3
13
Open the tube Deco Rand 1_SeetheBeauty – Copy – Paste as new layer
Effects – Edge Effects – Enhance more
14
Image – Add Borders – Symmetric
1 pixel color 4
3 pixels color 2
1 pixel color 1
65 pixels color 3
15
Open the tube SeetheBeauty _DecoRand – Copy – Paste as new layer
Adjust – Sharpness – Sharpen
16
Open the tube Tekst _SeetheBeauty – Copy – Paste as new layer
Place as on the example crea
I colored the text with color 1
Adjust – Sharpness – Sharpen
17
Open the Main tube – Copy – paste as new layer
If necessary, adjust the format / don’t forget to adjust – Sharpness – Sharpen
Place on the right
Effects – 3D Effects – Drop shadow of your choice
18
Sign your work
Image – Add Borders – Symmetric
1 pixel color 1
Image – Resize – Resize to 1000 pixels width
Save as Jpeg
The tutorial has been tested by Marianne
Marianne thank you
© DesignPSP KeetjeDesign 08-04-2021