

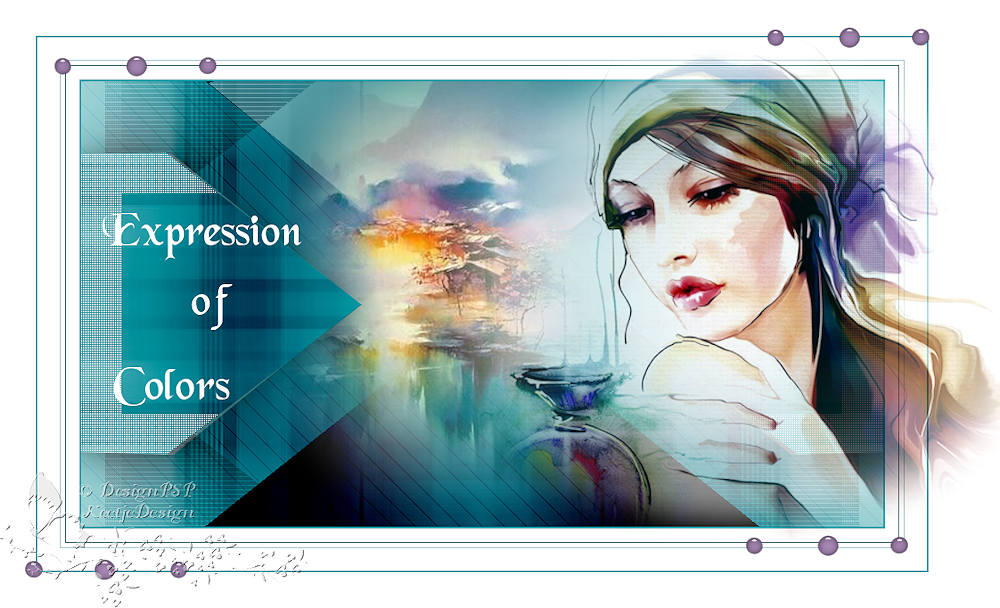
Expression of Colors

This tutorial was created , written and translated by KeetjeDesign 09-07-2021, the © is mine.
It is not allowed to copy, link and / or place these or parts thereof without my permission.
If you want to use this tutorial on your own forum, club or group , please ask me for permission.
The tutorial is written with PSP 2020 but can also be made with other versions.
If this tutorial resembles another tutorial, it is purely coincidental
The © of the materials used is for the rightful owner and the tube maker.
I thank the tube makers Sonia and Leny for the tubes / the Decoration is made by myself
Materials used:
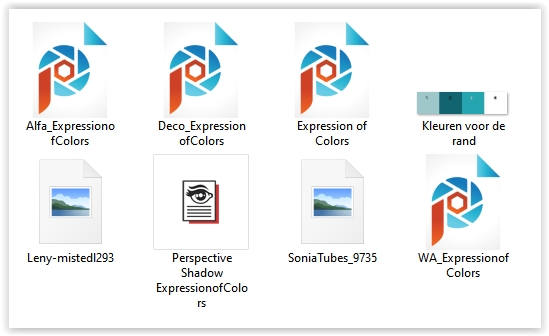
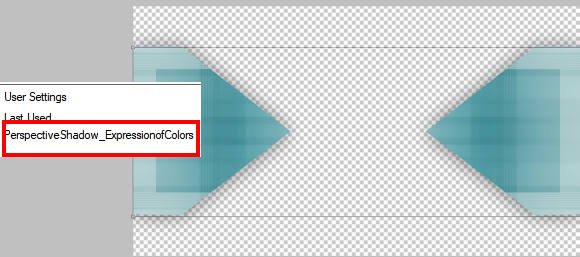
Double click on the preset Perspective Shadow ExpressionofColors , it will install itself in the filter

Plugins used:
Alien Skin Eye Candy 5 – Impact – Perspective Shadow
Alien Skin Eye Candy 5 – Impact – Glass
[AFS IMPORT] – sqborder2
VanDerLee – Unplugged X – Vertical Tile
AP [Lines] – Lines – SilverLining /Horizontal
The tutorial is written with these colors and materials.
If you use your own colors and / or materials, you may have to play with the settings of Blend Mode and/or Opacity.
Colors

1
Open Alfa_ExpressionofColors / Window – Duplicate (or use Shift+D)/ Close the original/
We are working on the copy / This is our working layer and it has selections in the alpha channel
Optional_ Adjust – Hue and Saturation – Colorize to your own color
2
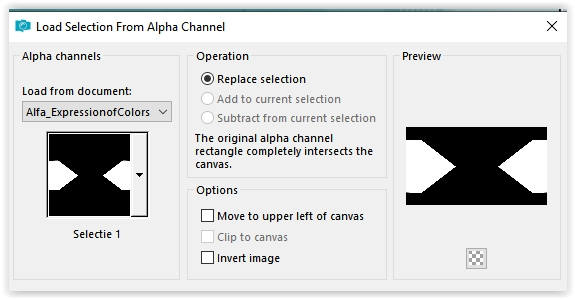
Selections – Load/Save – Load selection from alpha channel: Selection 1
Selections – Promote selection to layer
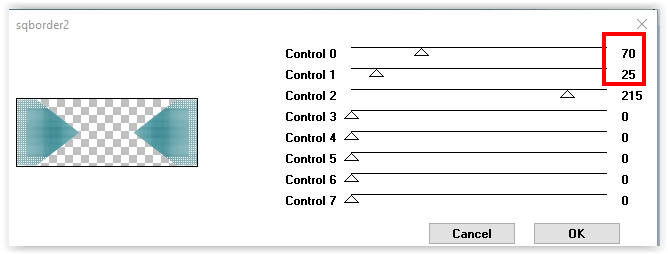
Effects – Plugin [AFS IMPORT] – sqborder2
Selections – Select none
3
Layers – Duplicate
Layers – Properties – Blend Mode Burn
Layer palette – Activate the layer below
Effects – Plugin Alien Skin Eye Candy 5 – Impact – Perspective Shadow: Preset: Perspective Shadow ExpressionofColors
4
Selections – Load/Save – Load selection from alpha channel: Selection 2
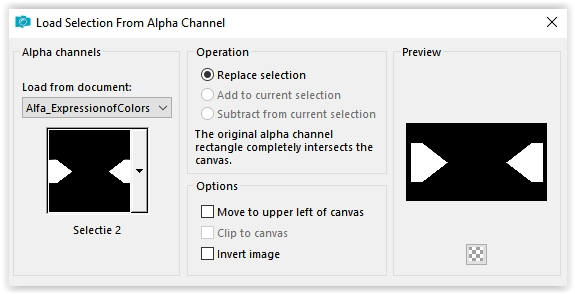
Selections – Promote selection to layer
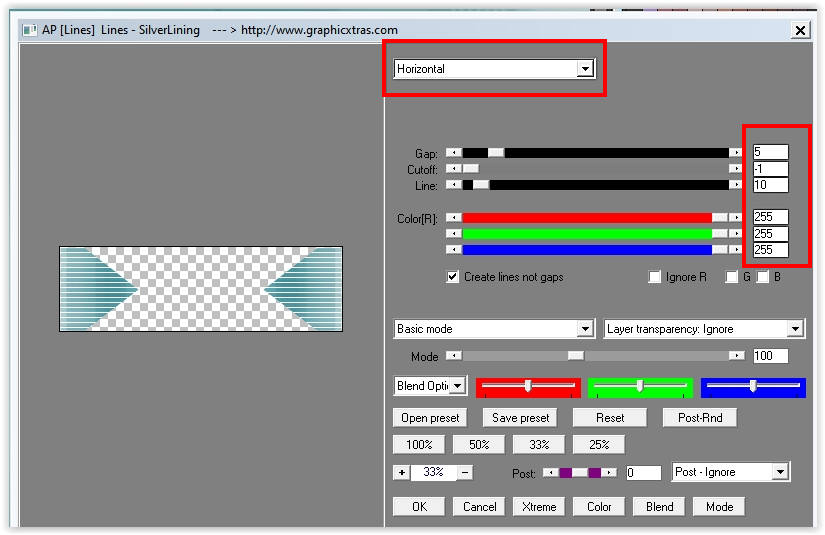
Effects – Plugin AP [Lines] – Lines – SilverLining /Horizontal
Selections – Select none
5
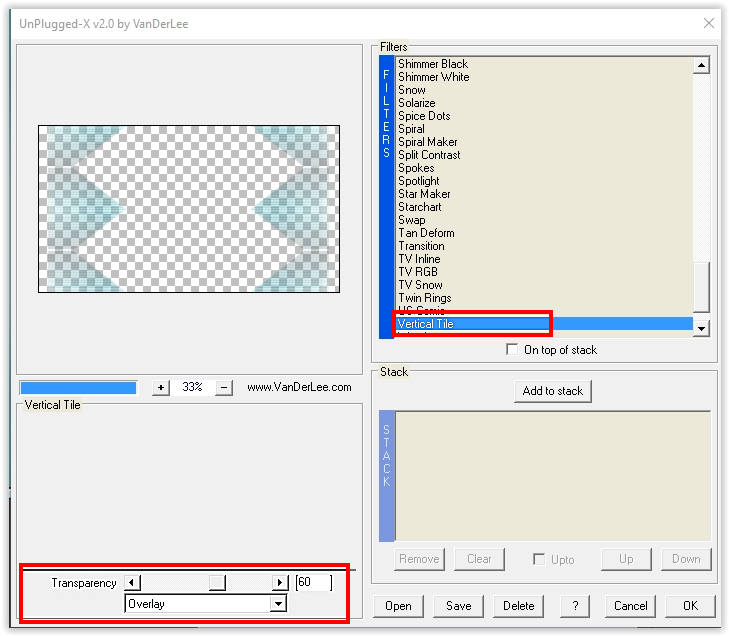
Effects – Filter VanDerLee – Unplugged X – Vertical Tile
Layers – Arrange – Move Down
Layers – Properties – Blend Mode Multiply
6
Layer palette – Activate the bottom layer
Open Expression of Colors – Copy – Paste as new layer
Note: Adjust – Hue Saturation – Colorize to your own color
Layers – Properties – Blend Mode Burn
7
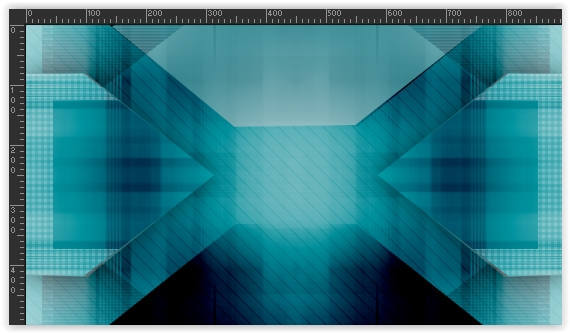
The layers palette now looks like this
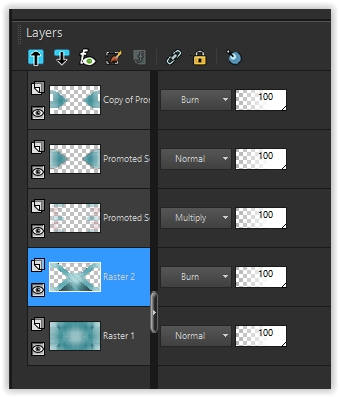
We now have this
8
Layer palette – Activate the third layer from the top
Open the tube Leny-mistedl293 – Copy – Paste as new layer
Image – Resize – Resize with 85% – Uncheck all layers
Activate The Pick Tool (K) – Position X 193 / Position Y minus 71

Type M to close the tool
9
Image – Add Borders – Symmetric
2 pixels color 3
15 pixels color 4
1 pixel color 2
5 pixels color 4
1 pixel color 1
25 pixels color 4
2 pixels color 3
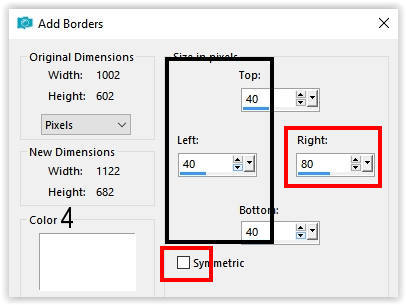
Image – Add Borders – Symmetric not checked
10
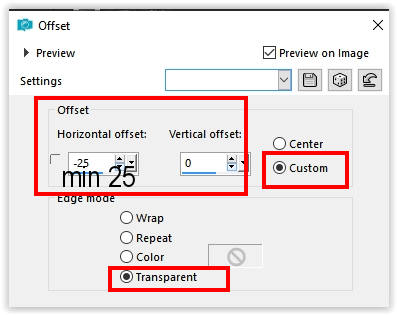
Open the tube Deco_ExpressionofColors – Copy – Paste as new layer
Effects – Image Effects – Offset/minus 25/0
Adjust – Hue and Saturation – Colorize to your own color
Note: Or use Color Changer tool
Put the color you want to use in your material palette on the foreground
and click with the left mouse button
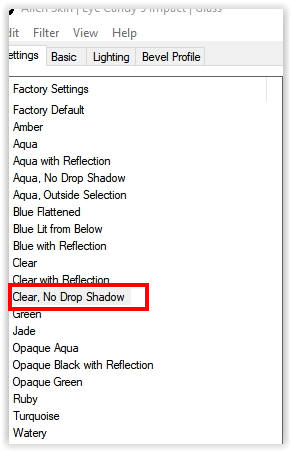
Effects – Filter Alien Skin Eye Candy5 – Impact – Glass – Settings: Clear no Drop Shadow
11
Open the tube SoniaTubes_9735 – Copy – Paste as new layer
Image – Resize – Resize by 120% – Uncheck all layers
Place to the right
12
Open the tube WA_ExpressionofColors – Copy – Paste as new layer
Move to the left /As on my example at the top
Sign your work
Layers – Merge – Merge all layers
Image – Resize – Resize the width to 1000 pixels
Adjust – Sharpness – Sharpen
Save as Jpeg
The tutorial has been tested by Marianne
Marianne thank you verry much
© DesignPSP KeetjeDesign 09-07-2021