

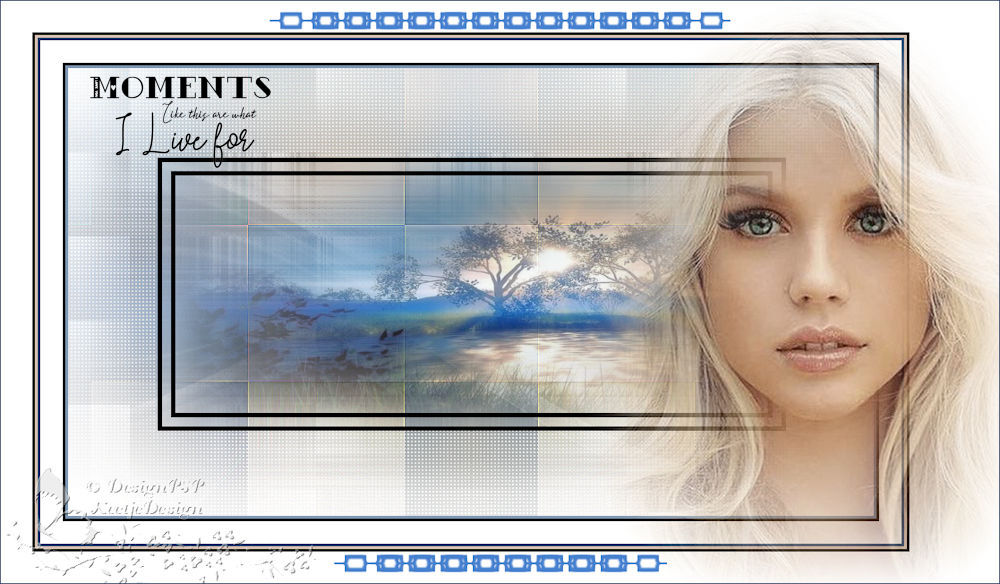
Moments like this
![]()
This tutorial was created , written and translated by KeetjeDesign 31-03-2021, the © is mine.
It is not allowed to copy, link and / or place any parts thereof without my permission.
The tutorial is written with PSP 2020 but can also be made with other versions.
If it resembles any other lesson, it is purely coincidental.
If you want to use this tutorial on your own site, group or club, mail me at admin@designpsp.nl
The © of the materials used is for the rightful owner and the tube maker.
I would like to thank the tube makers Leny and Guismo for the tube ,
Ria for the Text and Narah for the maske.
Materials used:
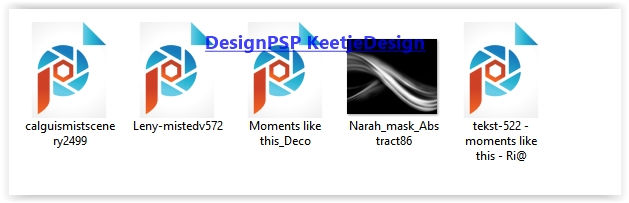
Open the material in PSP / Duplicate with Shift + D / Minimize mask / Close the originals

Plugins used:
Medhi-Sorting Tiles
AFS [IMPORT] – sqborder2
Toadies – Weaver
AAA Frames – Transparent frame
The tutorial is written with these colors and materials.
If you use your own colors and / or materials you may have to play with Blend Mode and / or Opacity.
1
Open a new transparent image of 900 x 500 pixels
Fill with the color # ffffff
2
Layers – New raster layer
Selections – Select all
Open the tube calguismistscenery2499 – Copy – Paste into selection
Selections – Select none
3
Adjust – Blur – Gaussian Blur / Range 50
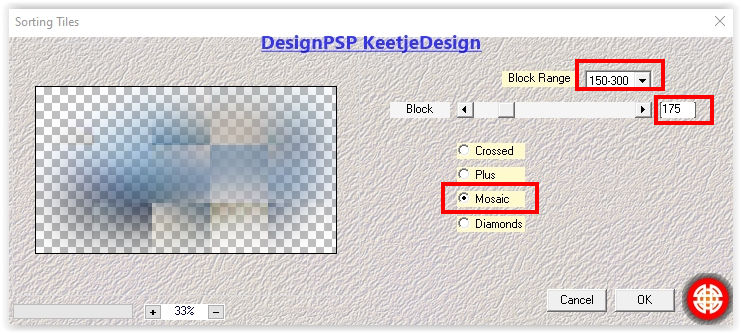
Effects – Plugin Medhi-Sorting Tiles
Effects – Edge Effects – Enhance more
4
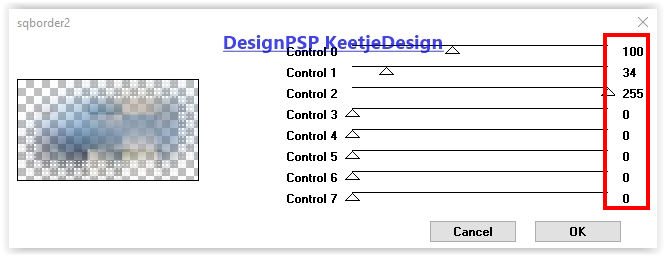
Effects – Plugin AFS [IMPORT] – sqborder2
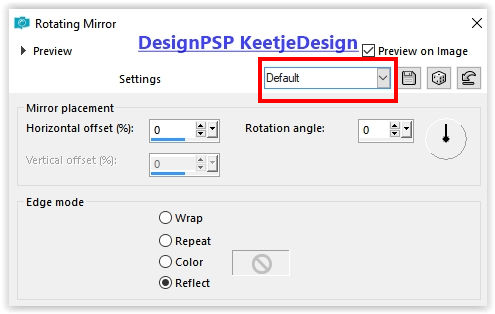
Effects – Reflection Effects – Rotating Mirror / Default
5
Layers – New raster layer
Selections – Select all
Tube calguismistscenery2499 Paste into selection (Still in memory)
Selections – Select none
6
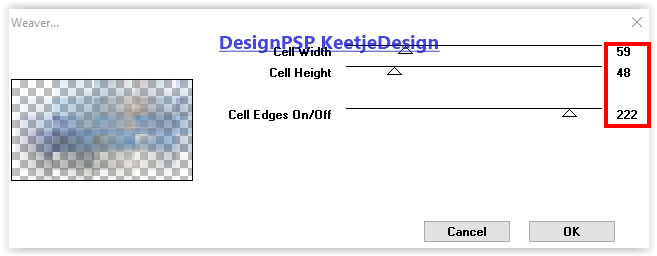
Effects – Plugins Toadies – Weaver / Default
Layers – Properties – Blend Mode Luminance / Opacity 40
Effects – Reflection Effects – Rotating Mirror / Default
7
Layers – New raster layer
Fill with # ffffff
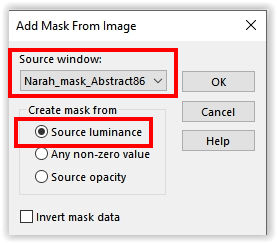
Layers – New Mask Layer – From Image: Narah_mask_Abstract86
Effects – Edge Effects – Enhance
Layers – Merge – Merge group
8
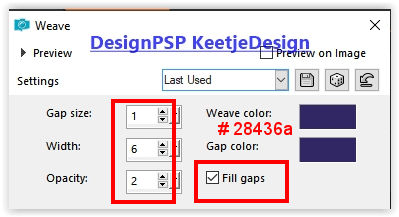
Effects – Texture Effects – Weave / Both Colors # 28436a
Layers – Properties – Blend Mode Soft Light / Opacity 75
9
Layers – New raster layer
Activate Selection tool Rectangle (S) – Custom selection

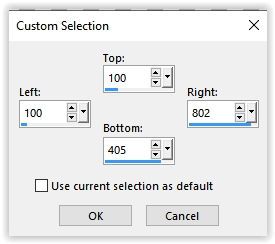
Open the tube calguismistscenery2499 – Copy – Paste into selection
Selection – Hold
10
Layers – New raster layer
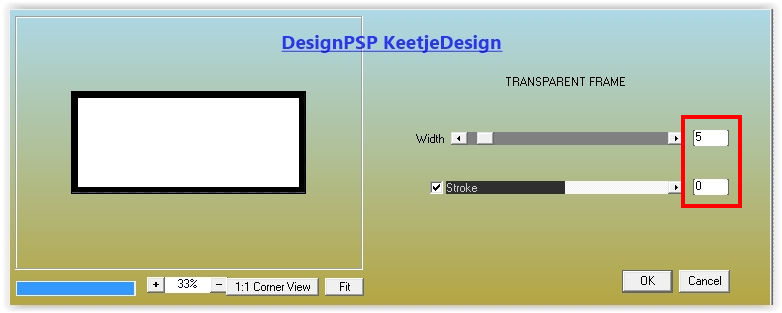
Fill with # ffffff
Effects – Filter AAA Frames – Transparent frame
Selections – Modify – Contract 5 pixels
Press Delete on the keyboard
Selections – Modify – Contract 10 pixels
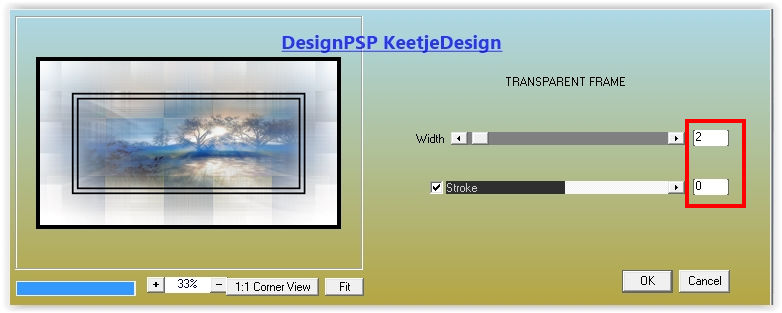
Fill with # ffffff
Effects – Plugin AAA Frames – Transparent frame / Same setting
Selections – Modify – Contract 5 pixels
Press Delete on the keyboard
Selections – Select none
11
Layers – Merge – Merge visible layers
Image – Add Borders Symmetric
3 pixels color # 7e98b4
3 pixels color # ffffff
Selections – Select all
Image – Add Borders Symmetric
25 pixels color # ffffff
Effects – Plugin AAA Frames – Transparent frame
Selections – Select none
12
Image – Add Borders – Symmetric
3 pixels color # 28436a
3 pixels color # d8c3b4
3 pixels color # 28436a
Selections – Select all
Image – Add edges – Symmetric uncheck
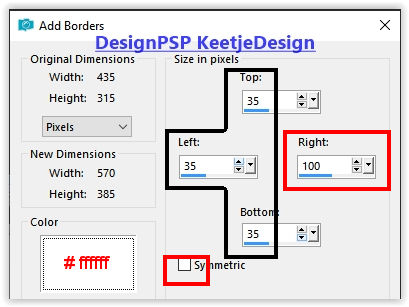
Effects – Plugin AAA Frames – Transparent frame / Same setting from point 11
Selections – Select none
13
Open the tube Leny-mistedv572 – Copy – Paste as new layer
Place on the right
14
Open the tube Moments like this_Deco – Copy – Paste as new layer
15
Sign your work
Image – Add Borders – Symmetric
1 pixel color # 28436a
Image – Resize – Change to 1000 pixels width
16
Open the tube tekst-522 – moments like this – Ri@ – Copy – Paste as new layer
Image – Resize – Change with 50% – Uncheck all layers
Image – Negative
Place of your choice
Adjust – Sharpness – Sharpen
Layers – Merge – Merge all
Save as Jpeg
The tutorial has been tested by Marianne
Marianne thank you
© DesignPSP KeetjeDesign 31-03-2021