Life is Art

This lesson was created and written by KeetjeDesign 14-01-2018, the © is mine.
You’re not allowed to copy, link and / or place it elsewhere without my permission.
If you want to use this tutorial on your own forum, club or group, please ask me in writing for permission
The tutorial is written with PSP X6 but can also be made with other versions.
The translation is written with PSP 2018.
If this lesson looks like a different lesson, it is purely coincidental.
The © of the materials used is for the rightful owner and the tube maker.
I thank Yoka for the beautiful tube
Used Materials:
1 color code – Used Colors
1 Alpha File – LiveisArt
1 Tube – WordArt_LifeisArt_KeDe
1 Tube – Yoka-ColorfulLady-11118
Download Materials Here
Used Plugins:
Unlimited 2.0 – Simple – 4WayAverage
Unlimited – Simple – HorizontalGrain
AP 02 (Distorts / Blurs) – Distorts – Bars
AP 01 (Inovations) – Lines – SilverLining
Medhi – Wavy Lab 1.0
Medhi – Sorting Tiles
Flaming Pear – Flexify2
Nik Software – Color Efex Pro 3.0 – Color Stylizer
Alien Skin – Eye Candy 5 Impact – Perspective Shadow
Colors

The tutorial is written with these colors and materials.
If you use your own colors and / or materials you have to play with the settings of Plugins / Effects / Blend mode / Layer opacity.
1
Open the color code then you can take over the colors with the Dropper Tool.
Open the Alpha File LiveisArt – Window – Duplicate Or use Shift+D (Shortcuts)
Close the original file , we continue working on the duplicate.
Effects – Plugin Medhi – Wavy Lab 1.0 / Linear
Set colors from left to right
First color – color 1 / second color – color 2 /third color – color 3 /fourth color – color 4

2
Effects – Plugin Medhi – Sorting Tiles / Crossed

Effects – Edge effects – Enhance more
3
Selections – Load / Save – Load selection from alpha channel: Selectie1
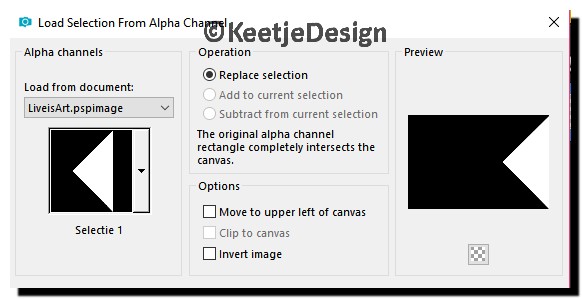
Selections – Promote selection to layer
4
Layers – Duplicate
Layer palette – Click the original layer below
Selections – Keep selected
5
Filter AP 01 (Inovations) – Lines – SilverLining / Backslash
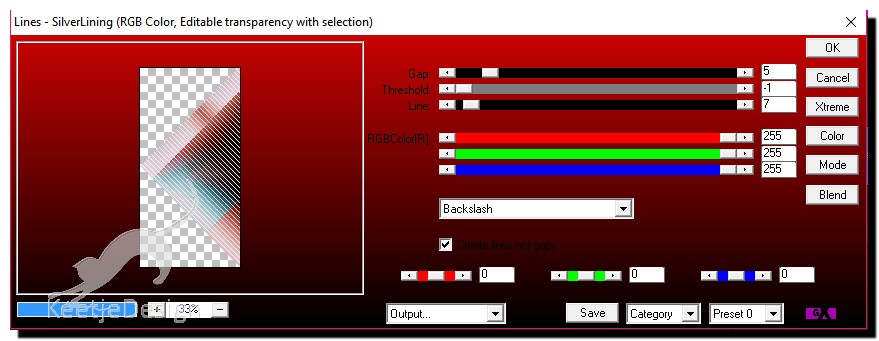
Effects – Edge effects – Enhance
Layers – Duplicate
Image – Mirror – Mirror horizontal
Selections – Select None
6
Layer palette – Click the top layer
Selections – Select All
Selections – Float
Selections – Defloat
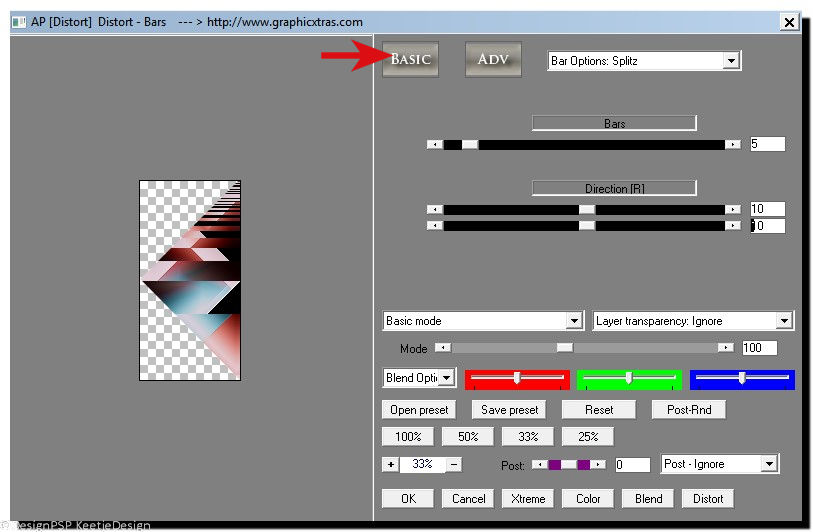
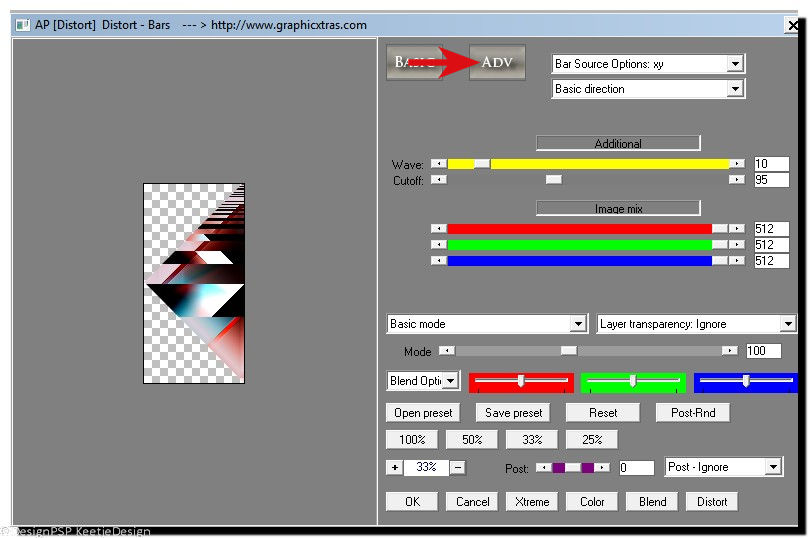
Effects – Plugin AP 02 (Distorts / Blurs) – Distorts – Bars
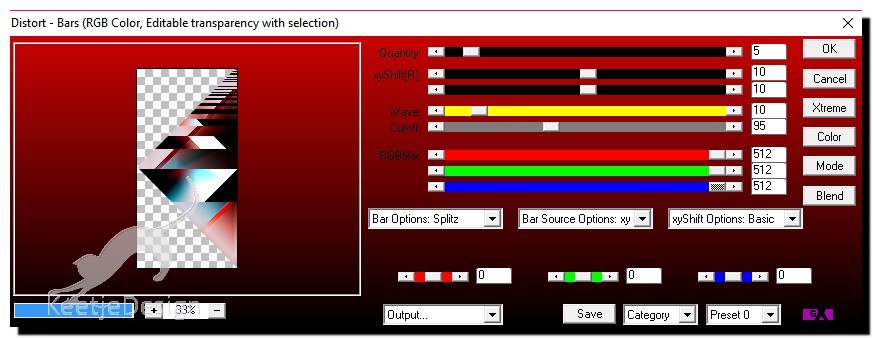
Use this setting if you have this version of the plugin
Click first Basic fill in the setting / Click second ADV fill in the setting
7
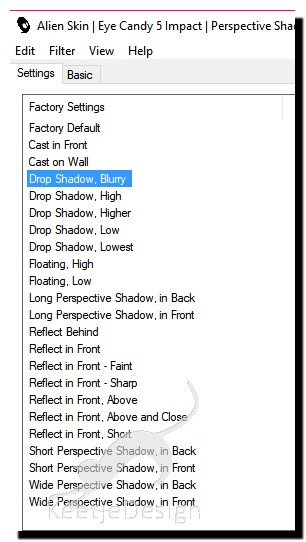
Effects – Plugin Alien Skin – Eye Candy 5 Impact – Perspective Shadow
Drop Shadow, Blurry
Selections – Select none
8
Image – Resize – Resize with 85% – all layers not checked
Objects – Align – Right
Layer palette – Blend mode Multiply
Layers – Duplicate
Image – Mirror – Mirror Horizontal
9
Layer palette – Activate the second layer from the bottom
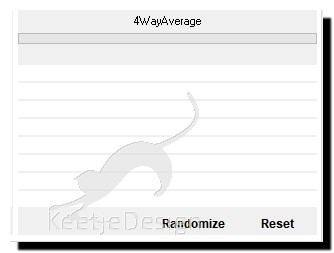
Effects – Plugin Unlimited 2.0 – Simple – 4WayAverage
10
Layers – Duplicate
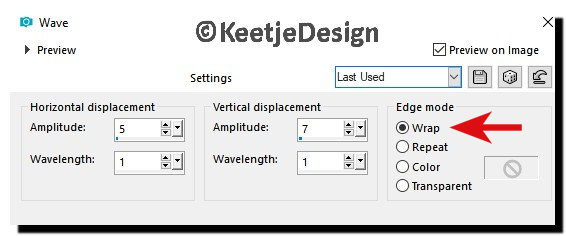
Effects – Distortion effects – Wave
11
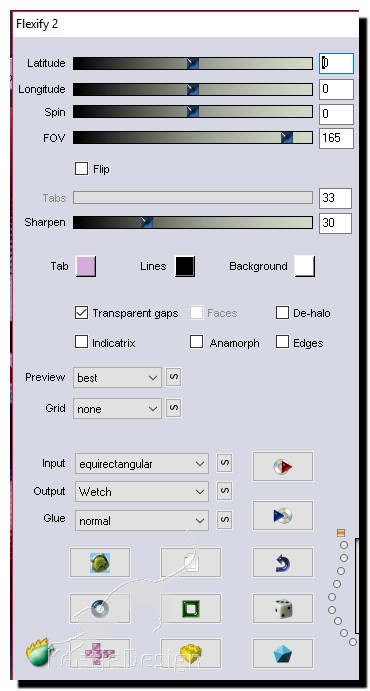
Effects – plugin Flaming Pear – Flexify2
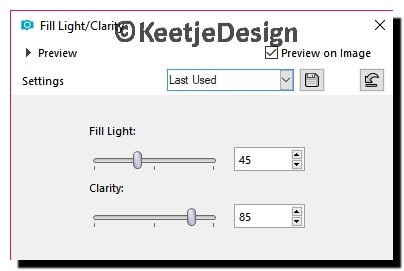
Adjust – Brightness and Contrast / Filling light / Clarity
12
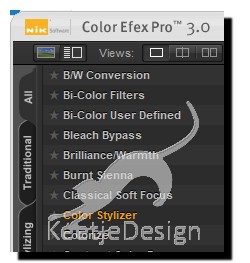
Effects – Plugin Nik Software – Color Efex Pro 3.0 – Color Stylizer
Color # ba1f20

Layers – Arrange – Move Down
13
Layer palette – Click the top layer
Open Yoka-ColorfulLady-11118 – Copy – Paste as a new layer
Image – Resize – Resize 110% – All layers not checked
Position – See example at the top
Layers – Duplicate
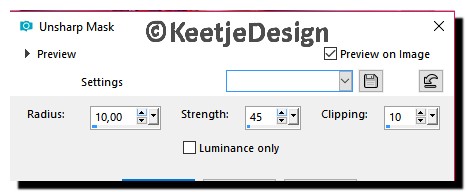
Adjust – Sharpness – Unsharp mask
Layer palette – Click the original Layer below
Adjust – Blur – Gaussian blur – Range 25
Layer palette – Blend mode Multiply
14
Open WordArt_LifeisArt_KeDe – Copy – Paste as a new layer
Place of your own choice
Your Layer palette looks like this
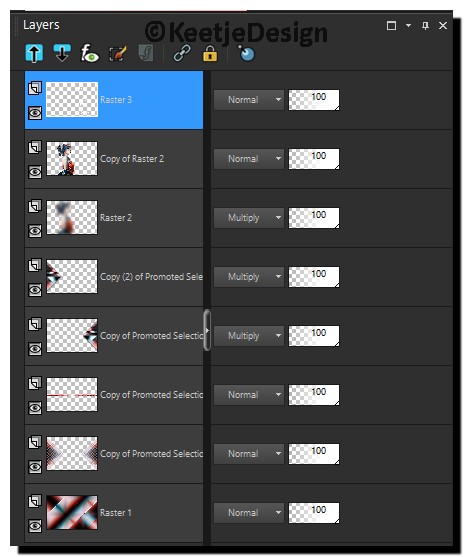
15
Image – Add borders – Symmetric
1 pixel color 1
5 pixels color Edge
1 pixel color 2
5 pixels color Edge
1 pixel color 3
5 pixels color Edge
1 pixel color 4
16
Selections – Select all
Image – Add borders – Symmetric
50 pixels color Edge
Selections – Invert
Effects – Plugin Medhi – Wavy Lab 1.0 / Linear
Set colors from left to right
First color – color 1 / second color – color 2 /third color – color 3 /fourth color – color 4
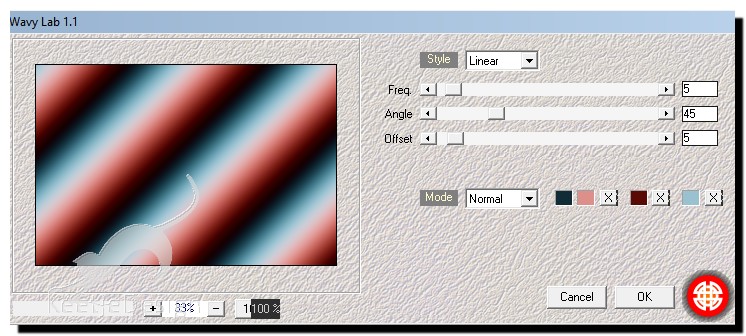
17
Selections – Promote selection to layer
Selections – Keep Selected
Effects – Plugin Unlimited – Simple – HorizontalGrain
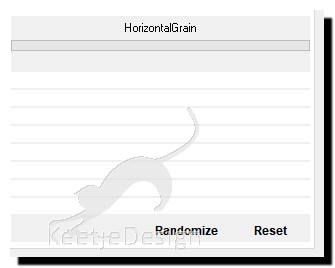
Effects – Edge effects – Enhance more
Layer palette – Blend mode Multiply
Selections – Invert
Effects – 3D Effects – Drop shadow / Color # 000000/0/0/45/50
Selections – Select none
Place your Name / Watermark
Layers – Merge – Merge all (Flatten)
Image – Resize – Change to 1000 pixels width – Resize all layers checked
Save as Jpeg
Ready
The Translation has been tested by Marianne
Thank you Marianne
© Translation Life is Art DesignPSP KeetjeDesign 11-07-2018

