

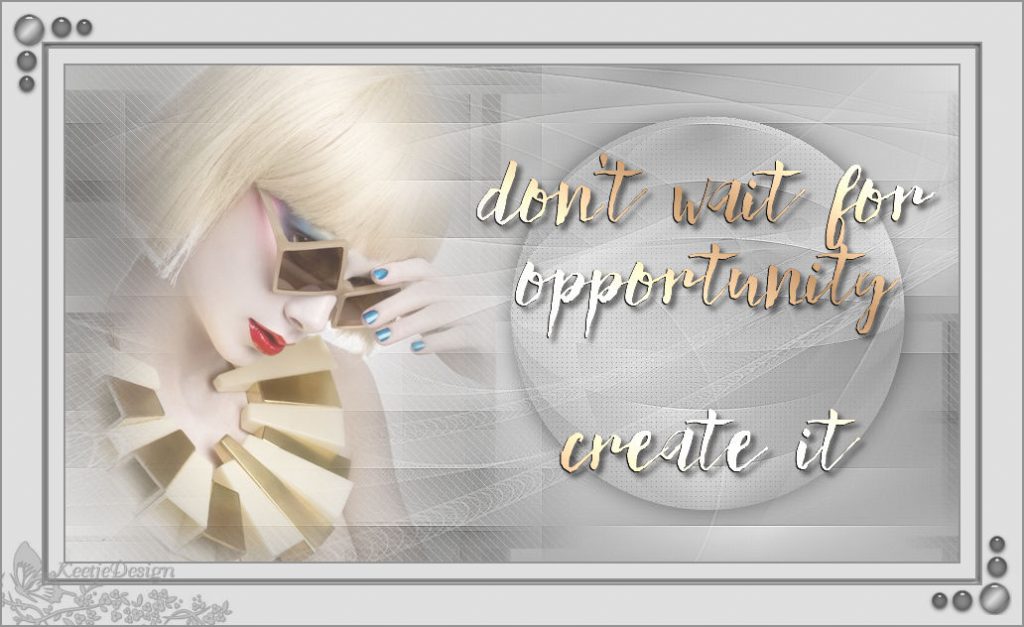
Don’t Wait
![]()
This tutorial was created and written by KeetjeDesign 05-08-2018, the © ️ is mine.
You’re not allowed to copy these or parts of them and / or place them elsewhere without my permission.
If you want to use this tutorial on your own forum, club or group , please ask me for permission.
The tutorial was written with PSP X9 but can also be made with other versions.
If this tutorial resembles another tutorial, it is purely coincidental
The © ️ of the materials used is for the rightful owner and the tube maker.
I thank the tubester Yoka for the beautiful tube and WordArt and Narah for the masks.
Materials Used:
1 Mask – Narah_Mask_1178
1 Mask – Narah_Mask_1171
1 Tube – Deco_Don’tWait
1 WordArt – Yoka-TEXT-DontWaitFor-4818
1 Tube – Yoka-MISTED-LadyWithSunglasses-4818
Plugins Used:
AP – Lines – SilverLining – Backslash
Toadies – Weaver
Open the material in PSP duplicate with Shift + D close the originals.
Colors
Foreground color # e0e0e0
Background color # 939393
The tutorial is written with these colors and materials.
If you use your own colors and / or materials you have to play with the settings of Plugins / Effects / Blend mode / Layer opacity.
1
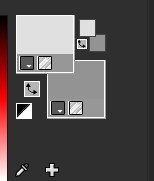
Materials palette – Foreground color# e0e0e0 / Background color # 939393
Gradient Linear on the Foreground
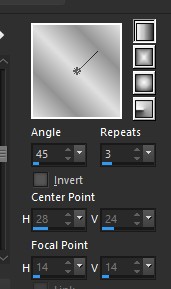
Open a new transparent image 900 X 500 pixels
Fill with the gradient
2
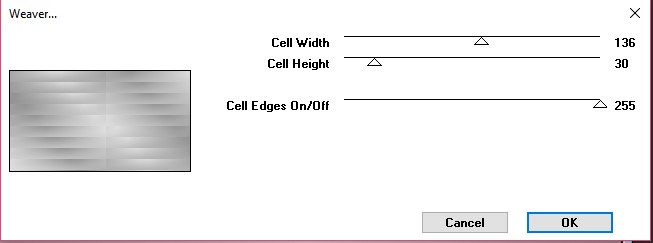
Effects – Plugin Toadies – Weaver / 136 / 30 / 255
Effects – Edge effects – Enhance
Layers – Duplicate
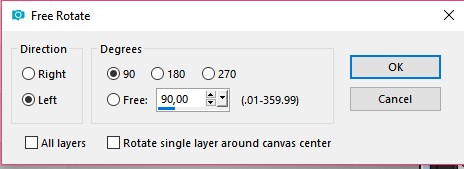
Image – Free rotation – Left 90 °
Layer palette – Blend mode Burn ( or a blendmode that suits your colors)
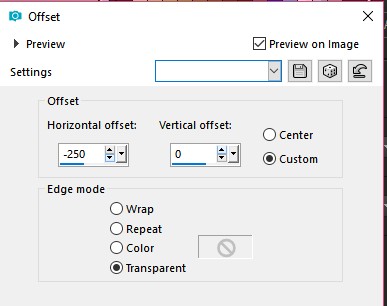
Effects – Image effects – Offset / minus 250/0 / Transparent
3
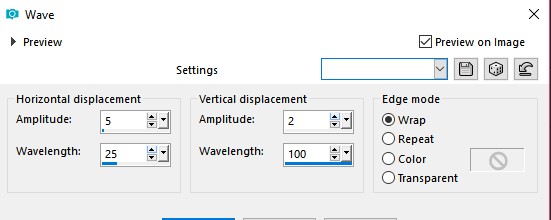
Effects – Distortion effects – Wave
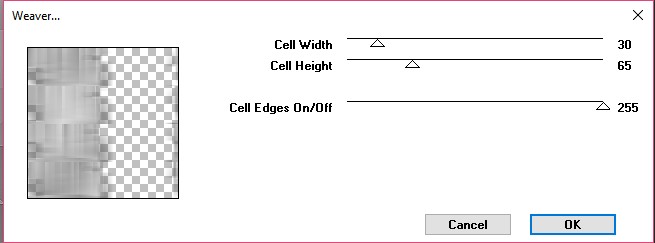
Effects – Filter Toadies – Weaver / 30 / 65 / 255
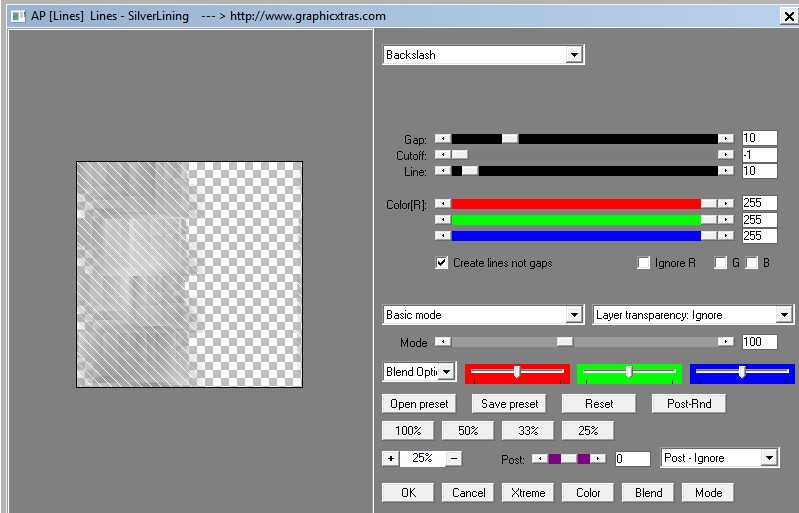
Effects – AP [Lines] – Lines – SilverLining – Backslash
4
Layers – New raster layer
Fill with the color # e0e0e0
Layers – New mask layer – From image – Narah_Mask_1178
Layers – Merge – Merge group
Effects – Edge effects – Enhance
Layer palette – Blend mode – Soft light
5
Layers – New raster layer
Fill with the color # e0e0e0
Layers – New mask layer – From image – Narah_Mask_1171
Layers – Merge – Merge group
Effects – Edge effects – Enhance
Layer palette – Blend mode Soft light
6
Layer palette – Activate the bottom layer
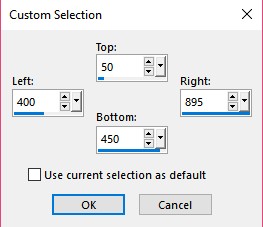
Activate Rectangle selection tool (S) – Custom selection
Effects – Geometric effects – Circle
Keep Selected
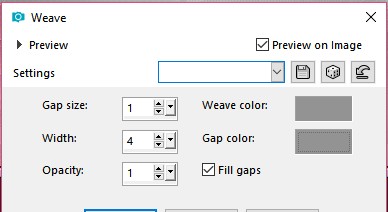
Effects – Texture effects – Weave pattern / Both colors #939393
Keep Selected
Effects – 3D Effects – Drop shadow / Color # 000000/0/0/50/35
Selections – Select none
7
Layer palette – Click the top layer
Open the tube Yoka-TEXT-DontWaitFor-4818 – Copy – Paste as a new layer
Effects – Image effects – Offset / 195/0 / Transparent

Note:You can colorize to your own colors
Effects – 3D Effects – Drop shadow / Color # 000000/5/5/50/7
8
Open the tube Yoka-MISTED-LadyWithSunglasses-4818 – Copy – Paste as a new layer
Place to the left side
9
Image – Add borders – Symmetric
2 pixels color # 939393
15 pixels color # e0e0e0
2 pixels color # 939393
3 pixels color # e0e0e0
2 pixels color # 939393
40 pixels color # e0e0e0
Activate Magic Wand tool
Select the border of 3 pixels color # e0e0e0
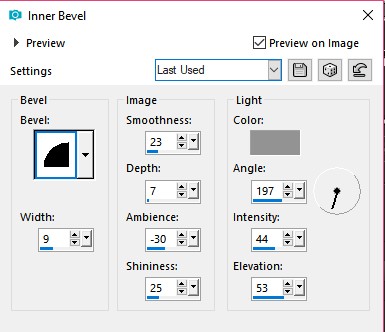
Effects – 3D Effects – Inner bevel / Color # 939393
Selections – Select none
10
Open the tube Deco_Don’tWait – Copy – Paste as new layer
Is right
Note:You can colorize to your own colors
Sign your work
Image – Add borders – Symmetric
2 pixels color # 939393
Save as Jpeg
Ready
The lesson has been tested by Marianne
Thank you Marianne
© ️ Don’t Wait DesignPSP KeetjeDesign 05-08-2018