

Divine


This tutorial was created and written by KeetjeDesign 01-09-2018, the © is mine.
You’re not allowed to copy, link and / or place it elsewhere without my permission.
If you want to use this tutorial on your own forum, club or group, please ask me in writing for permission
The tutorial is written with PSP X9 but can also be made with other versions.
The translation is written with PSP 2018.
If this lesson looks like a different lesson, it is purely coincidental.
The © of the used materials is for the rightful owner.
I thank Yoka for the beautiful tube and Narah for the masks
Yoka her group is closed
Narah shares her masks Here
Used Materials:
1 Selection – Sel_Divine_2018 Place in your PSP folder Selections
Material:
1 Image – ARTI_3190_CRM_D01
1 Mask – Narah_mask_0405
1 Mask – Narah_mask_0773
1 Mask – Narah_mask_0579
1 Mask – Narah_mask_0561
1 Tube – Tube_ARTI_3190_CRM_D01_2018
1 Tube – Yoka-TEXT-ThereAre-28818
Download Materials Here
Used Plugins:
Unlimited 2.0 – & <Bkg Designer sf10I> – 4 Way Average
Mehdi – Sorting Tiles
FM Tile Tools – Blend Emboss
Colors

The tutorial is written with these colors and materials.
If you use your own colors and / or materials you have to play with the settings of Filters / Effects / Blend mode / Layer opacity.
1
Materials palette – Foreground color (FG) # 7a93a0 / Background color (BG) # ffffff
Or take a FG color from your tube.
Open a new transparent image 1000 X 500 pixels
Selections – Select all
Open the image ARTI_3190_CRM_D01 – Copy – Paste into selection
Selections – Select none
Effects – Image effects – Seamless Tiling – Default only change the direction to horizontal
2
Adjust – Blur – Gaussian blur / Range 25
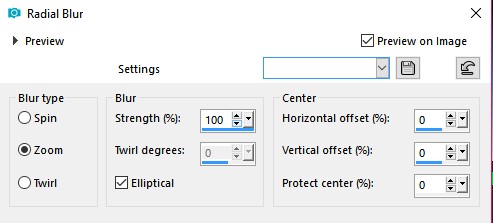
Adjust – Blur – Radial blur
Hue and Saturation – Colorize / Hue 141 / Saturation 48
Coloring to your own colors
3
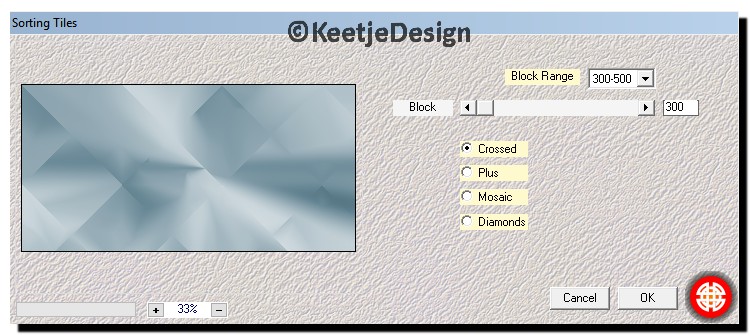
Effects – Filter Mehdi – Sorting Tiles / Crossed
Effects – Edge effects – Enhance
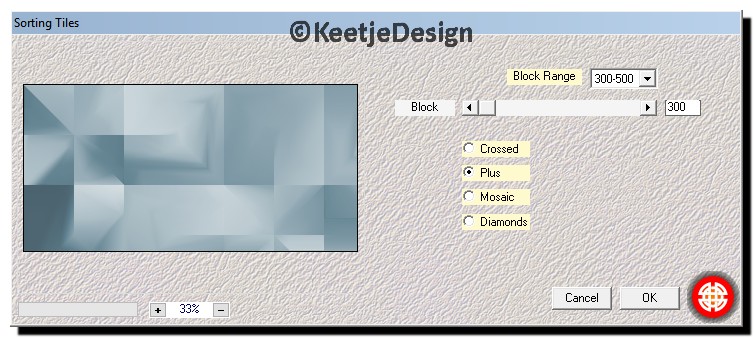
Effects – Filter Mehdi – Sorting Tiles / Plus
4
Layers – New raster layer
Flood fill Tool opacity 65
Fill the layer with the color # ffffff
Open the mask Narah_mask_0405 – Minimize
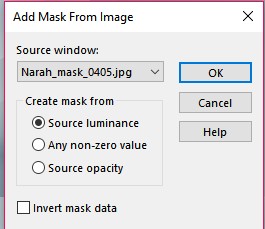
Layers – New mask layer – From image Narah_mask_0405
Layers – Duplicate (the Mask layer)
Layers – Merge – Merge group
Effects – Plugin Unlimited 2.0 – & <Bkg Designer sf10I> – 4 Way Average
Image – Mirror – Mirror vertical
Effects Edge Effects – Enhance
Layer palette – Blend mode Hard light
5
Layers – New raster layer
Flood fill Tool opacity 65
Fill the layer with the color # ffffff
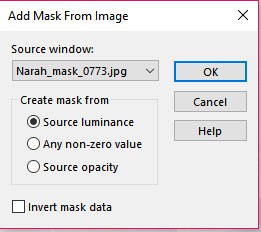
Open the mask Narah_mask_0773 – Minimize
Layers – New mask layer – From image Narah_mask_0773
Layers – Merge – Merge group
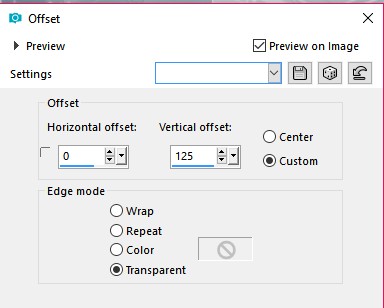
Effects – Image effects – Offset / 0/125 / Transparent
Layer palette – Blend mode Soft light
6
Layers – New raster layer
Flood fill Tool opacity 65
Fill the layer with the color # ffffff
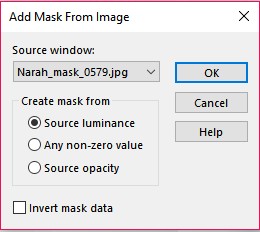
Open the mask Narah_mask_0579 – Minimize
Layers – New mask layer – From image Narah_mask_0579
Layers – Merge – Merge group
Effects – Edge effects – Enhance
Image – Mirror – Mirror vertical
7
Layers – New raster layer
Flood fill Tool opacity 65
Fill the layer with the foreground color
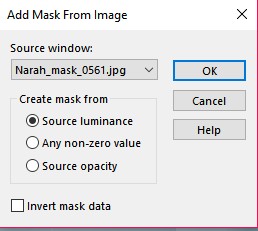
Open the mask Narah_mask_0561 – Minimize
Layers – New mask layer – From image Narah_mask_0561
Layer palette – Duplicate (The mask )
Layers – Merge – Merge group
Layers – Properties – Blend Mode Multiply / Opacity 65 or other according to your colors
Effects – Edge effects – Enhance
8
Open the tube Tube_ARTI_3190_CRM_D01_2018 – Copy – Paste as a new layer
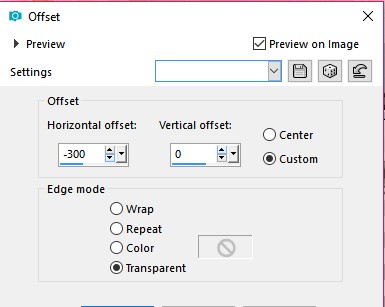
Effects – Image effects – Offset / minus 300/0 / Transparent
Layer palette – Blend mode Soft light
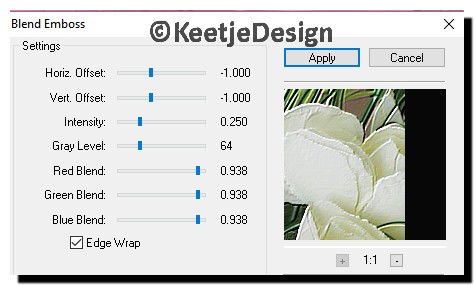
Effects – Filter FM Tile Tools – Blend Emboss
9
Open the tube Yoka-TEXT-ThereAre-28818 – Copy – Paste as a new layer
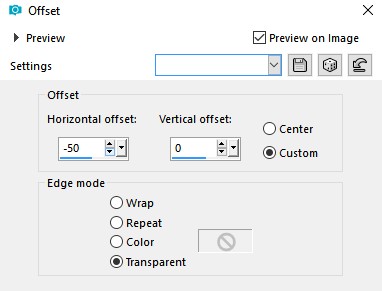
Effects – Image effects – Offset / minus 50/0 / Transparent
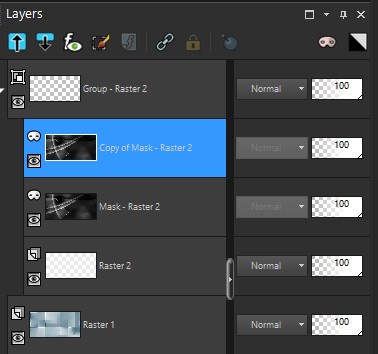
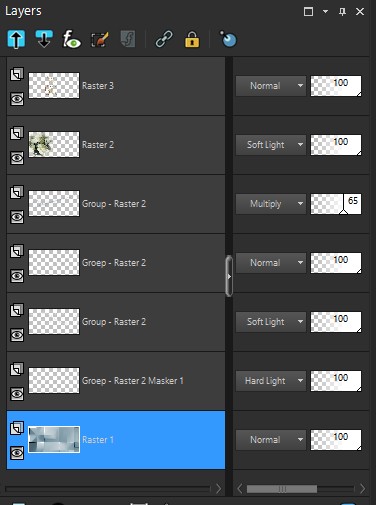
Your Layer palette looks like this
10
Image – Add borders – Symmetric checked
1 pixel FG color
Image – Add borders – Symmetric Not checked
Up and Down 0 pixels / Left and Right 15 pixels color # ffffff
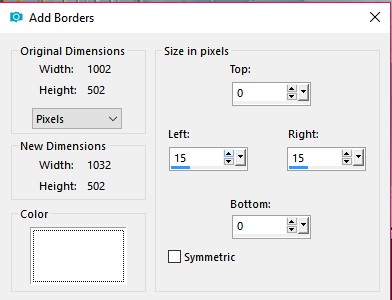
Image – Add borders – Symmetric checked
1 pixel FG color
Image – Add borders – Symmetric Not checked
Up and Down 0 pixels / Left and Right 5 pixels color # ffffff

Image – Add borders – Symmetric checked
1 pixel FG color
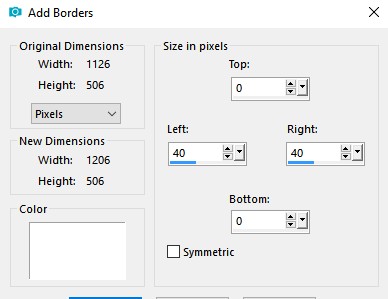
Image – Add borders – Symmetric Not checked
Up and Down 0 pixels / Left and Right 40 pixels color # ffffff
11
Open the tube Yoka-MISTED-Face-WhiteFlowers-28818 – Copy – Paste as a new layer
Image – Resize – Resize with 60% – Resize all layers not checked
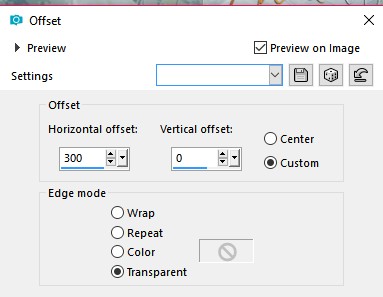
Effects – Image effects – Offset / 300/0 / Transparent
12
Layers – New raster layer
Selections – Load / Save – Load selection from disk
Load the selection Sel_Divine_2018

Scroll your work a bit bigger then you can fill it better
Flood fill Tool opacity 100
Fill with the FG color
Selections – Select none
Sign your work
Image – Add borders – Symmetric checked
1 pixel FG color
Image – Resize – Change the width to 1000 pixels
Save as Jpeg
Ready
The Translation has been tested by Marianne
Thank you Mariann
© Divine DesignPSP KeetjeDesign 01-09-2018