

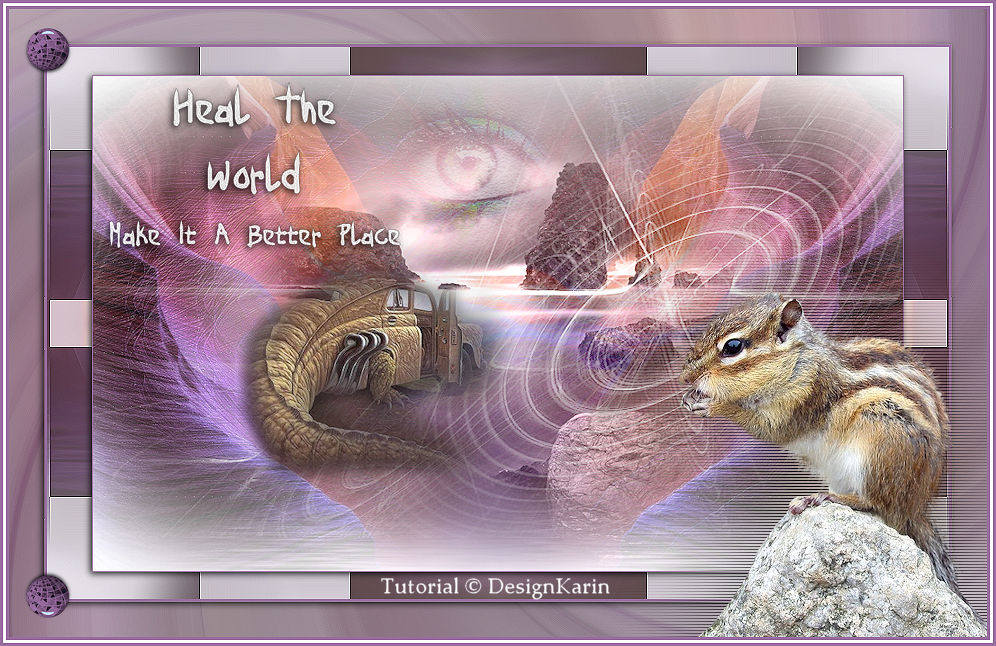
Heal the world
This tutorial was conceived and written by Karin 20-07-2021, the © is mine.
It is not allowed to copy, link and/or post these or parts thereof anywhere else without my permission.
The tutorial is written with PSP19 (X9) but can also be made with other versions.
If this lesson resembles any other lesson, it is purely coincidental.
The © of the materials used is for the rightful owners and the tube makers.
I thank the tube makers Animabelle and LisaT and Azalee for the tubes
I thank Narah for the mask.
Open the material in PSP / Duplicate with Shift+D / Close the originals.
Used Filters:
Filter factory gallery A – Mirror mirror
Toadies – What are you?
L&K Landksiteofwonders
Graphic Plus – Emboss
Filters unlimited 2.0 – &Bkg Kaleidoscope
Flaming pear – Flood
Texture – Texturizer
Medhi – Sorting tiles
AP 01 – Silver Lining
———-
The tutorial is written with these colors and materials.
If you use your own colors and/or materials, you may have to play around with the Blend Mode and/or Layer Opacity.

———-
Download your materials here:

Point 1
Open a new image of 900 x 550 pix color white.
Open the tube 37_Page5_Paysages_Animabelle
Edit – Copy.
Edit – Paste as new layer.
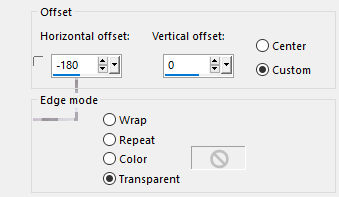
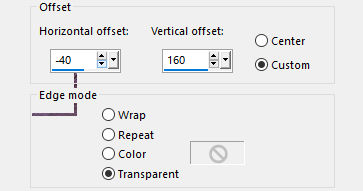
Effects – Image Effects – Offset.
Point 2
Layers – Duplicate.
Image – Mirror – Mirror Horizontal.
Layers – Merge – Merge down.
Layers – Duplicate.
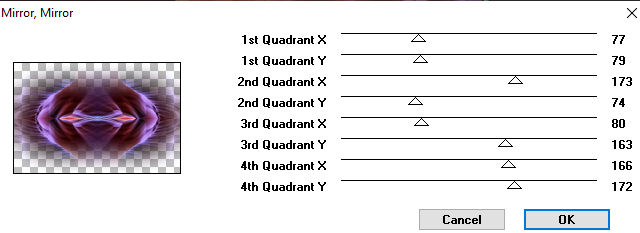
Effects – Plugins – Filter factory gallery A – Mirror mirror.
Point 3
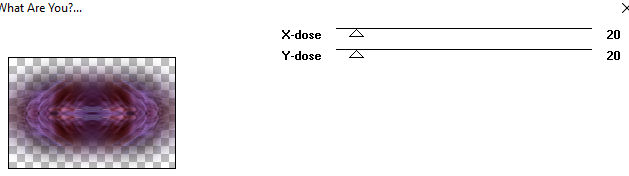
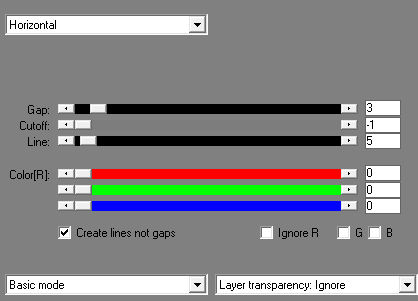
Effects – Plugins – Toadies – What are you 20/20.
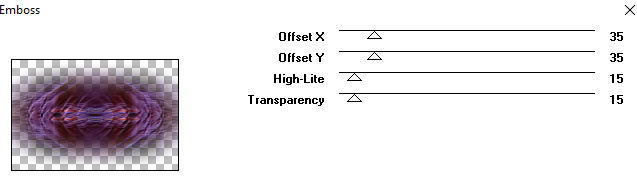
Effects – Plugins – Graphic Plus – Emboss.
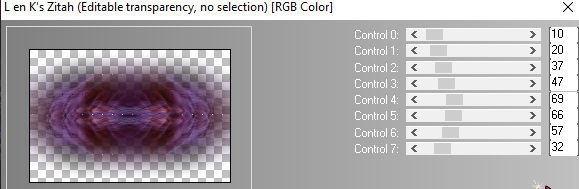
Effects – Plugins – L&K Landksiteofwonders zitah.
Layers – Properties – Opacity at 50
Effects – Edges – Enchance
Point 4
Open the tube 3_paysage_p1_animabelle
Remove the watermark.
Edit – Copy.
Edit – Paste as new layer.
The layer stands just right.
Blend Mode on Luminance (Legacy)
Point 5
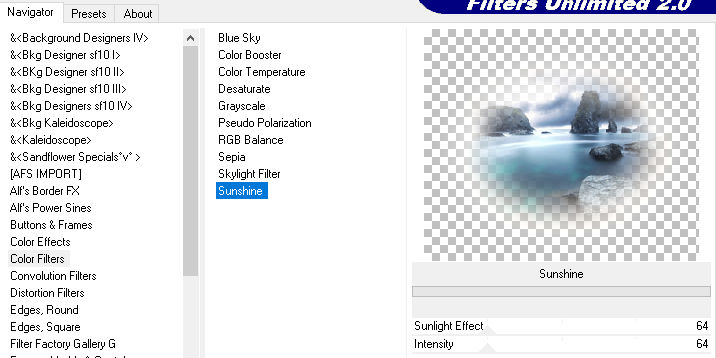
Effects – Plugins – Filters unlimited 2.0 – Color filters – Sunshine.
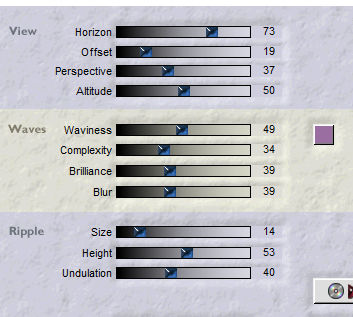
Effects – Plugins – Flaming pear flood.
Locate the attached file.
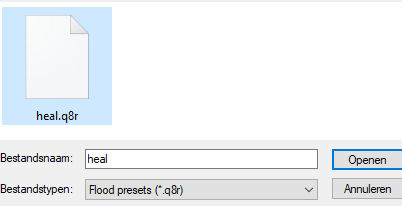
If you can’t load it, this is the setting.
Point 6
Open the tube jurassic_classic.
Edit – Copy.
Edit – Paste as New Layer
Image – Resize – 80%.
Resize all layers NOT checked.
Effects – Image Effects – Offset.

Effects – 3D Effects – Drop Shadow.
Horizontal and Vertical on 2, Opacity on 80, Blur on 5 and color black.
Repeat the drop shadow with Horizontal and vertical on -2.
Point 7
Open divers_0212_lisa tube
Remove the watermark
Image – Resize – 30%
Resize all layers NOT checked.
Edit – Copy
Edit – Paste as New Layer
Effects – Image Effects – Offset.
Layers – Properties – Blend Mode on Overlay and Opacity on 40
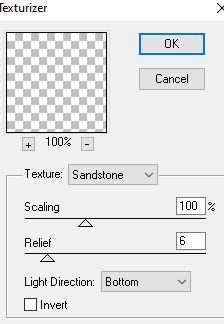
Effects – Plugins – Texture – Texturizer.
Point 8
New raster layer flood fill with white.
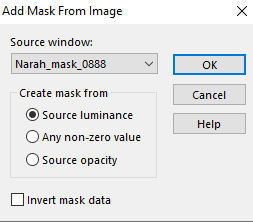
New Mask Layer – From Image – Narah_mask_0888.
Layers – Merge – Merge Group.
Layers – Arrange – Move Down, repeat 1 more time.
Effects – Edge Effects – Enhance.
Layers – Properties – Blend Mode on Screen.
Point 9
Effects – Geometric Effects – Skew

Image – Mirror – Mirror Horizontal
Effects – Image Effects – Offset
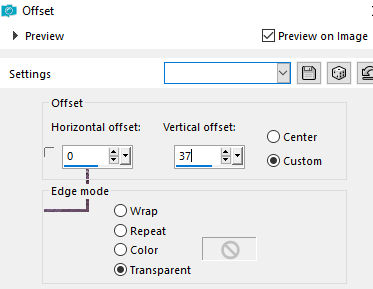
Image – Add Borders – Symmetric – 1 px color 1
Layers – Duplicate.
Point 10
Image – Resize – 90%
Resize all layers NOT checked.
Horizontal at 2, Vertical at -2, Opacity at 80, Blur at 10 and color black.
Point 11
Activate the bottom layer in your layer palette.
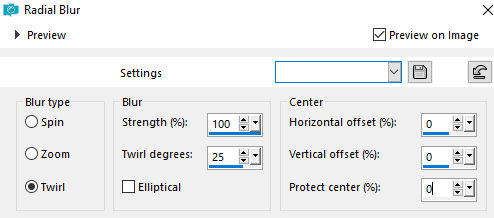
Adjust – Blur – Radial Blur.

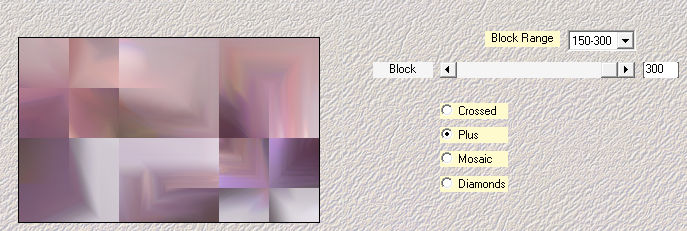
Effects – Plugins – Medhi – Sorting tiles .
Effects – Edge Effects – Enhance
Effects – Plugins – Filters unlimited 2.0 – &Bkg Kaleidoscope – 4QFlipZBottomR
Point 12
Image – Add borders – Symmetric – 3 px color 1
Edit – Copy your image (remains in memory}.
Image – Add borders – Symmetric 35 pix white
Click in your border with magic wand
Edit – Paste into Selection
Point 13
Adjust – Blur – Radial Blur.
Effects – Edge Effects – Enhance.
Selections – Invert.
Horizontal at 2, Vertical at -2, Opacity at 80, Blur at 10 and color black.
Selections – Select none.
Point 14
Open the tube Ecureuil_Azalee.
Edit – Copy.
Edit – Paste as new layer.
Image – Mirror – Mirror Horizontal.
Image – Resize – 70%.
Resize all layers NOT checked.
Place at the right in the bottom corner.
Layers – Duplicate.
Adjust – Blur – Gaussian Blur, Radius at 50.
Effects – Plugin AP 01 – Silverlining.
Layers – Arrange – Move Down.
Point 15
Open the button.
Put as my example above in left corner point.
Layers – Duplicate.
Image – Mirror – Mirror vertical.
Point 16
open word art
Edit – Copy.
Edit – Paste as New Layer
Image – Resize – 80%.
Resize all layers NOT checked.
Move to a nice place.
I placed it at the top left.
Horizontal at 2, Vertical at -2, Opacity at 80, Blur at 10
Point 17
Put your watermark.
Image – Add borders – Symmetric – 3 px color 1
Image – Add borders – Symmetric – 3 px color white
Image – Add borders – Symmetric – 3 px color 1
Adjust – Sharpness – Sharpen.
@DesignKarin