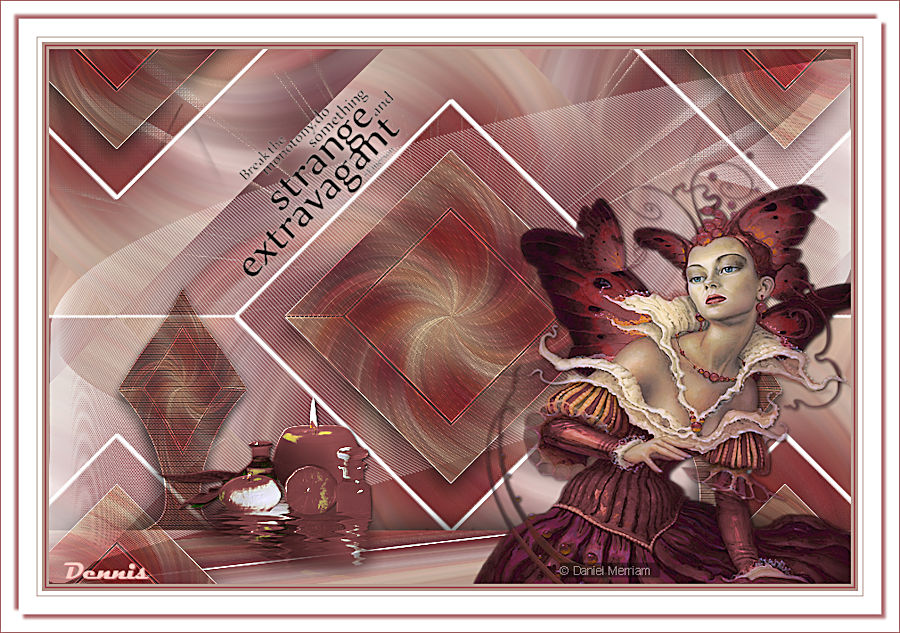
Strange Extravagant
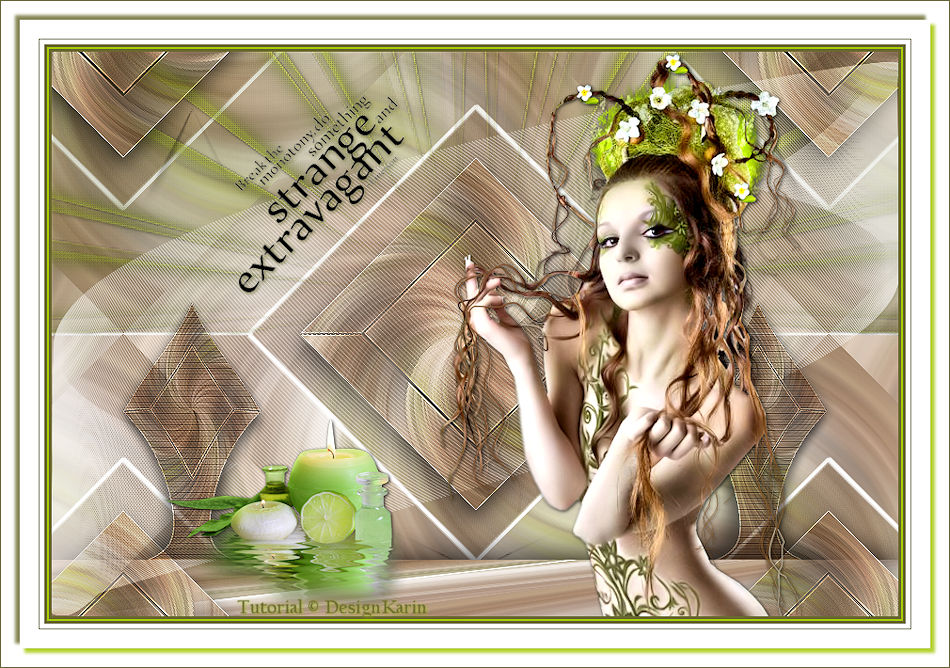
This tutorial was devised and written by Karin 30/04/2021, the © is Dennis
It is not allowed to copy, link and / or place these or parts thereof without my permission
The tutorial is written with PSP19 (X9) but can also be made with other versions
If this lesson resembles any other lesson, it is purely coincidental
The © of the Materials used is for the rightful owners and the tube makers
Deco and Frame are mine
Open the Materials in PSP / Duplicate with Shift + d / Close the originals
Filters used:
Carolaine and Sensibility / CS Halloween2
MuRa’s Filter Meister / Perspective Tiling
Flaming Pear / Flexify 2
Simple / Diamonds
———
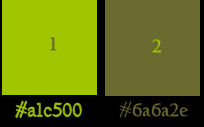
The tutorial is written with these Colors and Materials
If you use your own Colors and / or Materials, you may have to play with Blend Mode and / or Opacity
———
Download your Materials here:

Step 1
Open a New Transparent Image 900 x 600
Flood Fill with the Color White
Selections / Select All
Step 2
Layers / New Raster Layer
Open the woman tube or your own tube
Edit / Copy
Edit / Paste into Selection
Selections / Select None
Effects / Image Effects / Seamless Tiling

Effects / Image Effects / Seamless Tiling (Default)
.png)
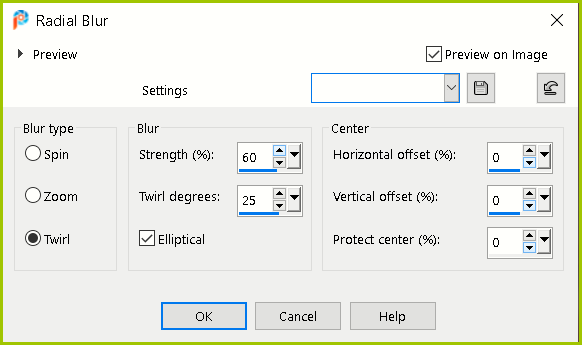
Adjust / Blur / Radial Blur
Step 3
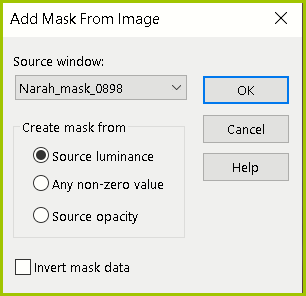
Layers / New Mask Layer / From Image / Narah_mask_0898
Layers / Merge / Merge Group
Layers / Duplicate
Image / Mirror / Mirror Horizontal
Image / Mirror / Mirror Vertical
Layers / Merge / Merge Down
Step 4
Layers / Duplicate
Image / Resize 50% (Resize all Layers NOT checked)
Effects / 3D Effects / Drop Shadow (with the following settings)
Vertical and Horizontal 10 / Opacity 80 / Blur 50 / Color Black
Step 5
Activate the middle Layer in the Layers Palette (Group/Raster2)
Effects / Plugins / Simple / Diamonds
Activate the Top Layer in the Layers Palette
Effects / Plugins / Simple / Diamonds
Effects / Edge Effects / Enhance
Step 6
Layers / Duplicate
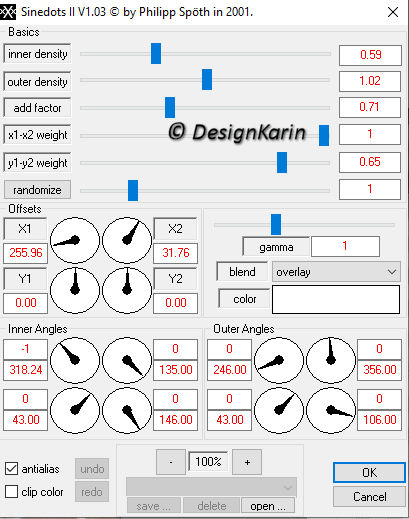
Effects / 3D Effects / Dragonfly / Sinedots II with the following setting (is a bit of taking over the setting)
Effects / 3D Effects / Drop Shadow (with the following settings)
Vertical and Horizontal 10 / Opacity 80 / Blur 50 / Color 1 #a1c500
Layers / Properties / Blend Mode Lighten / Opacity 60
Step 7
Activate the 2nd Layer from the bottom in the Layers Palette (Group/Raster2)
Layers / Merge / Merge Down
Layers / Duplicate
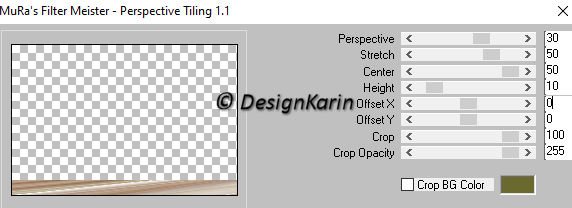
Effects / Plugins / Mura Meister‘s / Perspective Tiling
Effects / 3D Effects / Drop Shadow (with the following settings)
Vertical and Horizontal (minus) -4 / Opacity 80 / Blur 50 / Color Black
Step 8
Activate the second Layer from the top in the Layers Palette (Copy of Group/Raster2)
Layers / Duplicate
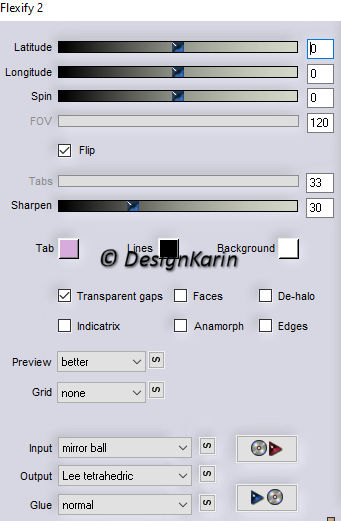
Effects / Plugins / Flaming Pear / Flexify 2
Layers / Arrange / Bring to Top
Image / Resize 80% (Resize all Layers NOT checked)
Effects / Image Effects / Offset
Horizontal (minus) -300 / Vertical 0 / (Transparent and Custom checked)
Layers / Duplicate
Image / Mirror / Mirror Horizontal
Layers / Merge / Merge Down
Effects / Plugins / Carolaine and Sensibility / CS Halloween2
Layers / Properties / Blend Mode Multiply / Opacity 80
Effects / Edge Effects / Enhance
Step 9
Layers / New Raster Layer
Flood Fill with Color 2 #6a6a2e
Layers / New Mask Layer From Image / Narah mask 0870
Settings are correct
Layers / Merge / Merge Group
Image / Resize 50% (Resize all Layers NOT checked)
Objects / Align / Top
Objects / Align / Right
Layers / Duplicate
Image / Mirror / Mirror Horizontal
Layers / Merge / Merge Down
Step 10
Effects / Lighting Effects / Lamps (with the following settings)
.png)
Layers / Properties / Blend Mode Lighten / Opacity 80
Effects / Edge Effects / Enhance
Layers / Arrange / Move Down (do this 3x in total)
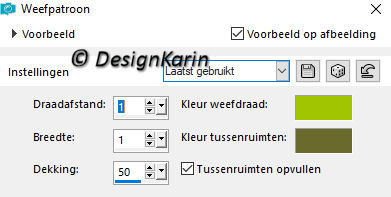
Effects / Texture Effects / Weave
Effects / 3D Effects / Drop Shadow (with the following settings)
Vertical and Horizontal 1 / Opacity 80 / Blur 3 / Color Black
Step 11
Open the enclosed woman tube or your own tube
Remove the watermark
Image / Resize 90% (Resize all Layers NOT checked)
Note: Your own tube can be different
Edit / Copy
Edit / Paste as a New Layer
Layers / Arrange / Bring to Top
Slide to the right and slightly down as above example
Effects / 3D Effects / Drop Shadow (with the following settings)
Vertical and Horizontal 1 / Opacity 80 / Blur 5 / Color Black
Step 12
Open the tube Nicole/zen
Image / Resize 35% (Resize all Layers NOT checked)
Edit / Copy
Edit / Paste as a New Layer
Effects / Image Effects / Offset
Horizontal (minus) -205 / Vertical at (minus) -192 (Transparent and Custom checked)
Effects / 3D Effects / Drop Shadow (with the following settings)
Vertical and Horizontal 1 / Opacity 80 / Blur 5 / Color Black
Step 13
Open the Text
Edit / Copy
Edit / Paste as a New Layer
Image / Free Rotate / Left checked and Free checked at 45.00
Effects / Image Effects / Offset
Horizontal (minus) -180 / Vertical 160 / (Transparent and Custom checked)
Effects / 3D Effects / Drop Shadow (with the following settings)
Vertical and Horizontal 1 / Opacity 80 / Blur 5 / Color 2 #6a6a2e
Step 14
Image / Add Borders / Symmetric
3 pixels Color 2 #6a6a2e
2 pixels Color 1 #a1c500
3 pixels Color 2 #6a6a2e
5 pixels Color White
1 pixel Color 2 #6a6a2e
40 pixels Color White
Step 15
Selections / Select All
Selections / Modify / Contract by 20
Effects / 3D Effects / Drop Shadow (with the following settings)
Vertical and Horizontal 5 / Opacity 80 / Blur 5 / Color 1 #a1c500
Effects / 3D Effects / Drop Shadow (with the following settings)
Vertical and Horizontal (minus) -5 / Opacity 80 / Blur 5 / Color 1 #a1c500
Selections / Select None
Image / Add Borders / Symmetric
1 pixels Color 2 #6a6a2e
Step 16
Adjust / Sharpness / Sharpen
Add your name or watermark
Save as jpg
MY VERSION