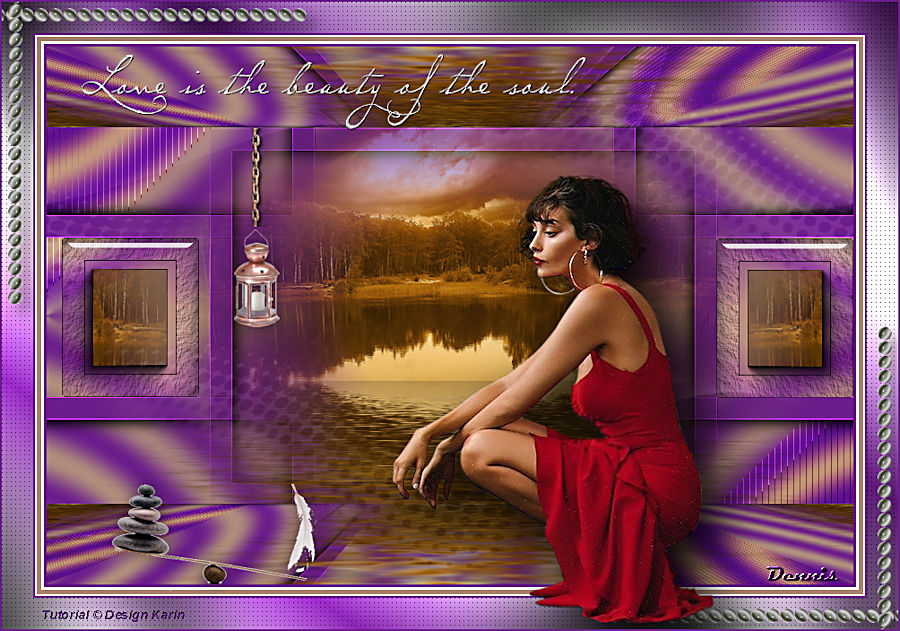
Beauty of Soul English
This tutorial was devised and written by Karin 13/01/2021, the © for translation is mine Dennis.
It is not allowed to Copy, link and / or place these or parts thereof without my permission.
The tutorial is written with PSP19 (X9) but can also be made with other versions.
If this lesson looks like any other lesson, it is purely coincidental.
The © of the materials used is for the rightful owners and the tube makers.
I thank the tube maker Animabelle and Marif for the tubes
The mask is from Narah
I found the text and the lamp on the internet. If you are the owner, please let me know.
Corner is mine
———–
Open the material in PSP / Window Duplicate or Shift + D /
Close the originals
———–
Filters Used:
Tramages / Tow the Line
AP01 Innovations / [Lines] SilverLining
AAA Frames / Texture Frame
AAA Frames / Photo Frame
Graphic Plus / Cross Shadow
Medhi / Wavy Lab 1.1
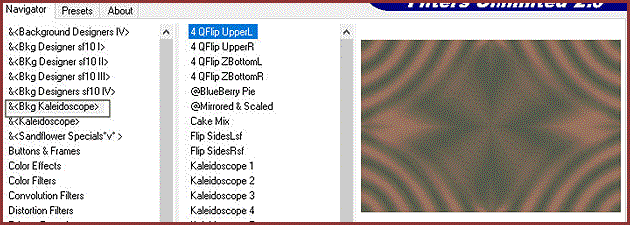
Filters Unlimited 2.0 / & BKG Kaleidoscope
Flaming Pear / Flood
Alien Skin Eye Candy 5 / Impact Glass
MuRa’s Meister / Perspective Tiling
———–
The tutorial is written with these Colors and Materials
My Color Palette

If you use the own Colors and / or materials, you may have to play with the Blend Mode and / or Opacity
———–
Download the materials here:

You only need your own woman tube
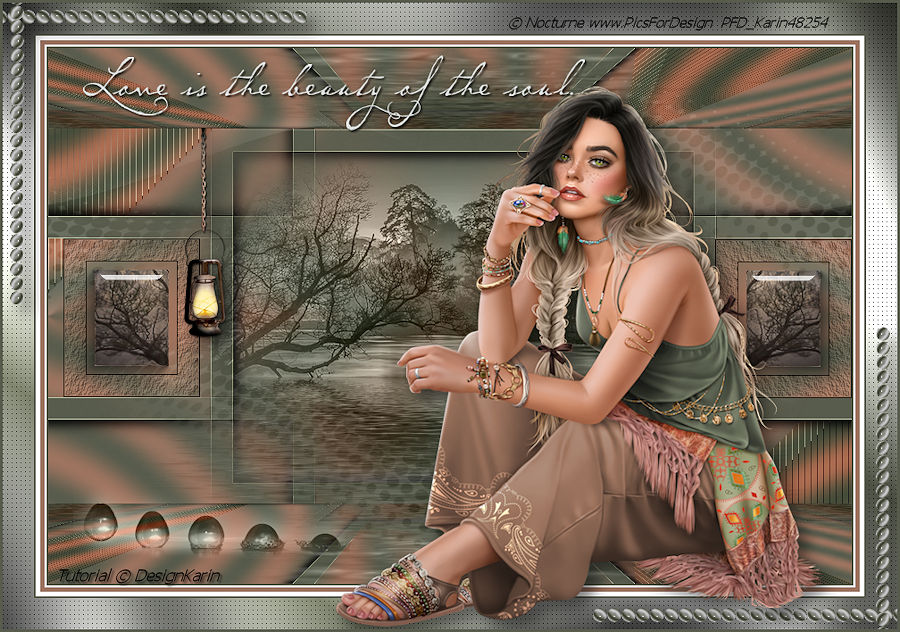
My tube is from Nocturne
———–
Step 1
Open the Alpha file Alfa_BeautyofSoul
Window / Duplicate (or use Shift + D)
Close the original, we will work on the Copy
Set the Foreground Color in the Color Palette to Green #585c4d and Background to Brown #9d7460
The Color Palette is with the Materials
Step 2
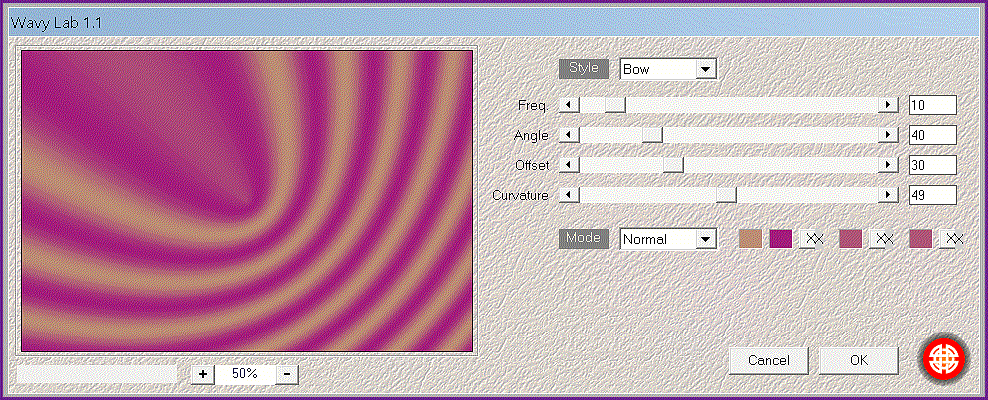
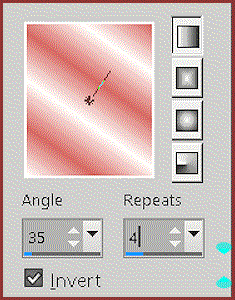
Effects / Plugins / Medhi / Wavy Lab 1.1 (with the following settings)
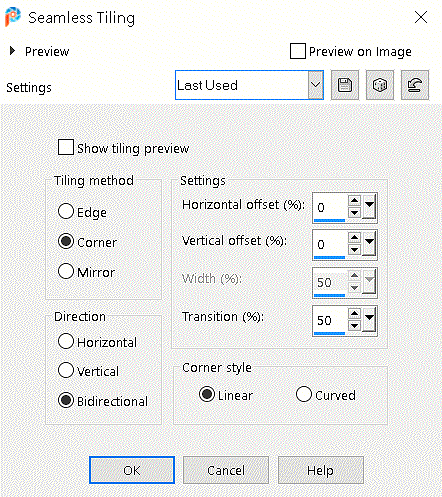
 Effects / Image Effects / Seamless Tiling
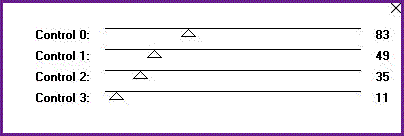
Effects / Plugins / Filters Unlimited 2.0 / & Bkg Kaleidoscope (with the following settings)
 Step 3
Duplicate the Layer in the Layers Palette
Effects / Plugins / Tramages / Tow the Line (with the following settings)
 Step 4
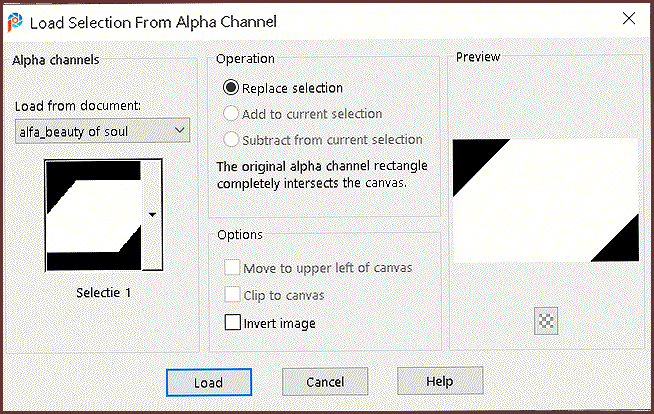
Selections / Load/Save Selection / Load Selection from Alpha Channel
Selection 1
Press the Delete Key on the Keyboard
Selections / Select None
Layers / Properties. Blend Mode on Overlay and Opacity on 63
Step 5
Layers / New Raster Layer
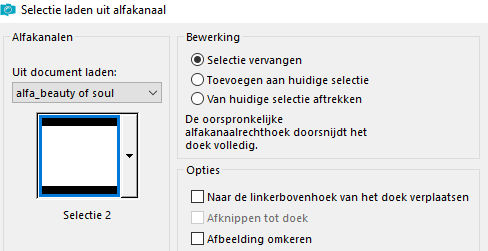
Selections / Load/Save Selection / Load Selection from Alpha Channel
Selection 2
Fill the Selection with the Foreground Color
Selections / Modify / Contract by 25
Press the Delete Key on the Keyboard
Leave the Selection
Step 6
Layers / Duplicate
Layer Palette/ Activate / Raster 2 (the second from the Top Layer)
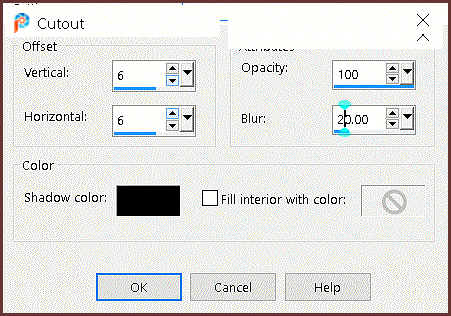
Effects / 3D Effects / Cutout (with the following settings)
 Activate the top / Layer in the Layer Palette
Effects / 3D Effects / Cutout
Now set Vertical and Horizontal to minus -6 remainder is still correct
Selections / Select None
Layers / Merge / Merge Down
Step 7
Effects / Image Effects / Seamless Tiling
Setting is still good at the default of Step 2
Effects / Edge Effects / Enhance
Step 8
Open the Image 109 paysage
Remove the watermark
Image / Resize with 80%
Resize all Layers not checked
Edit / Copy the Tube
Edit / Paste as a New Layer
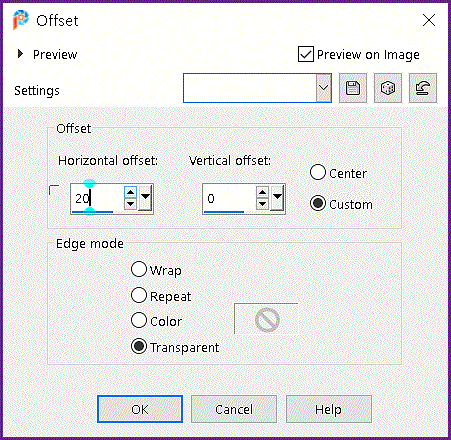
Effects / Image Effects / Offset
Layers / Properties / Blend Mode / Luminance (Legacy)
Step 9
Effects / Plugins / Flaming Pear /Flood (with the following settings)
 Step 10
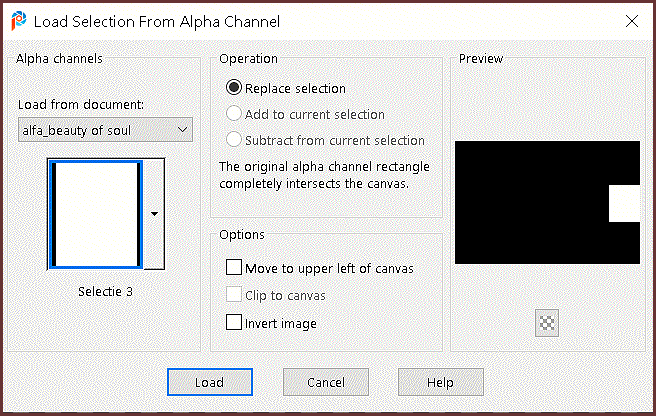
Selections / Load/Save Selection / Load Selection from Alpha Channel
Selection 3
Activate the Bottom Layer in the Layers Palette
Promote Selection to Layer
Layers / Arrange / Bring to Top
Step 11
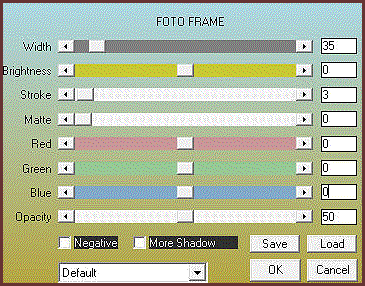
Effects / / Plugins / Photo frame (with the following settings)
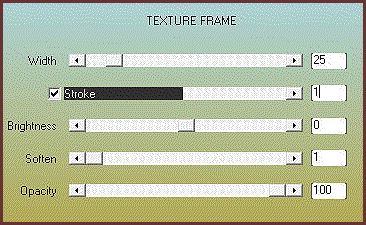
 Effects / / Plugins / Texture Frame (with the following settings)
 Selections / Modify / Contract by 35
Select a small part of the bomentube
Edit /Copy.
Edit / Paste into Selection
Selections / Select None
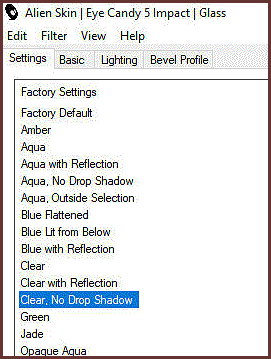
Effects / Plugins / Alien Skin Eye Candy 5 / Impact / Glass (with the following settings)
 Step 12
Layers / Duplicate
Image / Mirror / Mirror Horizontal
Effects / Image Effects / Offset
Horizontal on 17 / Vertical on 1 and transparent checked
Layers / Merge / Merge Down
Step 13
Edit / Copy / Copy Merged
Layers / New Raster Layer
Selections / Select All
Edit / Paste into Selection
Selections / Select None
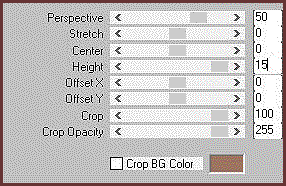
Effects / Plugins / MuRa’s Meister / Perspective Tiling (with the following settings)
 Effects / 3D Effects / Drop Shadow / 3 / 3 / 100 / 3 Black
Layers / Duplicate
Image / Mirror / Mirror Vertical
Step 14
Layers / New Raster Layer
Flood Fill with White
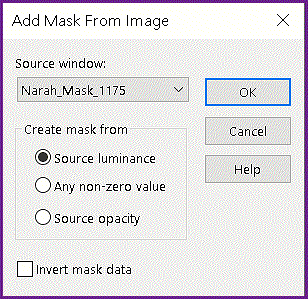
Layers / New Mask Layer / From Image
Layers / Duplicate
Layers / Merge / Merge Group
Effects / Image Effects / Seamless Tiling
Setting is still at default of Step 2
Layers / Properties / Blend Mode / Soft Light / Opacity 90
Step 15
Image / Add Borders / 2 pixels / Foreground Color
Image / Add Borders / 2 pixels White
Image / Add Borders / 5 pixels Background Color
Image / Add Borders / 5 pixels White
Image / Add Borders / 2 pixels to 2 Foreground Color
Step 16
Selections / Select All
Image / Add Borders / 35 pixels White
Selections / Invert
Set the Foreground to Green and Background to White
Make the following Gradient with the Foreground:
Fill the Selection with Gradient
Step 17
Effects / Plugins / Graphic Plus / Cross Shadow (with the following settings)
All sliders on 50 and the bottom 2 sliders on 128
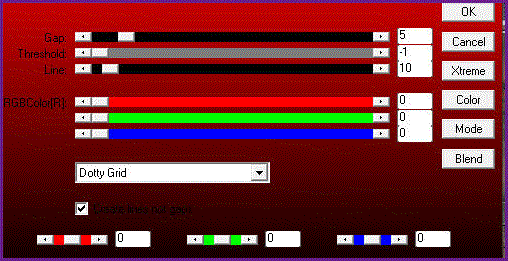
Effects / Plugins AP01 [Lines] / SilverLining (with the following settings)
 Selections / Select None
Step 18
Edit / Copy BoSoul_DesignKarin
Edit / Paste as a New Layer
No need to move.
Effects / 3D Effects / Drop Shadow
Horizontal and Vertical 10 / Opacity 50 / Blur 25 Black
Step 19
Edit / Copy the woman tube
Edit / Paste as a New Layer
Adjust the size if necessary and move slightly to the right
Optionally give a Drop Shadow. I used the drop shadow from Step 18
Step 20
Open the lantern
Edit / Copy
Edit / Paste as a New Layer
Image / Resize 40% / All layers not checked
Effects / Image Effects / Offset
Horizontal -270, Vertical 90 Transparent Checked
Optionally Add a Drop Shadow
Step 21
Edit / Copy the stones
Edit / Paste as a New Layer
Image / Resize 50 / All Layers NOT Checked
Effects / Image Effects / Offset
Horizontal -260, Vertical -230 Transparent Checked
Layers / Properties / Blend Mode / Luminance Legacy
Step 21
Open the text
Edit / Copy
Edit / Paste as a New Layer
Effects / Image Effects / Offset
Horizontal -130 / Vertical 250 and Transparent Checked
Image / Negative Image
Optionally Add a Drop Shadow
Step 22
Image / Add Borders / 2 pixels Foreground Color
Add your name or watermark
The lesson is ready
Hopefully, the lesson was satisfactory again!