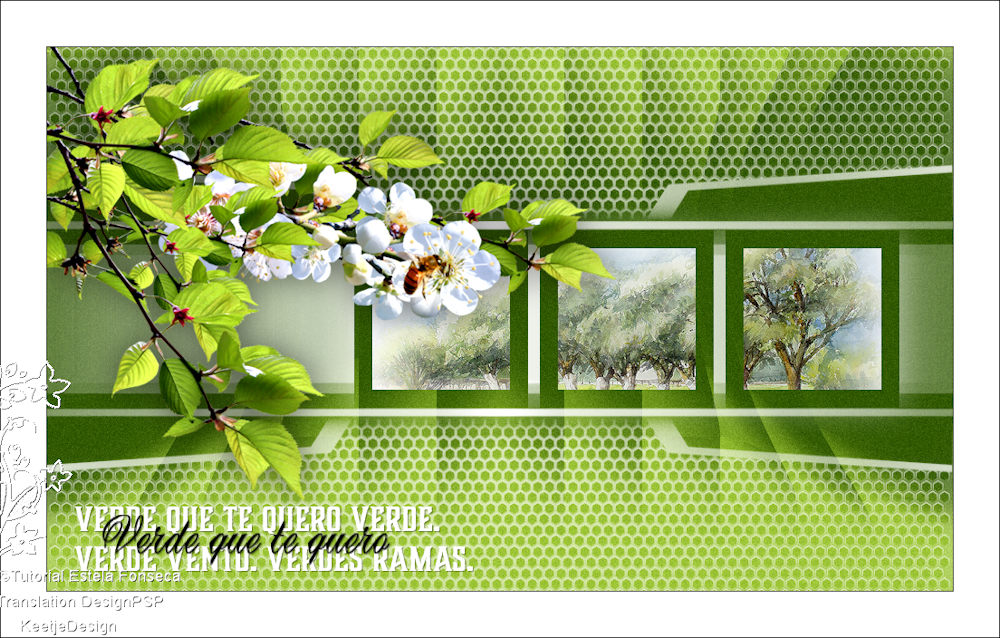
Verde
Original tutorial Here
This tutorial is written by Estela Fonseca the © is from her.
It is not allowed to copy, link and / or place these or parts of it without her permission.
The © ️ of the materials wich are used is for the rightful owner.
If you want to use this tutorial on your own forum, club or group, you have to request permission from the writer herself.
We have permission to translate Estela Fonseca’s tutorials into English.
Thank you Estela for the permission to translate your tutorials.
Temos permissão para traduzir os tutoriais da Estela Fonseca para o inglês.
Obrigado Estela pela tradução dos tutriais.
Materials Used:
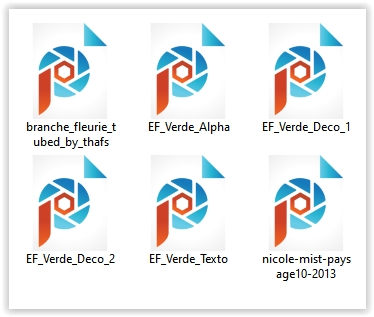
Open the other material in PSP/Duplicate with Shift+D/Close the originals/Minimize masks
Plugins Used:
VM Distortion – Mosaic Ripple
Simple – Top Left Mirror
The translation was made with PSP 2020 , but can also be done with other versions.
Note : When working with your own colors , play with the Blend Mode and/or Opacity at your own discretion
1
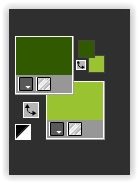
Materials palette – Foreground color #325900 / Background color #9ac332.
Open EF_Verde_Alpha – Window – Duplicate (or use Shift+D)
Close the original we are working on the copy / This is not an empty layer the selections are in the alpha channel
2
Selections – Load/Save – Load selection from alpha channel: Selection #1
Fill with the foreground color
Selections – Invert
Fill with the background color
Selections – Select none
3
Adjust – Blur – Gaussian Blur / Range 50
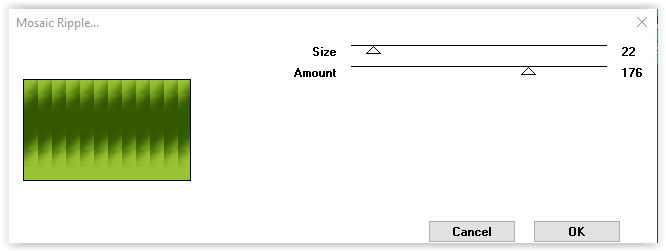
Effects – Plugin VM Distortion – Mosaic Ripple / Default
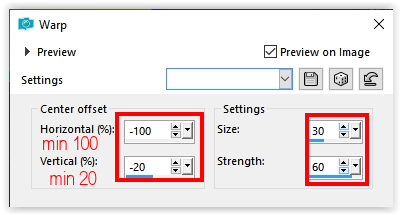
Effects – Distortion Effects – Warp
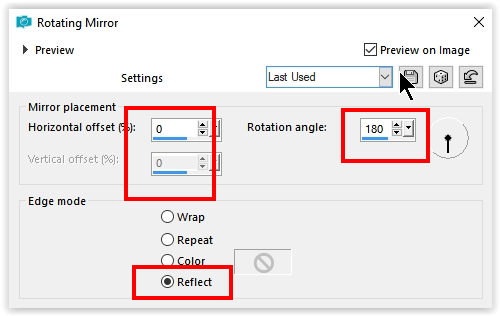
Effects – Reflection Effects – Rotating Mirror
4
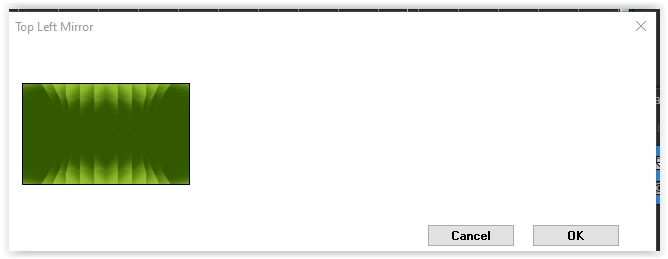
Effects – Plugin Simple – Top Left Mirror
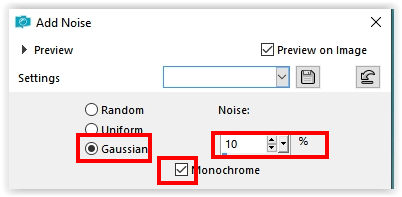
Adjust – Add/Remove Noise – Add Noise
5
Open the tube EF_Verde_Deco_1 – Copy – Paste as new layer
6
Open the tube EF_Verde_Deco_2 – Copy – Paste as new layer
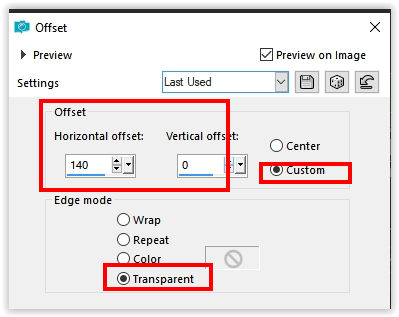
Effects – Image Effects – Offset 140/0
7
Selections – Load/Save Selection – Load from Alpha Channel: Selection #2
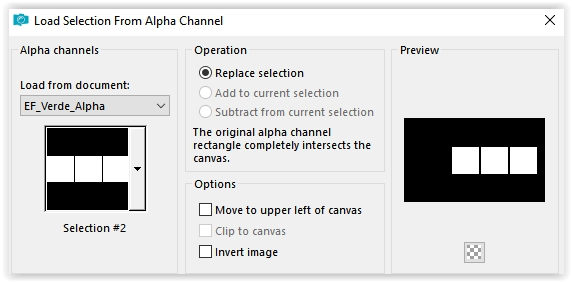
Layer palette – Activate the bottom layer
Selections – Promote selection to layer
Selections – Hold
8
Layers – Arrange – Bring to top
Selections – Modify – Contract 20 pixels
Press Delete on the keyboard
Selection – Hold
9
Open the tube nicole-mist-paysage10-2013 – Copy – Paste as new layer
Image – Resize – Resize by 70% – All layers unchecked
Place the tube on the selection
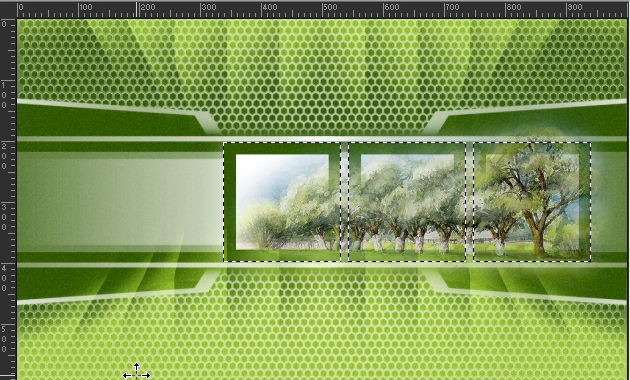
Selections – Invert
Press Delete on the keyboard.
Selections – Select none
10
Layers – Arrange – Move Down
Layer palette – Activate the top layer
Layers – merge – merge down
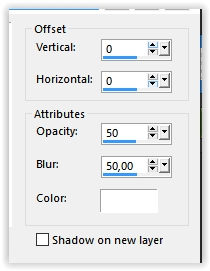
Effects – 3D Effects – Drop Shadow/ 0/0/50/50/# ffffff
11
Open the tube branch_fleurie_tubed_by_Thafs – Copy – Paste as new layer
Place in the top left corner
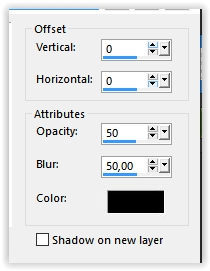
Effects – 3D Effects – Drop Shadow/ 0/0/50/50/# 000000
12
Open the tube EF_Verde_Texto – Copy – Paste as new layer
Move the text to the bottom left
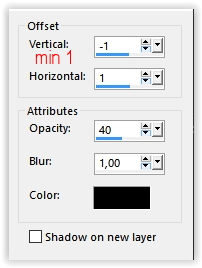
Effects – 3D Effects – Drop Shadow/ Minus 1/1/40/1 # 000000
13
Image – Add Borders – Symmetric
1 pixel color # 000000
50 pixels color # ffffff
1 pixel color # 000000
Sign your work
Merge All
Save as Jpeg.
The translation has been tested by Marianne
Marianne thank you very much
© Translation DesignPSP KeetjeDesign 22-07-2021


