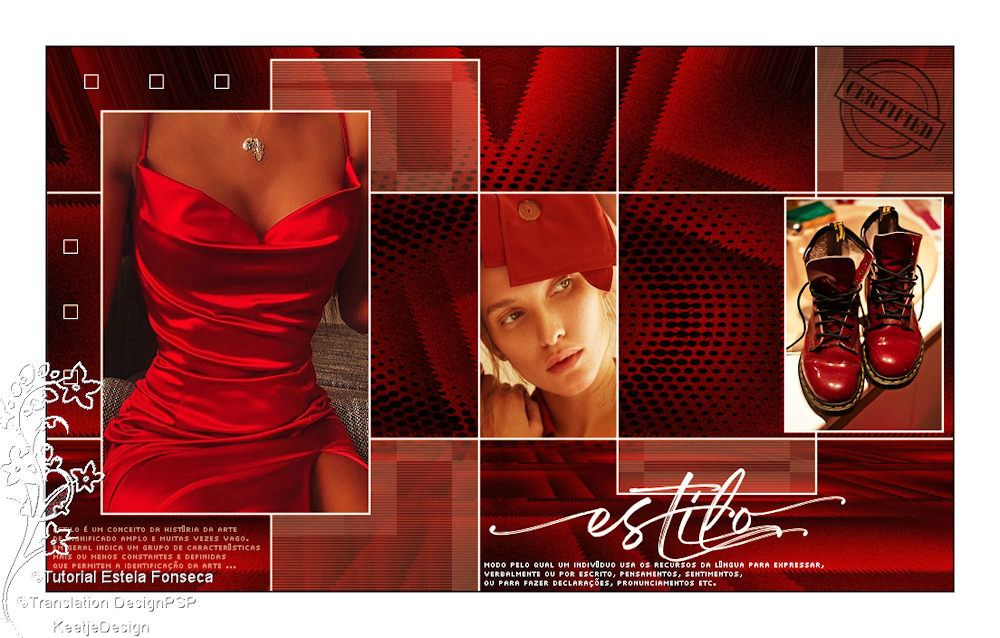
Estilio
Original tutorial Here
This tutorial is written by Estela Fonseca the © is from her.
It is not allowed to copy, link and / or place these or parts of it without her permission.
The © ️ of the materials wich are used is for the rightful owner.
If you want to use this tutorial on your own forum, club or group, you have to request permission from the writer herself.
We have permission to translate Estela Fonseca’s tutorials into Dutch and English.
Thank you Estela for the permission to translate your tutorials.
Temos permissão para traduzir os tutoriais da Estela Fonseca para o inglês.
Obrigado Estela pela tradução dos tutriais.
Materials Used:
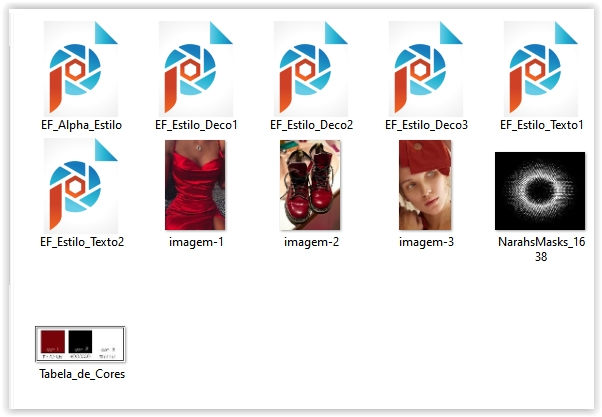
Open the mask in PSP / Minimize masks
Note: If using your own Images the sizes are:
image 1: 400 x 600 pixels
image 2: 266 x 600 pixels
image 3: 257 x 442 pixels
Plugins Used:
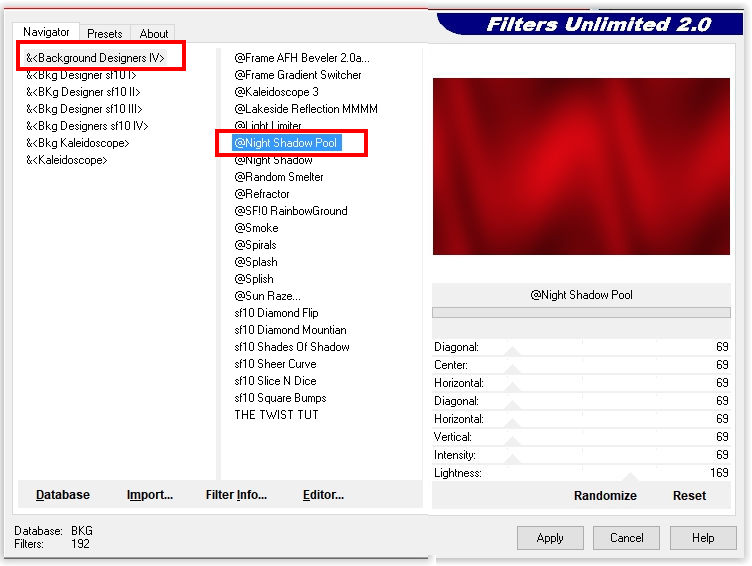
Unlimited.2.0 – &<Bkg Backrgound Designers IV> – @Night Shadow Pool
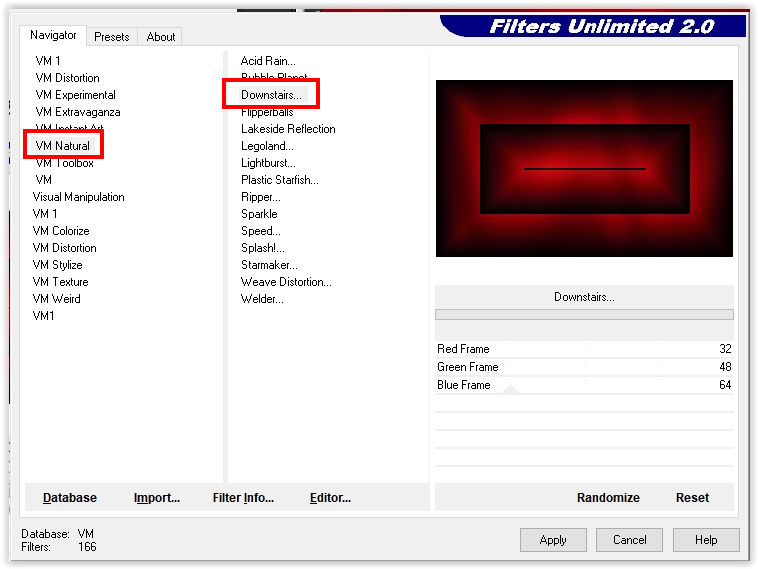
Unlimited 2.0 – VM Natural – Downstairs
°v° Kiwi’s Oelfilter Zig-Zack
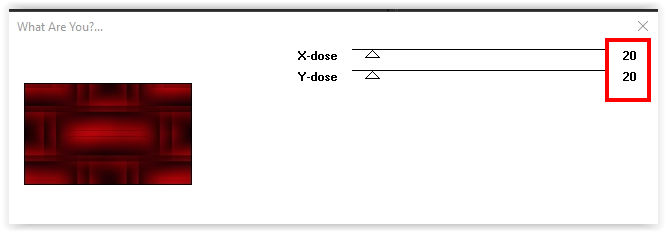
Toadies – What Are You??
Mura’s Meister – Perspective Tiling
Nik Software – Color Efex Pro 3.0 – Cross Balance
The translation was made with PSP 2020 , but can also be done with other versions.
Note : When working with your own colors , play with the Blend Mode and/or Opacity at your own discretion
1
Note: When using a different color, the effect of the plugin VM Natural-Downstairs is very different from the tutorial
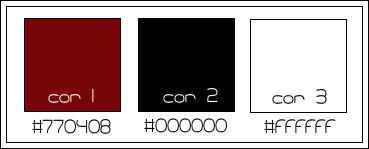
To get the same effect start with the original tutorial color / after using the filter :
Adjust – Hue and Saturation – Colorize to your own color

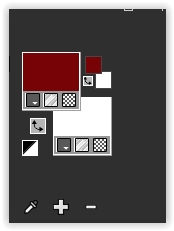
Materials palette – Foreground color 1 / Background color 3
Open EF_Alpha_Estilo – Window – Duplicate (or use Shift+D) / Close the original we work on the copy.
This is not an empty layer but has selections in the alpha channel.
Fill with color 1
2
Effects – Plugin Unlimited 2.0 – & <Bkg Designer sf10IV> – @Nigh Shadow Pool / Default
Effects – Plugin Unlimited 2.0 – VM Natural – Downstairs / Default
3
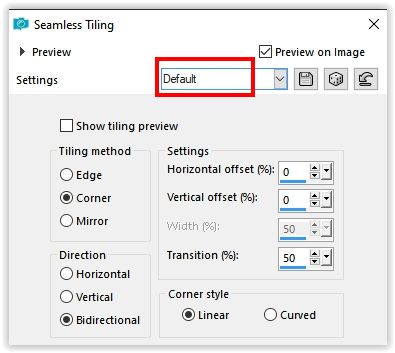
Effects – Image Effects – Seamless Tiling / Default
Effects – Plugin Unlimited 2.0 – Toadies – What Are You??
4
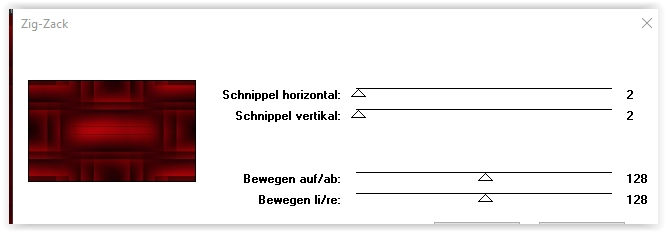
Effects – Plugin °v° Kiwi’s Oelfilter – Zig-Zack / Default
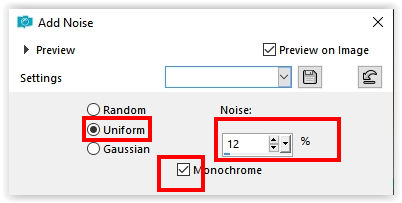
Adjust – Add/Remove Noise – Add Noise
5
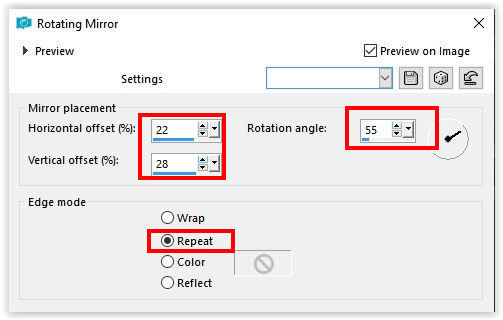
Effects – Reflection Effects – Rotating Mirror
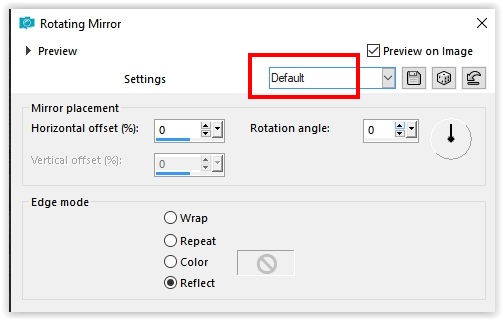
Effects – Reflection Effects – Rotating Mirror /Default
6
Activate Rectangle Selection Tool (S) – Custom Selection
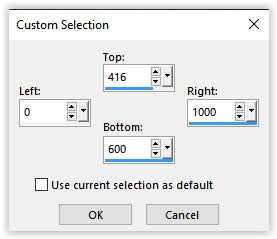
Selections – Layer selection
Effects – Plugin Mura’s Meister – Perspective Tiling / Default
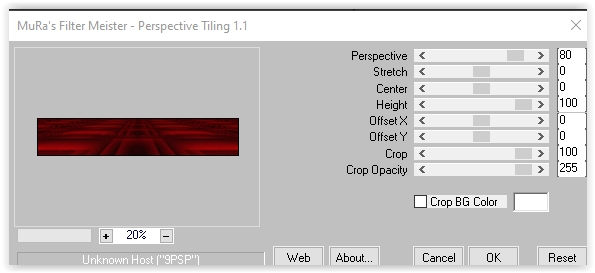
Selections – Select none
7
Selections – Load/Save Selection – Load Selection from Alpha Channel: Selection #1
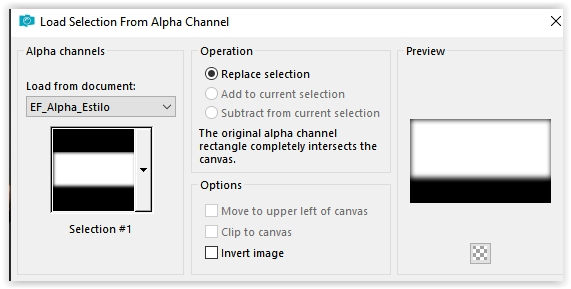
Press Delete on the keyboard 3-4 times
Selections – Select none
8
Layers – New Raster Layer
Selections – Select all
Open EF_Estilo_Deco1 – Copy – Paste into selection
Selections – Select none
9
Layers – New Raster Layer
Selections – Load/Save Selection – Load Selection from Alpha Channel: Selection #2
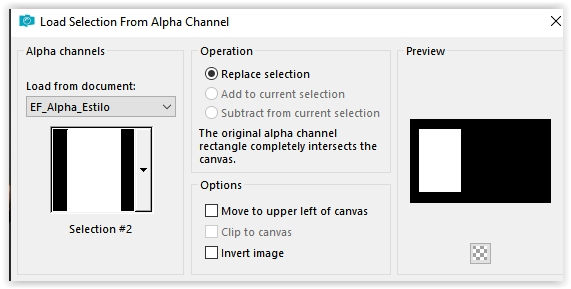
Open Imagem-1 – Copy – Paste into Selection
Selections – Select None.
Layers – Arrange – Down
Adjustment – Sharpness – Sharpen
10
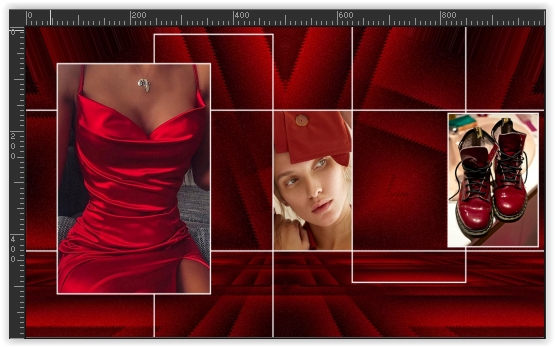
Note: All 3 images are placed on layer 3
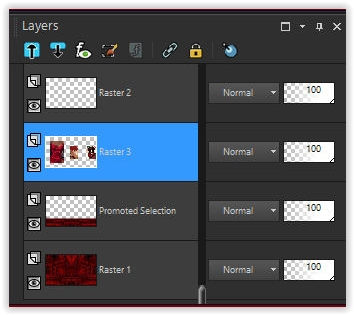
Layer palette – we stay on the layer Raster 3
Selections – Load/Save Selection – Load Selection from Alpha Channel: Selection #3
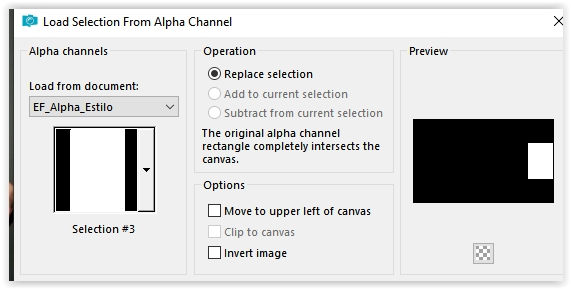
Open Imagem-2 – Edit – Copy – Paste into Selection
Adjust – Sharpness – Sharpen
Selections – Select none
11
Selections – Load/Save Selection – Load Selection from Alpha Channel: Selection # 4
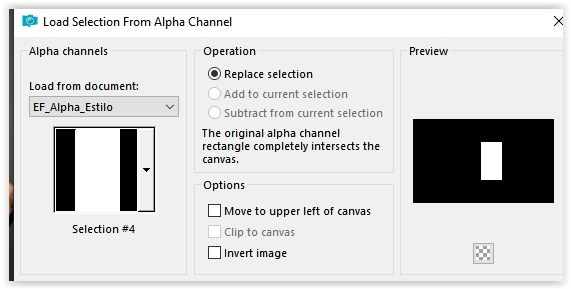
Open Imagem-3 – Edit – Copy – Paste into Selection
Adjust – Sharpness – Sharpen
Selections – Select None
12
The layers palette now looks like this
We now have this
13
Layer palette – Activate the bottom layer
Selections – Load/Save Selection – Load Selection from Alpha Channel: Selection # 5
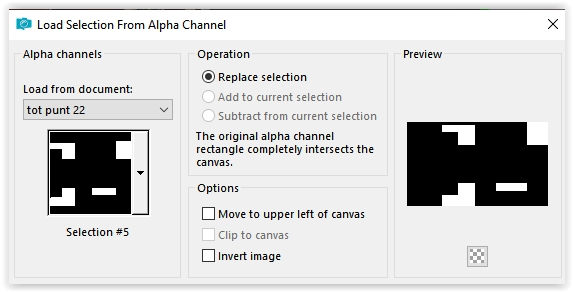
Selections – Layer selection
Selections – Hold
14
Layers – Arrange – In Front
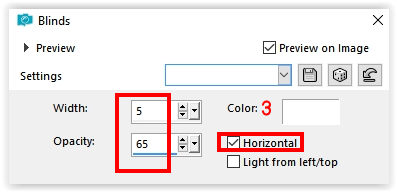
Effects – Texture Effects – Blinds – Color #fffffff
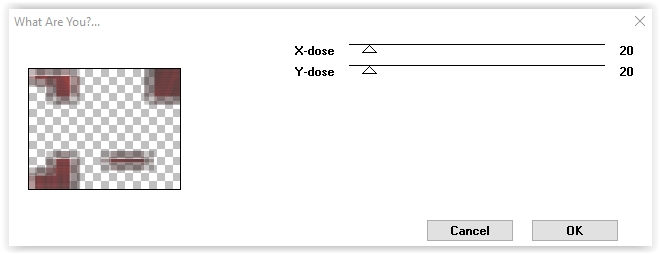
Effects – Filter Unlimited 2.0 – Toadies – Who Are You??
Selections – Select none
Layers – Properties – Blend Mode Lighten / Opacity 71%
15
Open EF_Estilo_Deco2 – Copy – Paste as new layer
Activate Selection Pick Tool (K) Position X 18 / Position Y 30

16
Open EF_Estilo_Texto1 – Copy – Paste as new layer
Select Pick Tool (K) Position X 483 / Position Y 464

17
Open EF_Estilo_Texto2 – Copy – Paste as new layer.
Select Pick Tool (K) Position X 7 / Position Y 528

Type M to close the tool
18
Open EF_Estilo_Deco3 – Copy – Paste as new layer
Place in the top right corner
19
Layer palette – Activate the bottom layer
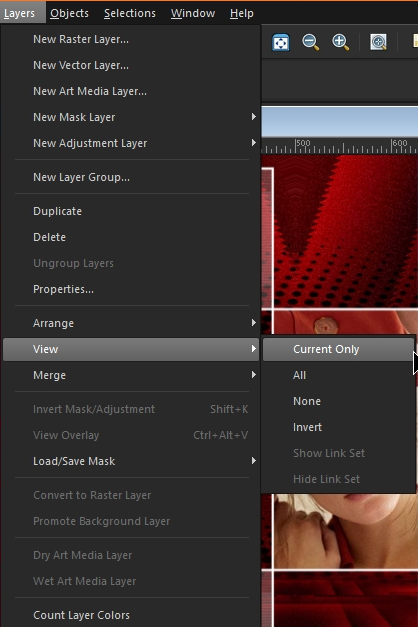
To see better : Layers – View – Current Only ( Now the other layers are closed)
20
Materials palette – Foreground color # 000000
Layers – New Raster Layer
Fill with the foreground color
21
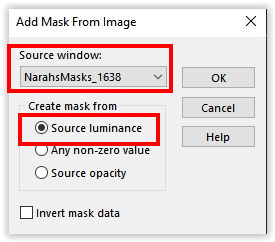
Layers – New Mask Layer – From Image: NarahsMasks_1638
Layers – Duplicate 3 times
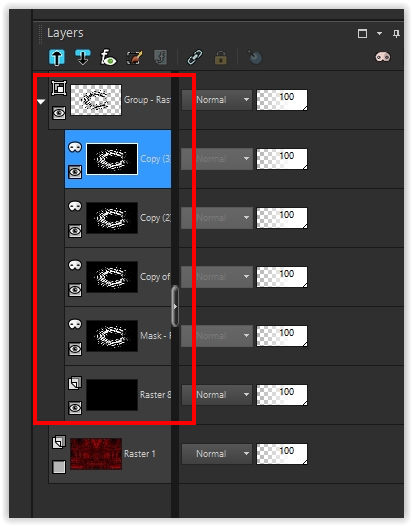
Layers – Merge – Merge Group
Layers – View – All layers (now all layers are open again)
22
Layers – Merge – Merge Visible
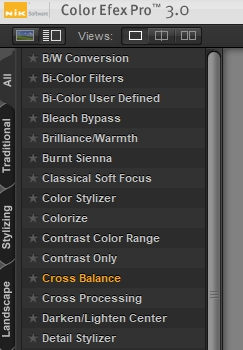
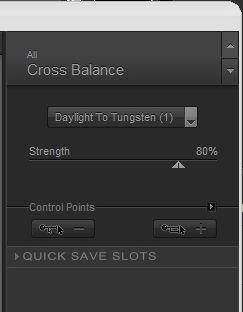
Effects – Filter Nik Software Color Efex Pro 3.0 – Cross Balance – Daylight to Tungsteno (1) or to your liking
23
Image – Add Borders – Symmetric
2 pixels color # 000000
50 pixels color # ffffff
24
Sign your work
Merge All
Image – Resize – Change the width to 1000 pixels
Save as Jpeg.
We are done with Estela’s tutorial
The translation has been tested by Marianne.
Marianne thank you very much
© Translation DesignPSP KeetjeDesign


