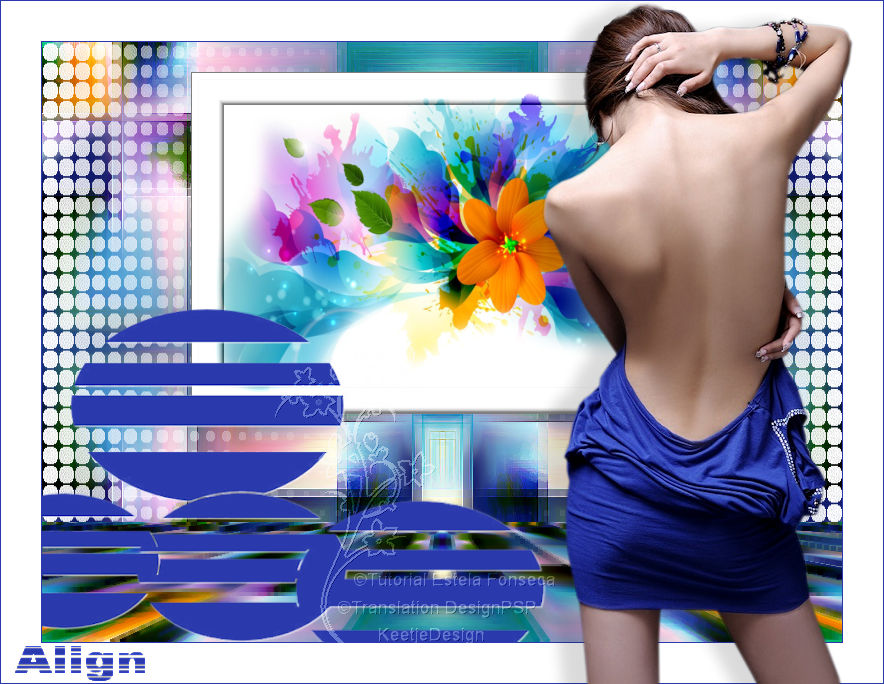
Align

Original tutorial Here
This tutorial is written by Estela Fonseca the © is from her.
You’re not allowed to copy, link and / or place these or parts of it without her permission.
The © ️ of the materials wich are used is for the rightful owner.
If you want to use this tutorial on your own forum, club or group, you have to request permission from the writer herself.
We have permission to translate Estela Fonseca’s tutorials into English.
Thank you Estela for the permission to translate your tutorials.
Temos permissão para traduzir os tutoriais da Estela Fonseca para o inglês.
Obrigado Estela pela tradução dos tutriais.
Materials Used:
1 Mask – Narah_Mask_1005
1 Mask – mask-align-ef
1 Image – bkg-align
1 Tube – nicole-mist-fleur-2017
1 Tube – OBG_2235
Open these materials in PSP / Duplicate with Shift + D / Minimize Masks / Close the originals
Download Materials Here
Plugins Used:
Unlimited 2.0 – Buttons & Frames – 3D Glass Frame 1
Unlimited 2.0 – VM Toolbox – Instant Tile
Mura’s Meister – Perspective Tiling
The translation was made with PSP 2018 , but can also be done with other versions.
Note : When working with your own colors , play with the Blend Mode and/or Opacity at your own discretion
1
Materials palette – Foreground color # 2a39ac / Background color # ffffff

Open a new transparent image of 800 x 600 pixels
Selections – Select All
Open the Image bkg-align – Copy – Paste into selection
Selections – Select None
Colorize if you work with other colors
2
Effects – Plugin Unlimited 2.0 – VM Toolbox – Instant Tile

3
Layers – Duplicate
Effects – Plugin Mura’s Meister – Perspective Tiling

Effects – Edge effects – Erode /2 times
4
Layer palette – Click the bottom layer
Layers – New raster layer
Fill in the color # ffffff
Layers – new mask layer – From image Narah_Mask_1005

Layers – Duplicate

Layers – Merge – Merge Group
5
Layers – New rasterlayer
Activate the Selection Rectangle Tool – Costum Selection


Fill in the color # ffffff
Keep selected
6
Open the tube nicole-mist-fleur-2017 – Copy – Paste into selection
Effects – Plugin Unlimited 2.0 – Buttons & Frames – 3D Glass Frame 1

Selections – Select None
7
Layer palette – Click the top layer
Layers – New raster layer
Fillin the color # 2a39ac
Layers – New mask layer – From image mask-align-ef / Invert mask data checked

Layers – Merge – Merge Group
Effects – 3D Effects – Drop Shadow / 1 / 1 / 100 / 2 / # ffffff

8
Image – Resize – Resize with 80% – Resize all layer unchecked
Objects – Align – Bottom
Objects – Align – Left
9
Image – Add Borders – Symmetric
1 pixel color # 2a39ac
40 pixels color # ffffff
1 pixel color # 2a39ac
10
Open the tube OBG_2235 Remove the watermark – Copy – Paste as new layer
Image – Resize – Resize with 80% – Resize all layers not checked
Move the tube on the right
Effects – 3D Effects – Drop Shadow to your own choice
11
Activate the Text Tool (T) – Chose a fonttype – Type the text ALIGN
move to the bottom left on the Border
12
Sign your work
Merge All
Save as Jpeg.
The translation has been tested by Marianne.
Marianne thank you very much / Tube of Isa and Nena Silva

Another example / Tube of LDesigns / Image from the internet

© Translation Align DesignPSP KeetjeDesign 27-08-2019
This translation is registered with LSBene


