Joyeux Noël 2018
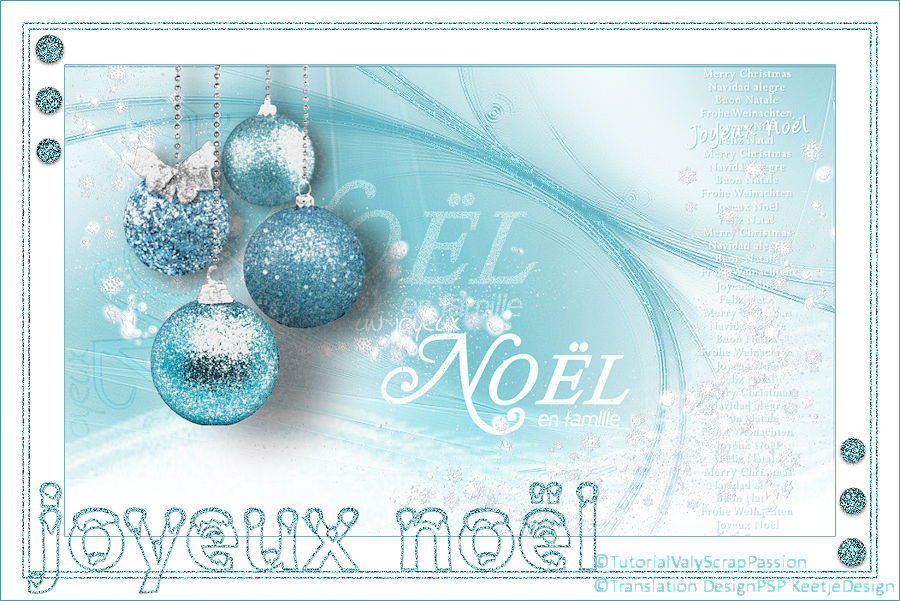
Original tutorial Here
This tutorial is written by Valy Scrap Passion the © is from her.
You’re not allowed to copy, link and / or place these or parts of it without her permission.
The © ️ of the materials wich are used is for the rightful owner.
If you want to use this tutorial on your own forum, club or group, you have to request permission from the writer herself.
If this tutorial looks like another, it is purely coincidental.
We have permission to translate Valy Scrap Passion tutorials into English.
Thank you Valy for the permission to translate your tutorials.
Nous avons la permission de traduire les tutoriels de Valy Scrap Passion en anglais.
Merci Beaucoup Valy , que je pouvez traduire vos tutoriels en anglais.
Materials Used:
1 Font – snowdrft
install the font if you want to make your own text
1 Preset – Nature-SnowDrift1-VSP Double click on the preset , which then installs itself in the plugin
1 Preset – Preset-Filtrepersonnalise-5×5 High pass Place the preset in your PSP Folder Presets
1 Colorcode – palette couleur
1 Mask – Narah_mask_0670
1 Mask – Narah_mask_0721
1 Mask – VSP242
1 Tube – Deco1-JN2018-VSP
1 Tube – Deco2-JN2018-VSP
1 Tube – Deco3-JN2018-VSP
1 Tube – Deco4-JN2018-VSP
1 Tube – Deco5-JN2018-VSP
Download Materials Here
Plugin Used:
Alien Skin – Eye Candy 5 – Nature – Snow Drift
You can find the plugins Here
The translation is written with PSP 2018, but can also be made with other versions.
Colors Used

Note : When working with your own colors , play with the Blend Mode and/or Opacity at your own discretion
1
Materials palette – Foreground color 1 / Background color 2

Make on the Foreground a Gradient Halo / Repeats 2 / Invert checked
Centre Point : H 41 / V 61 / Focal Point H 21 / V 69 / Link not Checked

Open a New Transparent Image 900 X 550pixels
Fill in the gradient
Adjust – Blur – Gaussian Blur / Radius 50
Layers – Duplicate
Open the mask Narah_mask_0721 – Minimize
Activate your work
Layers – New mask layer – From Image
You see nothing at first but that is normal
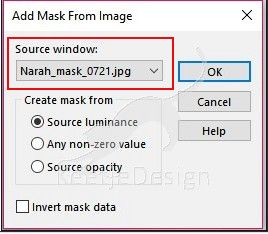
Effects – Edge Effects – Enhance
Layers – Merge – Merge Group
Layers – Properties – Blend Mode Screen
Layers – Merge – Merge Visible
2
Layers – New raster layer
Fill in the color 1
Open the mask Narah_mask_0670 – Minimize
Activate your work
Layers – New mask layer – From Image
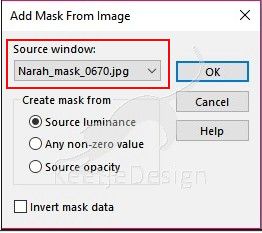
Effects – Edge Effects – Enhance
Layers – Merge – Merge Group
Image – Mirror – Mirror Vertical (= Flip)
Effects – User Defined Filter 5×5 High Pass
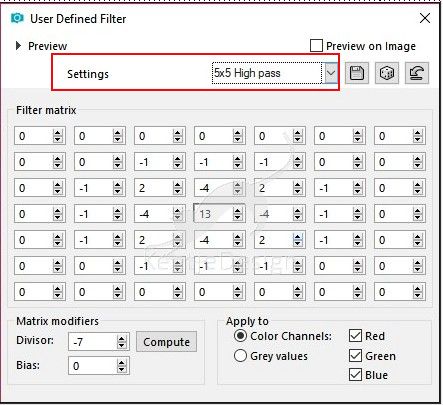
Layers – Merge – Merge Visible
3
Layers – New raster layer
Fill in the color 2
Open the mask VSP242 – Minimize
Activate your work
Layers – New mask layer – From Image
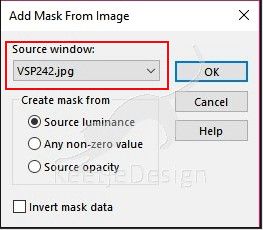
Layers – Merge – Merge Group
Activate the Pick Tool (K) / Position X 0 / Position Y 107

Type M to close te Pick Tool
4
Open the tube Deco1-JN2018-VSP – Copy – Paste as new layer (at your work)
Activate the Pick Tool (K) / Position X 725 / Position Y 4

Type M to close te Pick Tool
Effects – 3D Effects – Drop Shadow
Color 1 / 1 / 1 / 50 / 1

5
Open the tube Deco2-JN2018-VSP – Copy – Paste as new layer (at your work)
Layers – Duplicate 2 times
Your layer palette looks like this

6
On the top layer (Copy (2) of Raster 2)
Adjust – Add/Remove Noise – Add Noise

Layers – Properties – Blend Mode Soft Light
Effects – Image Effects – Offset / minus 135 / 70

Layers – Arrange – Move Down 2 times
7
Layer palette – Click at the top layer (Copy of Raster 2)
Image – Free Rotate / Left 90°

Oblects – Align – Left
Effects – Artistic Effects – Hot Wax Coating
Layers – Properties / Blend Mode Overlay / Opacity 30
Layers – Arrange – Move Down 2 times
8
Layer palette – Click at the top layer (Raster 2)
Image – Resize – Resize 68% – Resize all layers not checked
Effects – Image Effects – Offset / 50 / minus 87
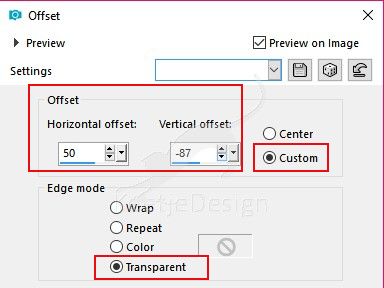
Layers – Properties – Blend Mode Luminance (Legacy)
Your layer palette looks like this

Layers – Merge – Merge Visible
9
Open the tube Deco3-JN2018-VSP – Copy – Paste as new layer (at your work)
The layer is right
10
Open the tube Deco4-JN2018-VSP – Copy – Paste as new layer (at your work)
Activate the Pick Tool (K) / Position X 59 / Position Y minus 32

Type M to close te Pick Tool
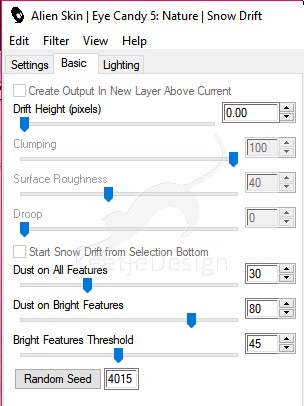
Effects – Plugin Alien Skin – Eye Candy 5 – Nature – Snow Drift / Preset Nature-SnowDrift1-VSP
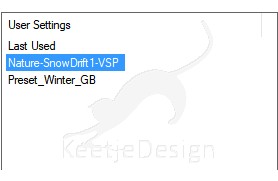
Or enter these settings
11
Image – Add Borders – Symmetric checked
1 pixel color 1
40 pixels color 2
Selections – Select All
Image – Add Borders – Symmetric checked
2 pixels color 1
Selections – Invert
Adjust – Add/Remove Noise – Add Noise

Selections – Select None
Image – Add Borders – Symmetric checked
5 pixels color 2
Selections – Select All
Image – Add Borders – Symmetric checked
2 pixels color 1
Selections – Invert
Adjust – Add/Remove Noise – Add Noise

Selections – Select None
Image – Add Borders – Symmetric checked
25 pixels color 2
1 pixel color 1
12
Open the tube Deco5-JN2018-VSP – Copy – Paste as new layer (at your work)
The layer is right
Layers – Merge – Merge all layers
13
Image – Resize – Resize to 900 pixels width – Resize all layers checked
Adjust – Shapness – Sharpen
14
Sign your work
Layers – Merge – Merge All
Save as Jpeg.
This translation has been tested by Marianne
Marianne Thank you very much
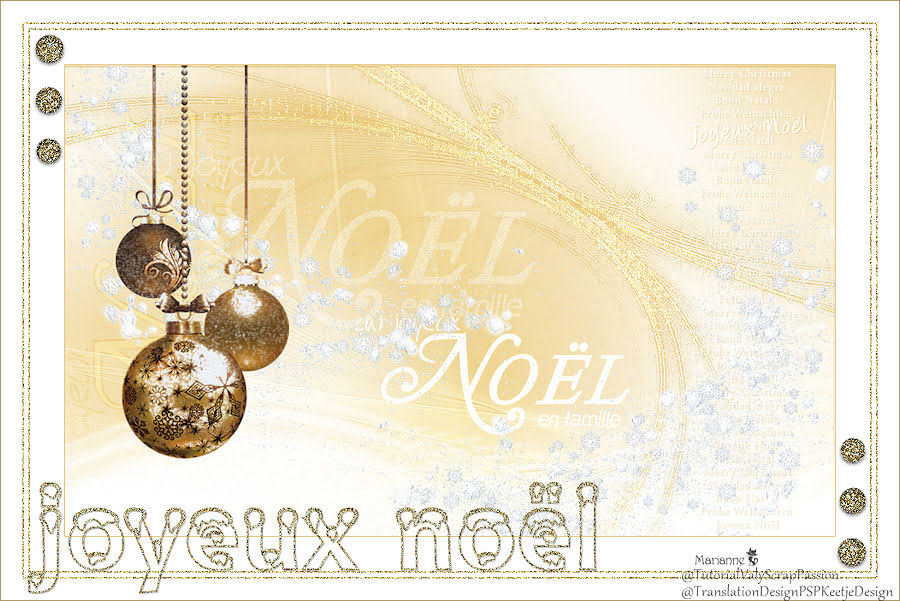
- Another Example
- Thank you Marianne
- Thank you Marianne
- Thank you Dennis
© Translation Joyeux Noel 2018 DesignPSP KeetjeDesign 24-11-2018
This translation is registered with LSBene


