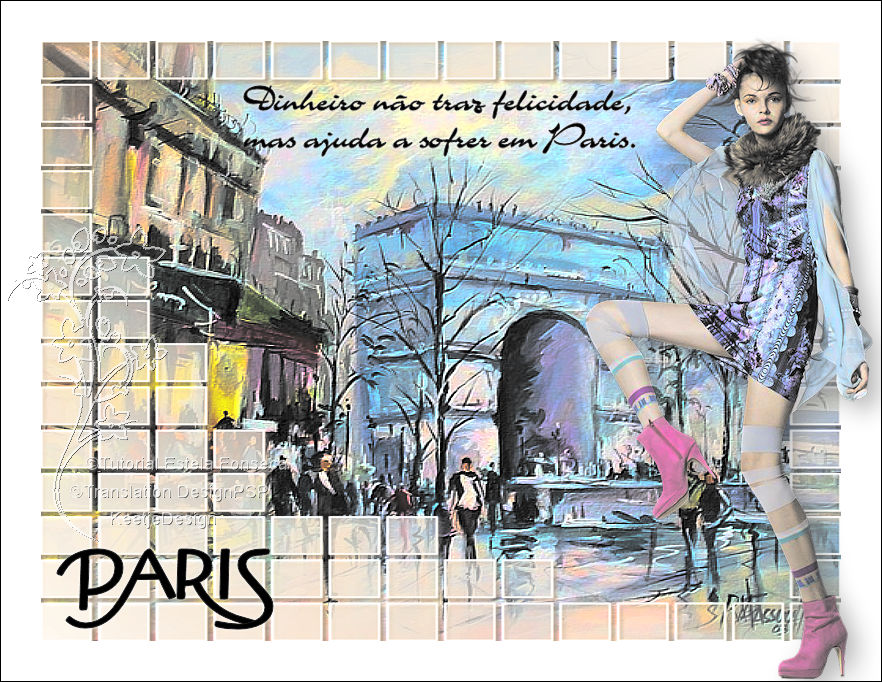
Paris

Original tutorial Here
This tutorial is written by Estela Fonseca the © is from her.
You’re not allowed to copy, link and / or place these or parts of it without her permission.
The © ️ of the materials wich are used is for the rightful owner.
If you want to use this tutorial on your own forum, club or group, you have to request permission from the writer herself.
We have permission to translate Estela Fonseca’s tutorials into English.
Thank you Estela for the permission to translate your tutorials.
Temos permissão para traduzir os tutoriais da Estela Fonseca para o inglês.
Obrigado Estela pela tradução dos tutriais.
Materials Used:
1 Mask – mdh_104
Place the mask in your PSP folder Masks
1 Image – Walking_in_Paris_by_ricardomassucatto
1 Tube – texto-2
1 Tube – Texto
1 Tube – nicole-femme58-2013
Open these materials in PSP / Duplicate with Shift + D / Close the originals
Download Materials Here
Plugin Used:
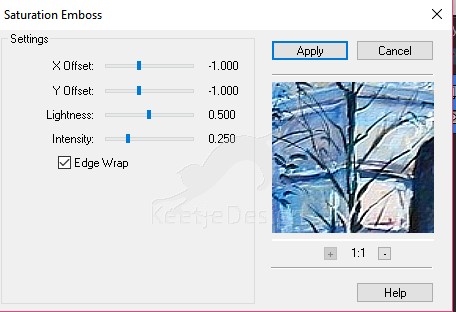
FM Tile Tools / Saturation Emboss
Eye Candy 4000 – Cutout
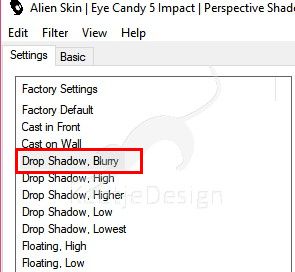
Alien Skin – Eye Candy 5 – Impact – Perspective Shadow
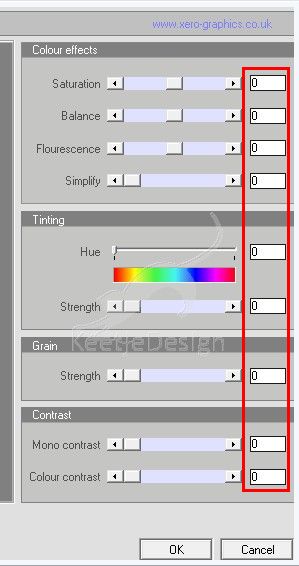
Xero – Nostalgia
The translation was made with PSP 2018 , but can also be done with other versions.
Note : When working with your own colors , play with the Blend Mode and/or Opacity at your own discretion
1
Open a New Transparent image of 800 X 600
Selections – Select All
Open the image Walking_in_Paris_by_ricardomassucatto – Copy – Paste into selection
Selections – Select None
Effects – Plugin FM Tile Tools / Saturation Emboss / Default

2
Layers – Mask Load/Save – Load mask from disk
Load mdh_104

Layers – Merge – Merge Group
Effects – Plugin Eye Candy 4000 – Cutout (Note:Shadow color , use the color of your choice)

3
Image – Add Borders – Symmetric checked
40 pixels color # ffffff
4
Open the tube nicole-femme58-2013 – Copy – Paste as new layer
Image – Resize – Resize with 81% – Resize all layers not checked
Image – Mirror (horizontal)
Position to the right
Adjust – Sharpness – Sharpen
Effects – Plugin Alien Skin – Eye Candy 5 – Impact – Perspective Shadow / Drop Shadow Blurry


5
Open the tube Texto – Copy – Paste as new layer
Position at the top inside the white border
Effects – 3D Effects – Drop Shadow / 0 / 0 / 100 / 5 /

6
Open the tube texto-2 – Copy – Paste as new layer
Position the lower left corner inside the white border
Effects – 3D Effects – Drop Shadow / The same setting
7
Image – Add Borders – Symmetric checked
1 pixel color # 000000
Effects – Plugin Xero – Nostalgia

8
Sign your work
Merge All
Save as Jpeg.
We have finished this Estela tutorial
The translation has been tested by Marianne.
Marianne thank you very much / Tube of Ana Ridzi

Another example / Tube of Calguis / Image image of the internet

© Translation Paris DesignPSP KeetjeDesign 07-04-2019
This translation is registered with LSBene


